Author: Alek Cerniseva

  • Pipeline 3D

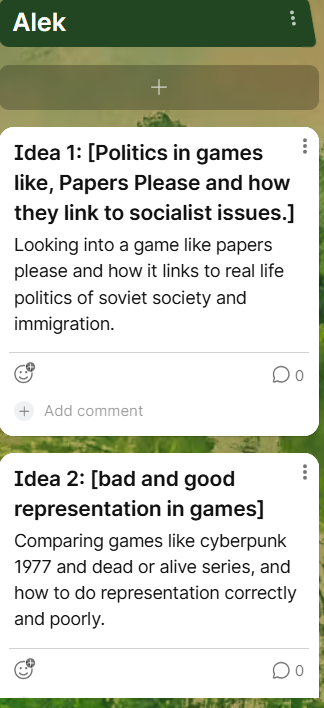
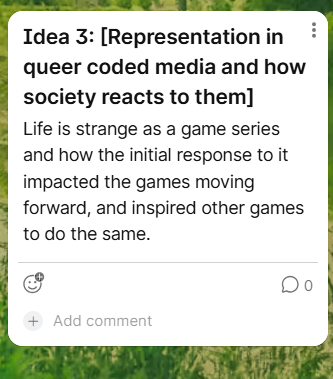
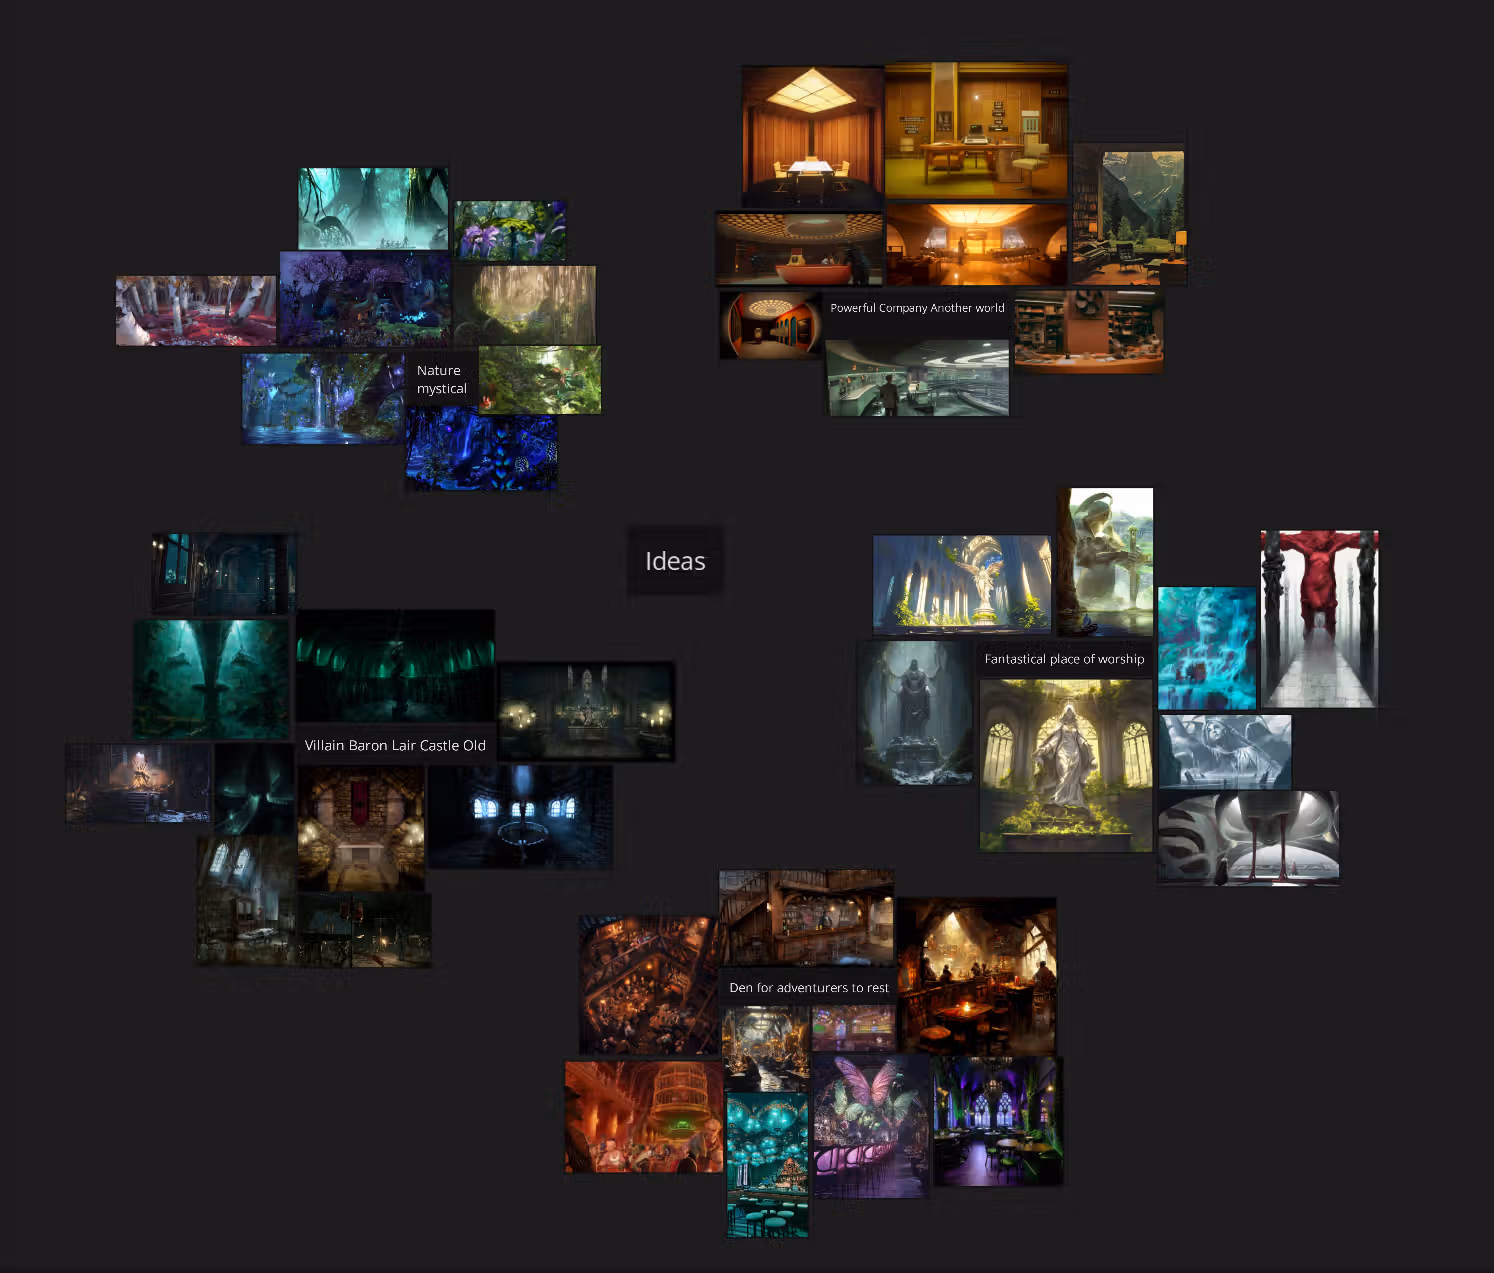
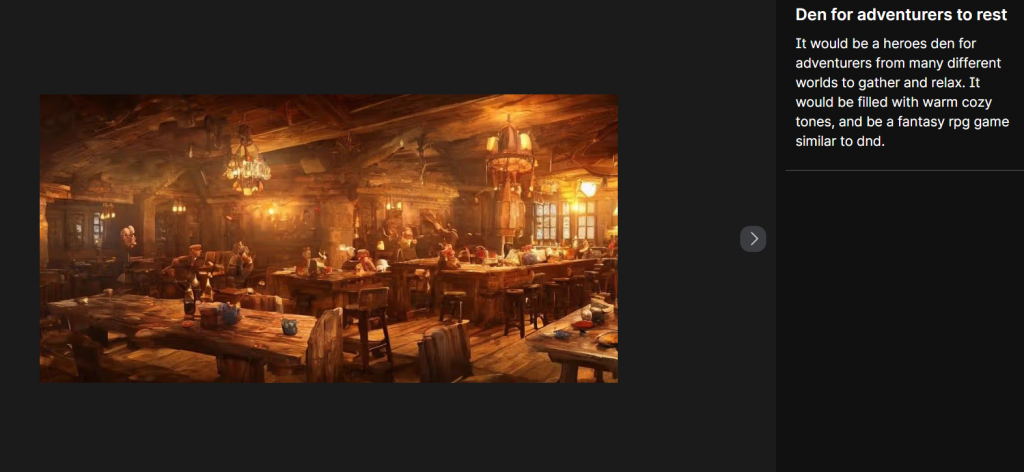
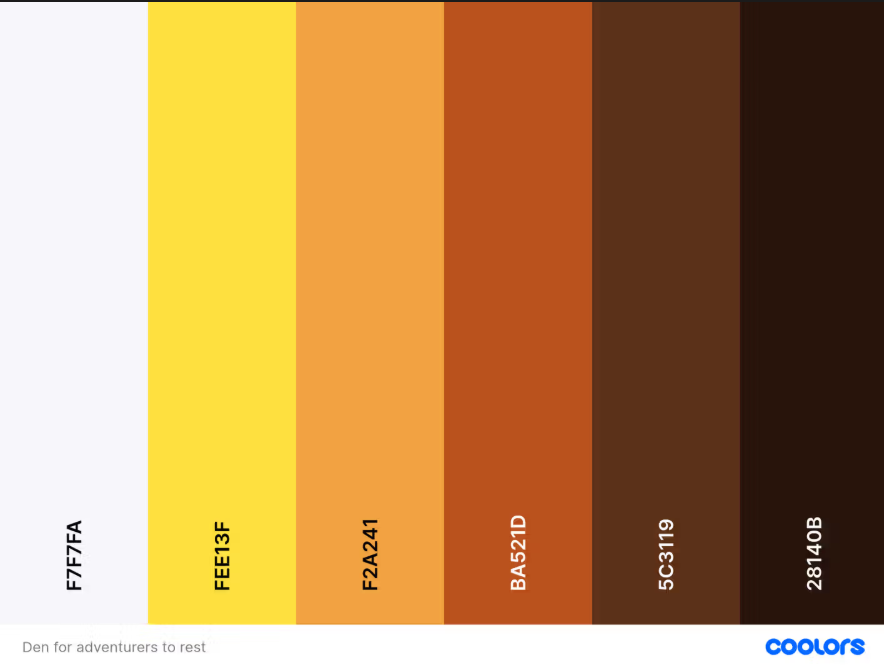
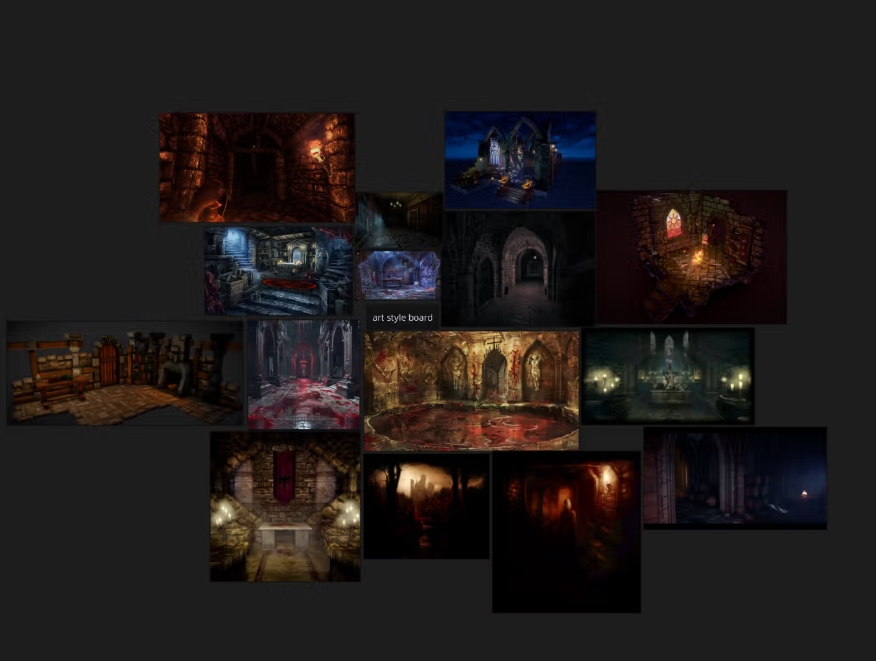
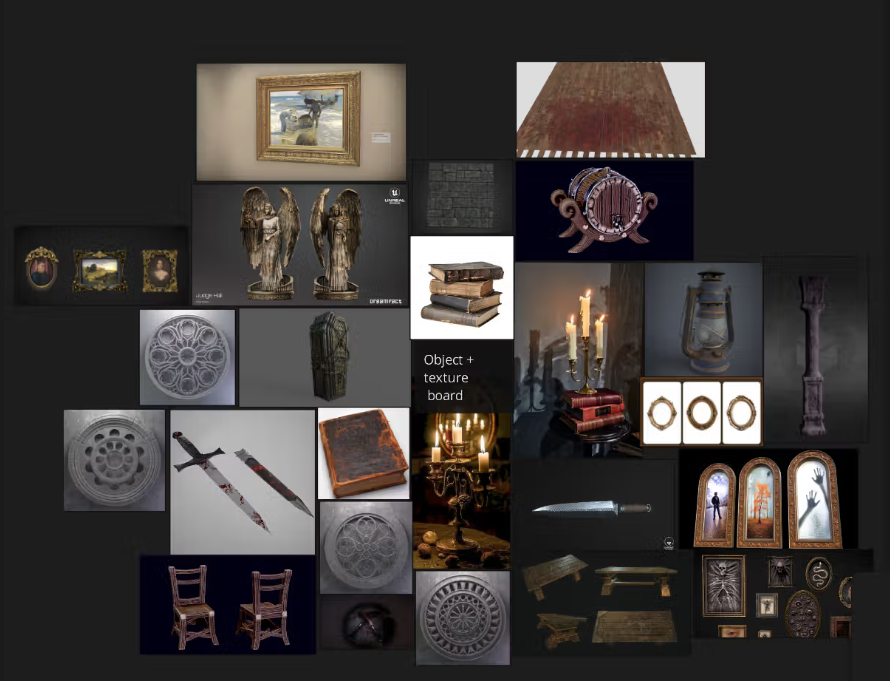
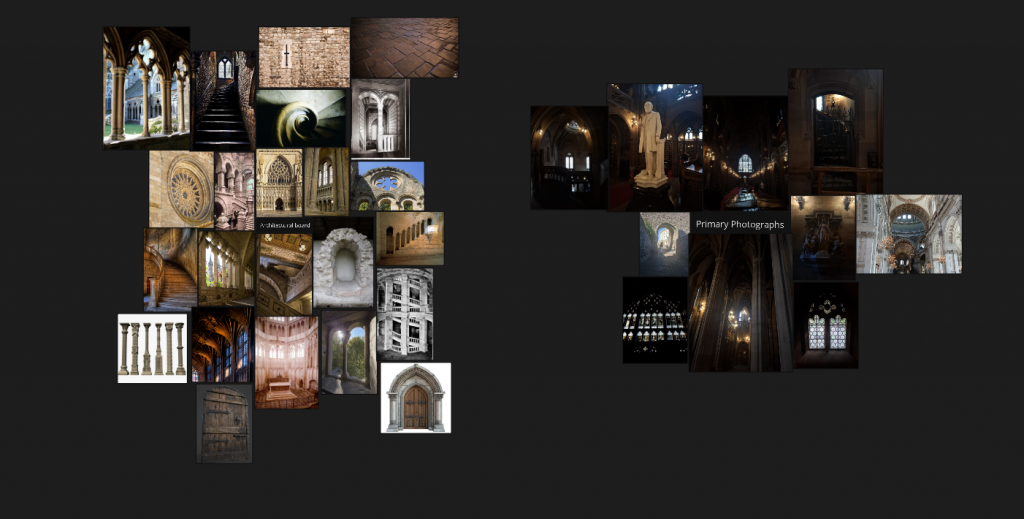
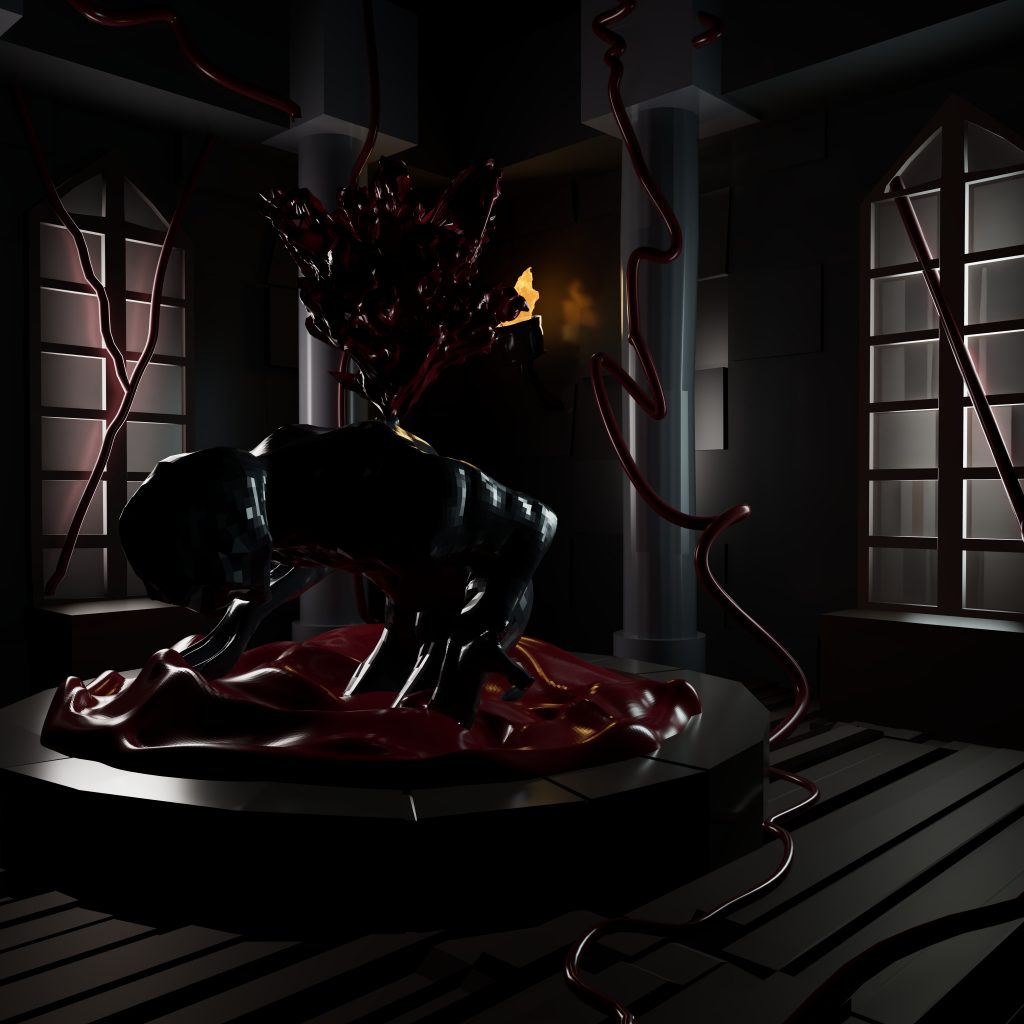
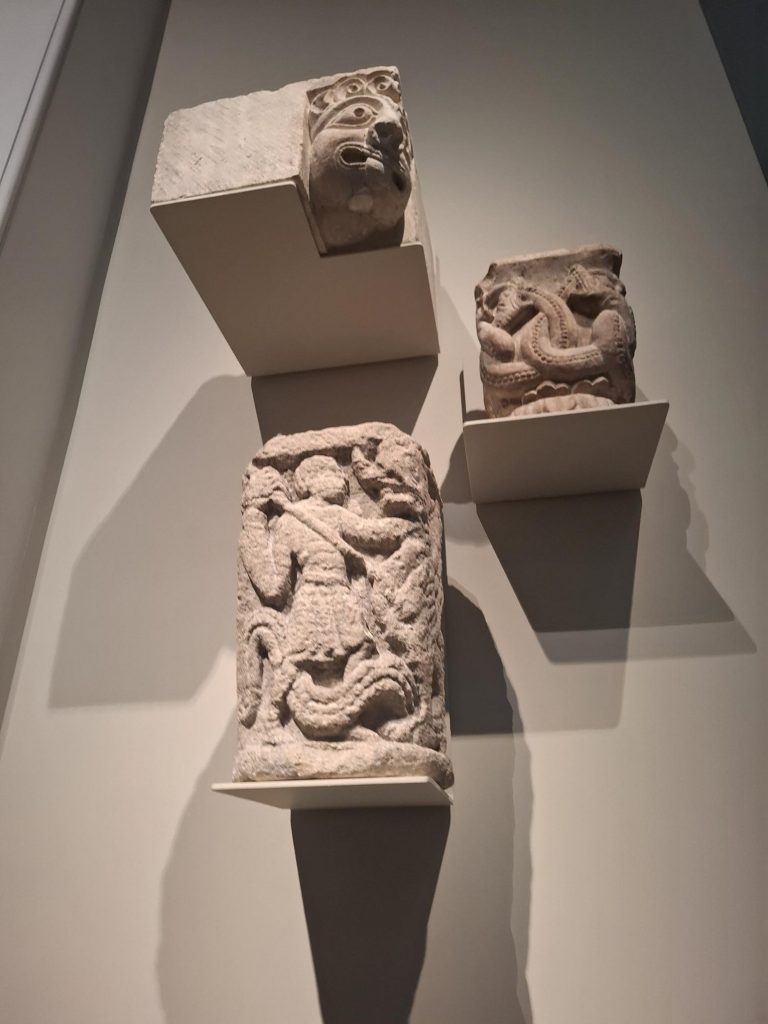
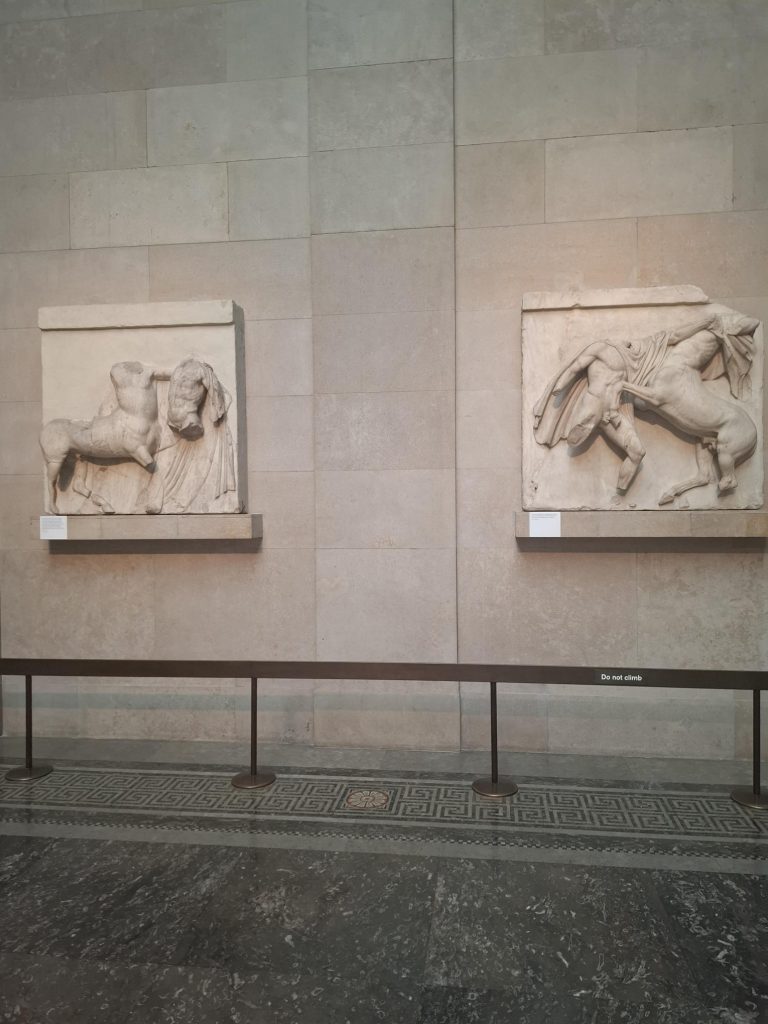
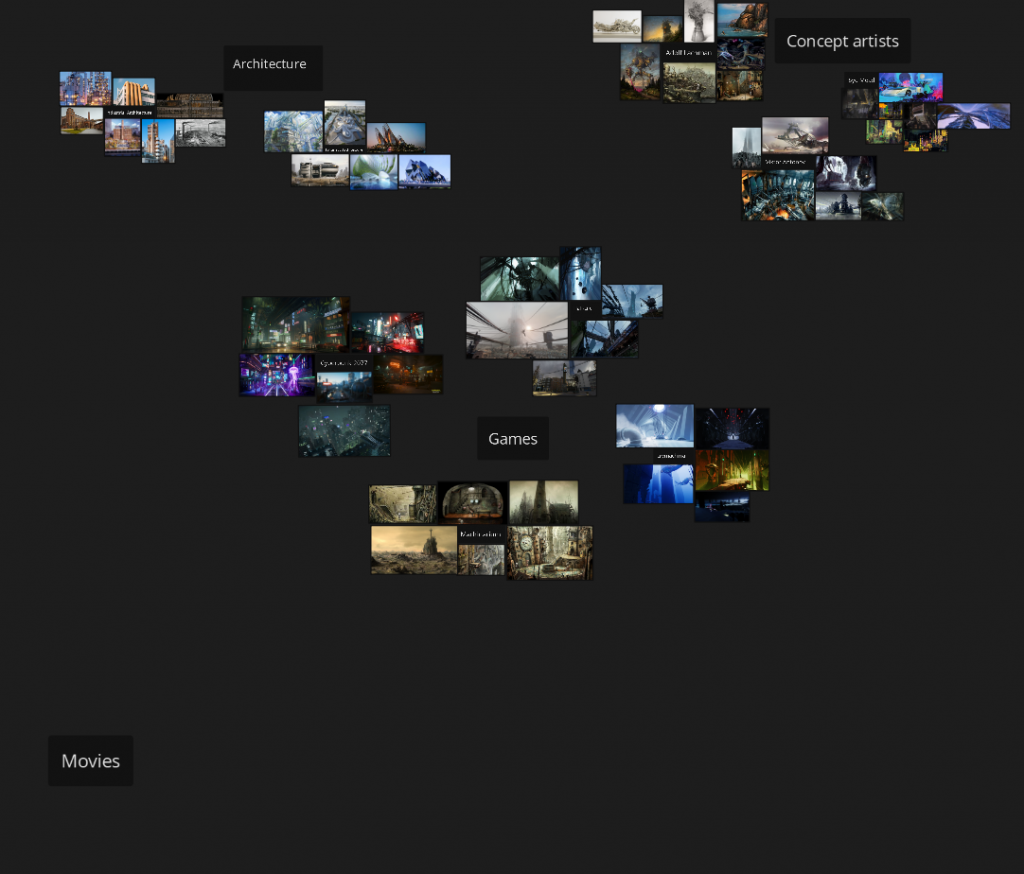
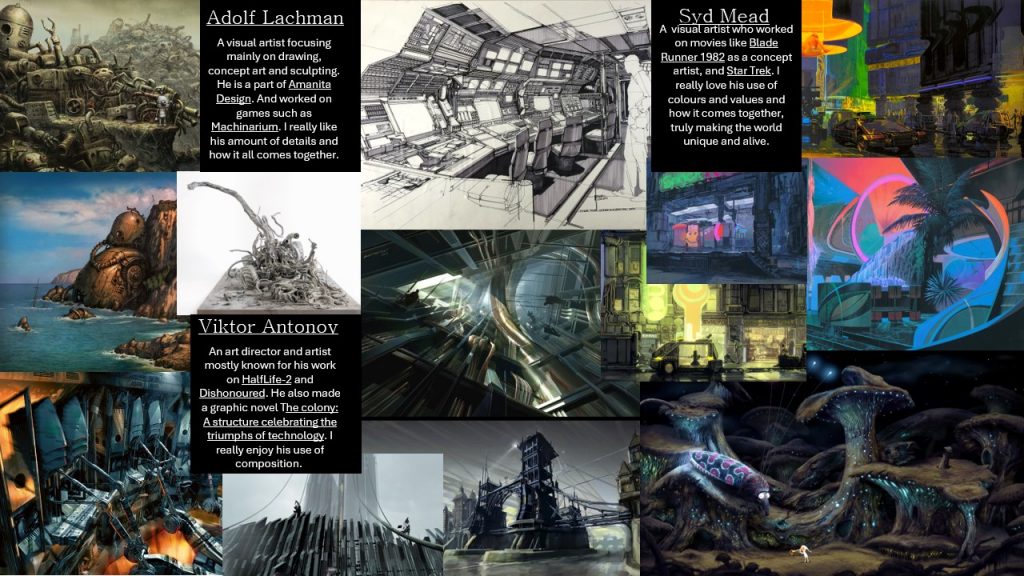
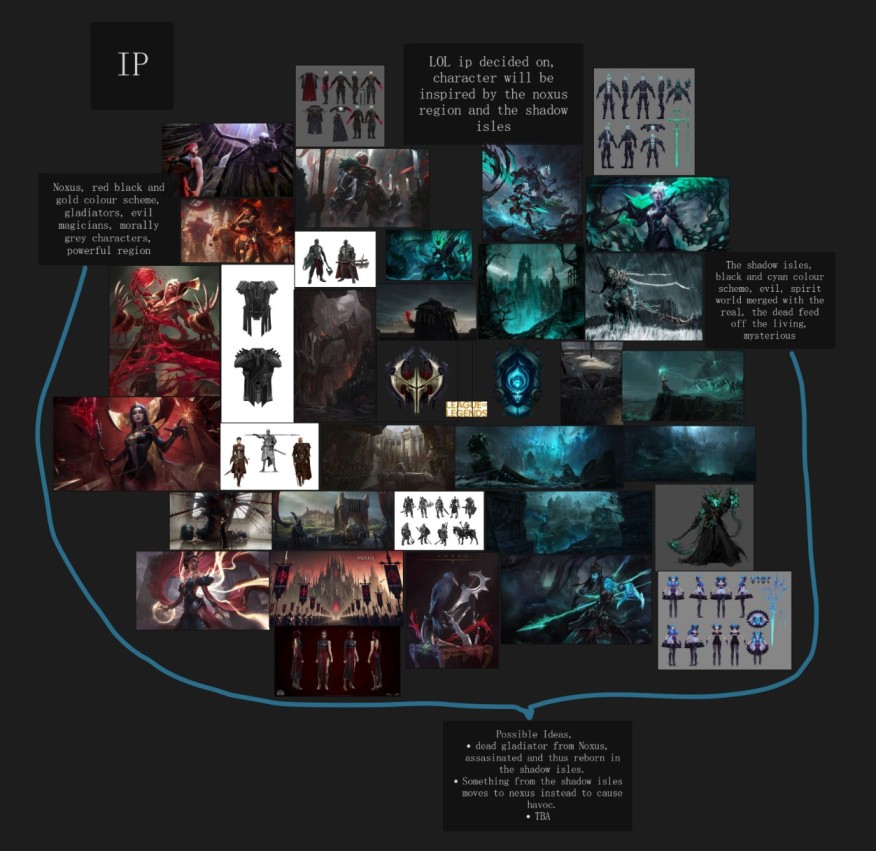
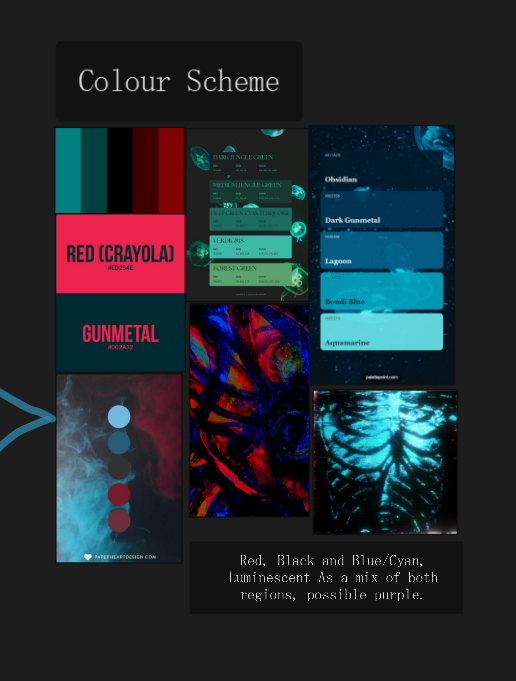
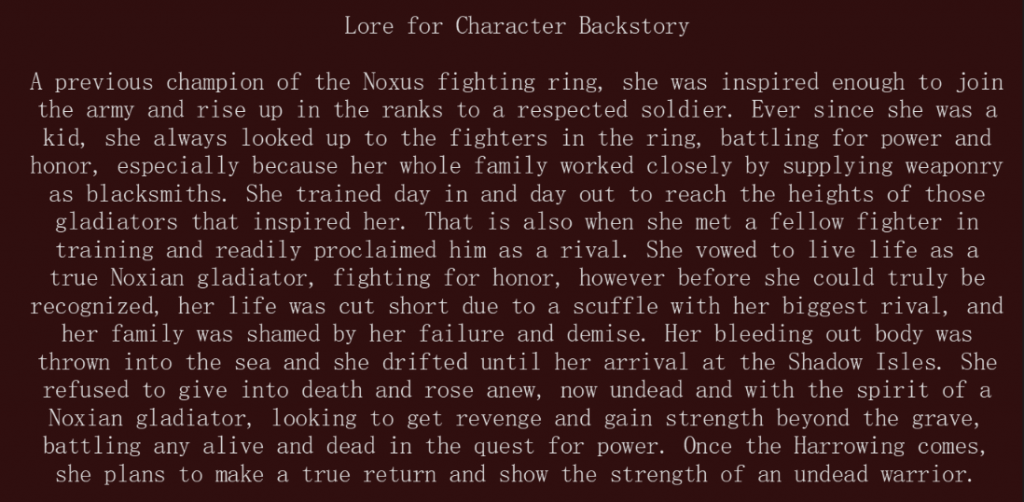
    First lesson, I decided on an IP I will be working on with a friend, which turned out to be league of legends because of its versatility and low poly count. The range of regions was also nice as I decided to focus on Noxus and The Shadow Isles. I compiled mood boards on LOL itself, color schemes and other characters to get inspired by. My idea so far is to make an ex Noxus soldier that got assassinated and returned as an undead in the shadow isles. Now I plan to develop my ideas further by looking more deeply into LOL lore, and especially the lore behind the two regions that inspired me.

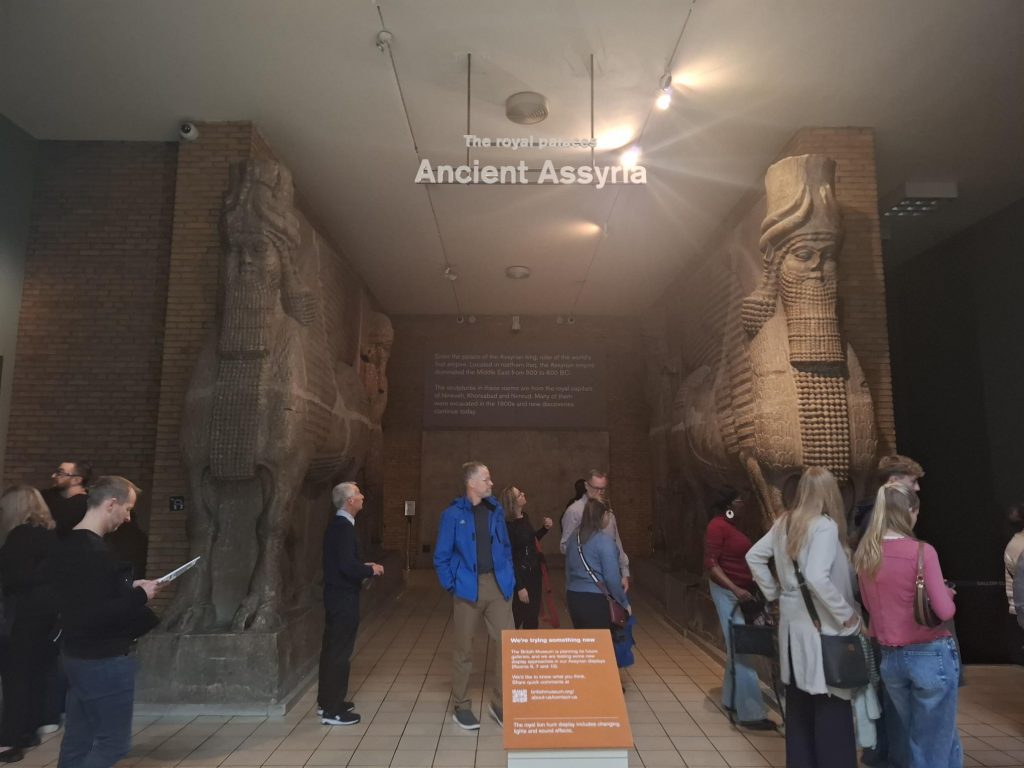
    I watched multiple videos about Noxus, a region that inspired by character. It helped me learn about the lore and get inspired by what I hear. But also understand the lore itself better. I also read the Darius (One of the Noxian champions) short comic to further understand the lore.

    https://universe.leagueoflegends.com/en_GB/comic/darius/bloodofnoxus/0

    I then also looked more into The Shadow Isles lore, reading the champions information and cinematics specially made for the region to further understand how it works.

    Designing League of Legends’ Katarina Arcane-Style in ZBrush & Maya – 80.lvl article

    This article told me a lot about the process of 3D modelling a character, especially a character from League, albeit in Arcane style, and not the game style itself, however the principle of it should work in a similar way, The character also turned out to be Katarina, a champion of the noxian empire and in turn someone that fits my own theme and character I will be making. The process of sketching down a design in the desired style, creating a low poly model in maya and bringing it to zbrush to turn it into a high poly model, then texturing it in substance painter and rendering in a program like blender also works. The switching of software’s to maximise results is something we have been and will be doing in our project moving forward.

    I gained some useful tips from this as well, such as good resources on modelling stylised hair which will come in handy, and how to manually paint in the desired style. Even if Arcane style differs from LOL’s style, it still shares some similarities as well, and will help me if I were to colour in skin and weaponry, it would just need to be heavily simplified for the lowboy style LOL has instead. This article also brushed up briefly on retopology and how if animation is planned, then the steps to get to that point would be slightly altered. This article helped me keep in mind what I will need to remember and do in my own project and how the process might also differ from mine. This allowed me to gain some confidence and that I should give it a try no matter how intimidating it may be.

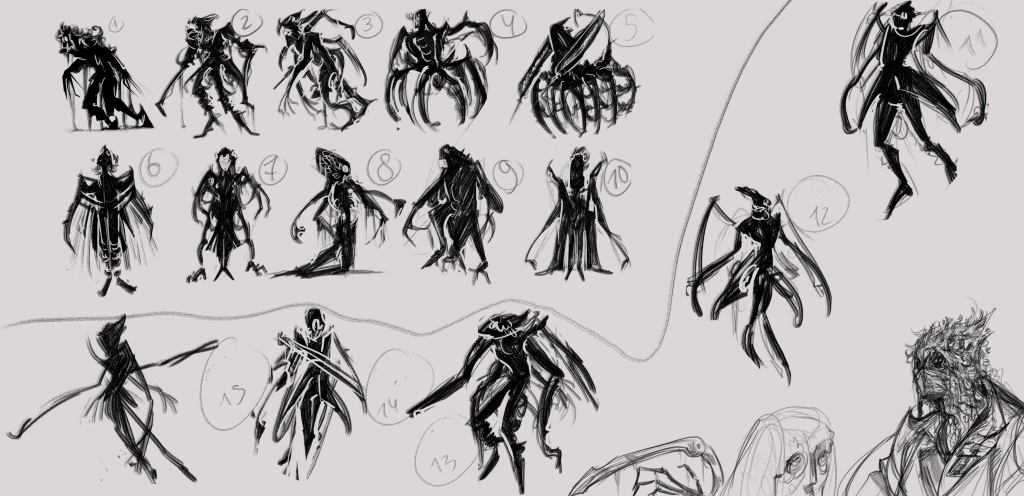
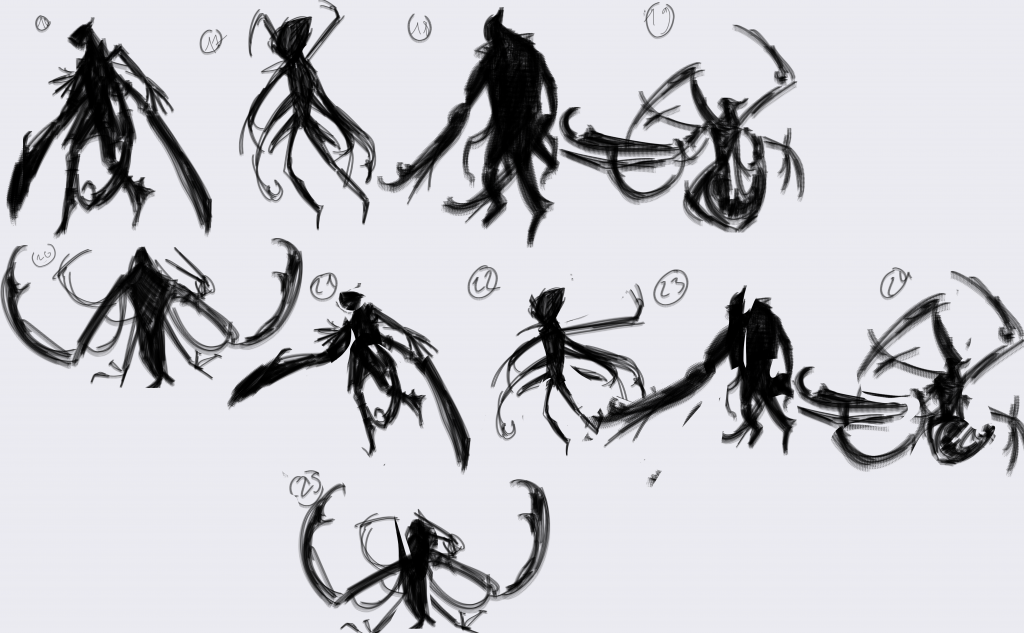
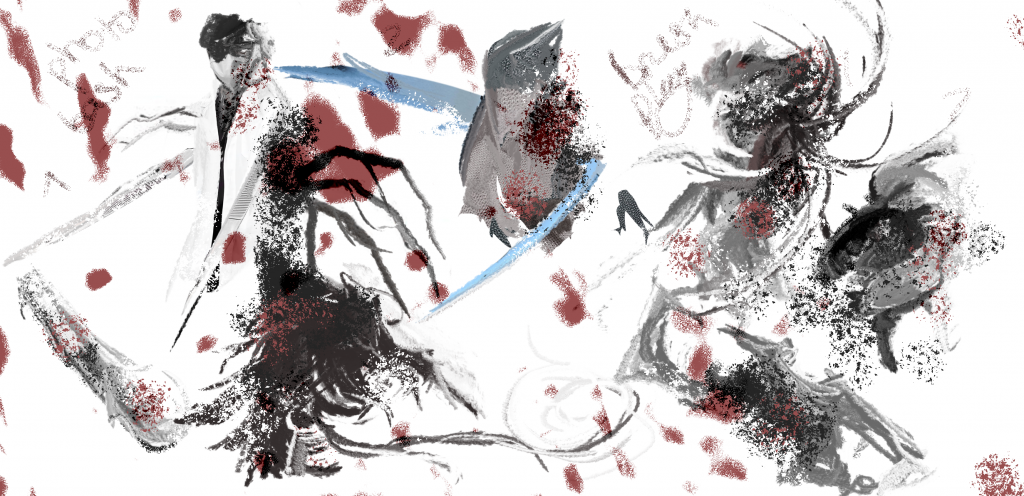
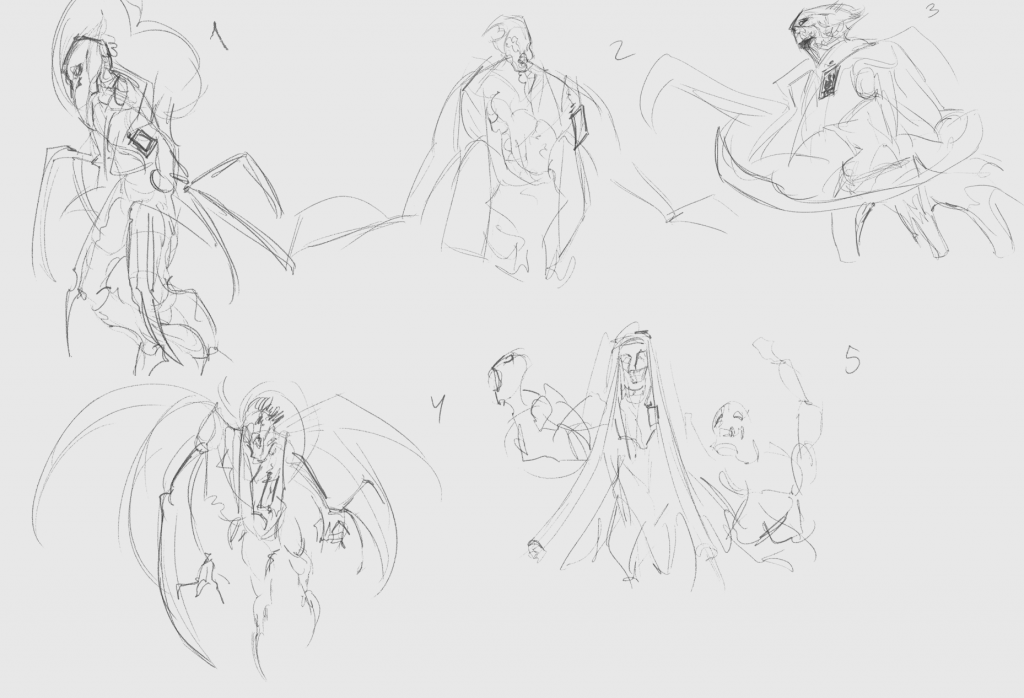
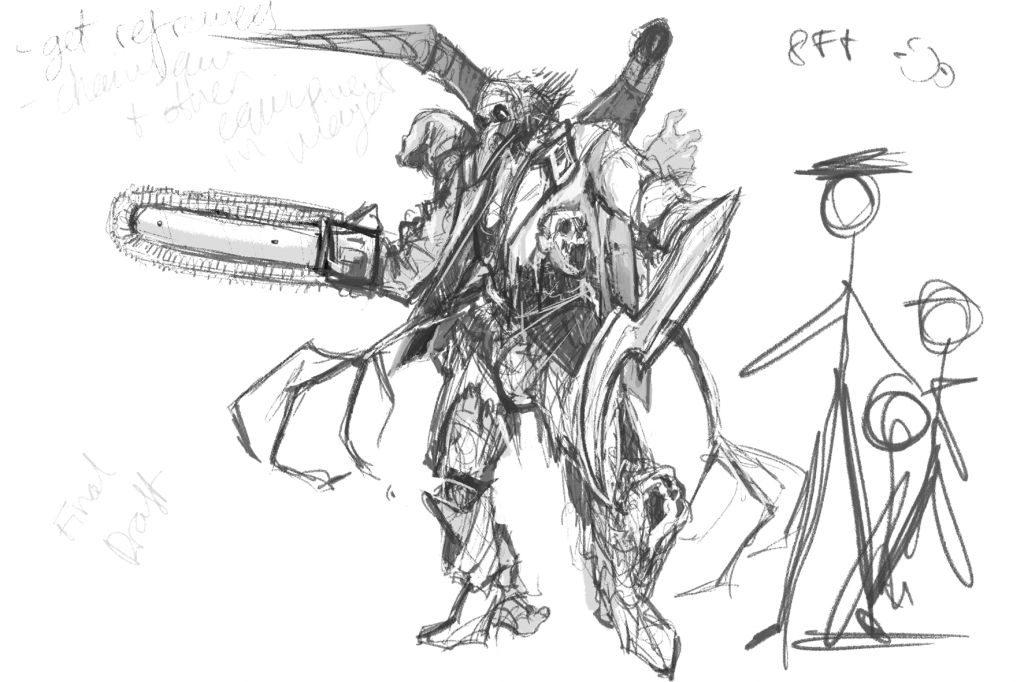
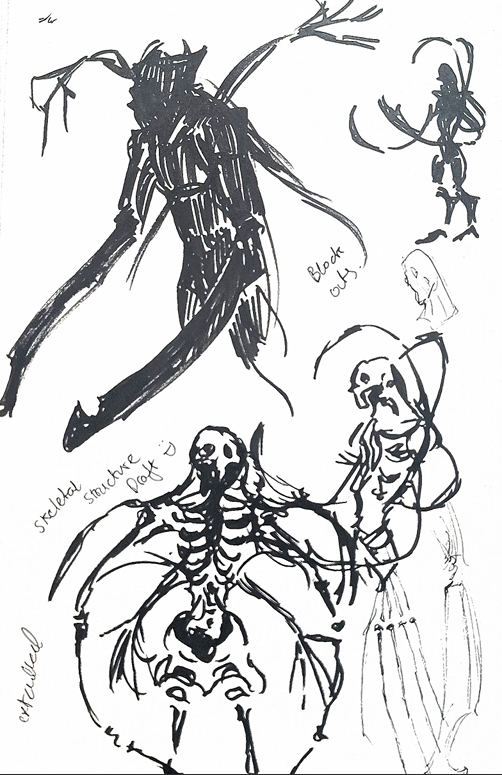
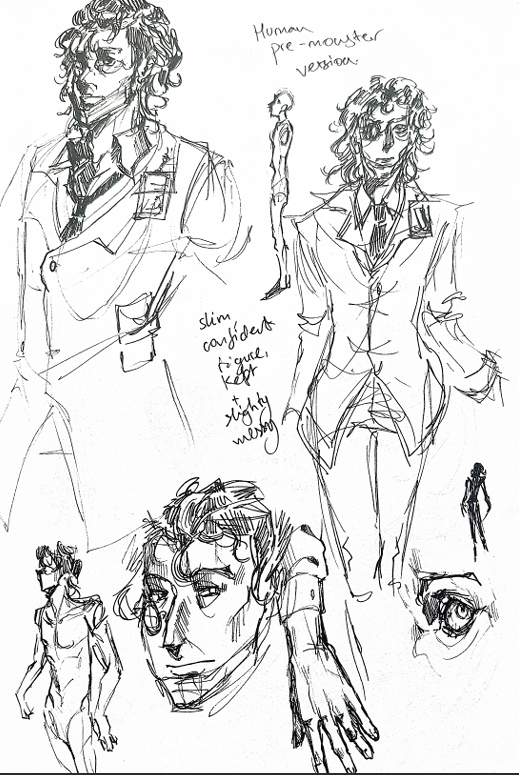
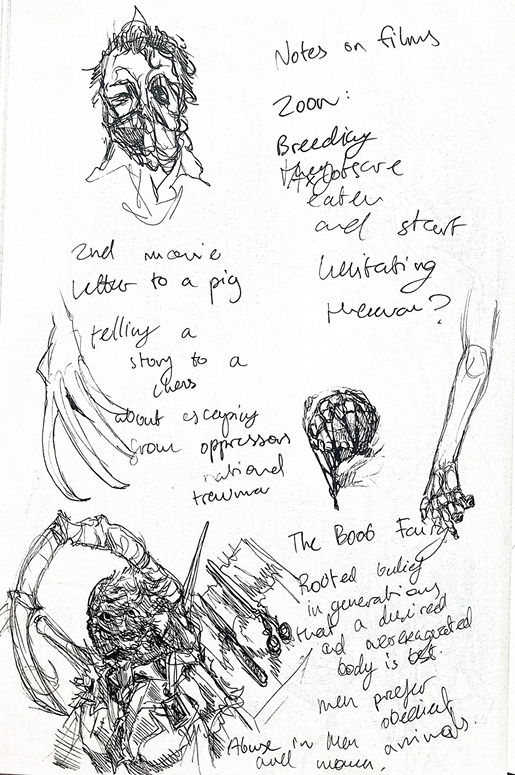
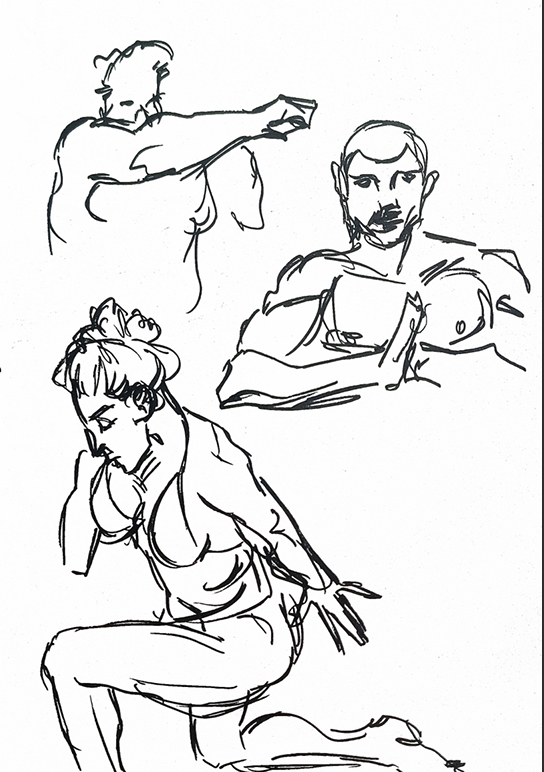
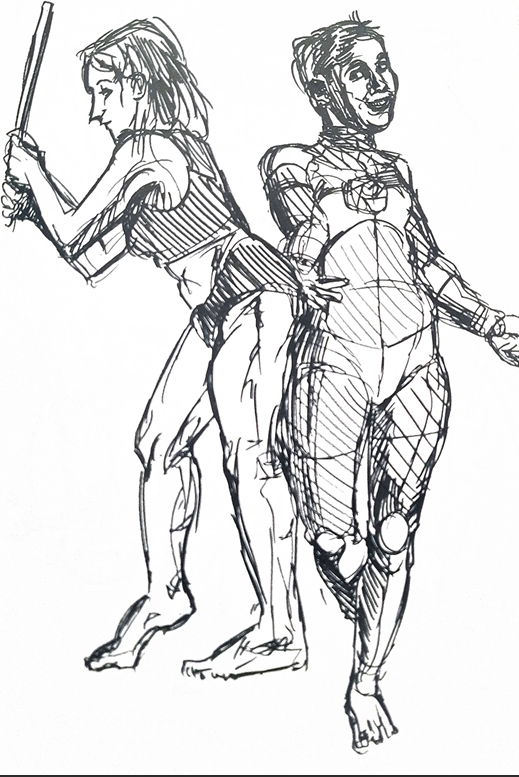
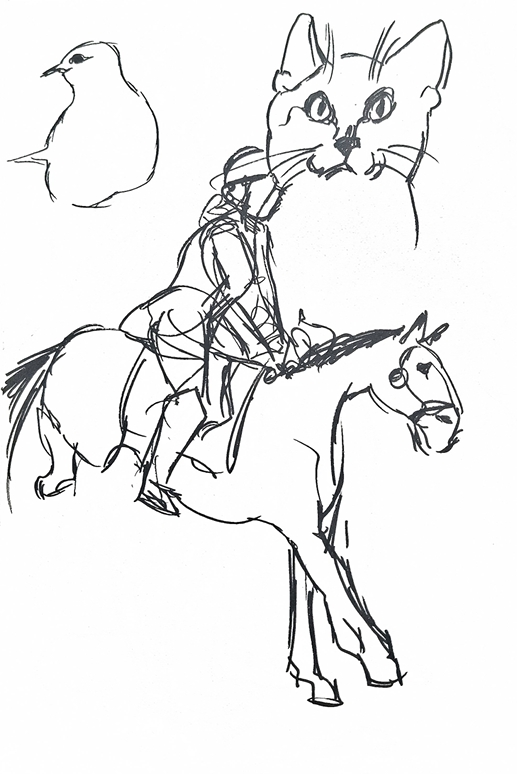
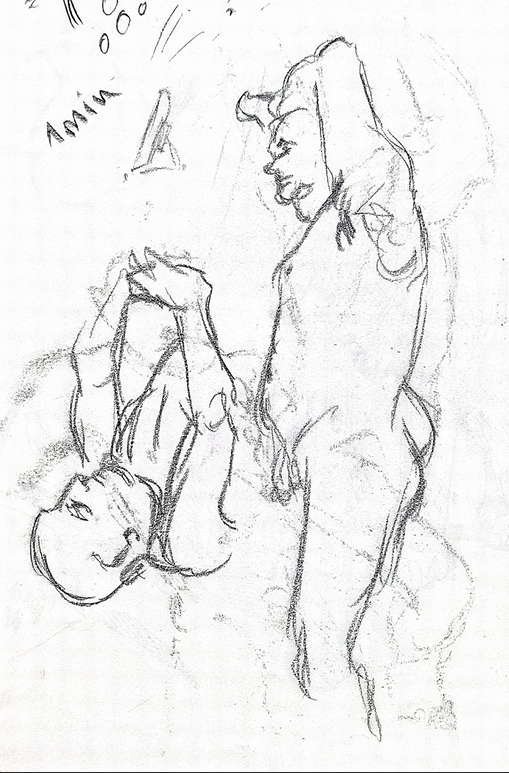
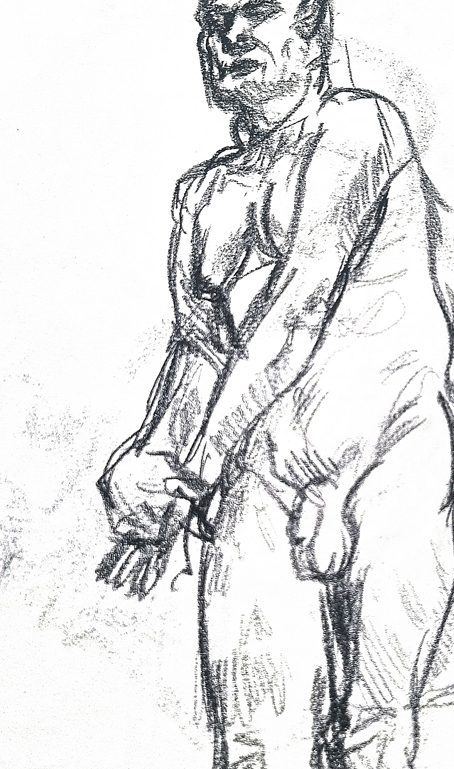
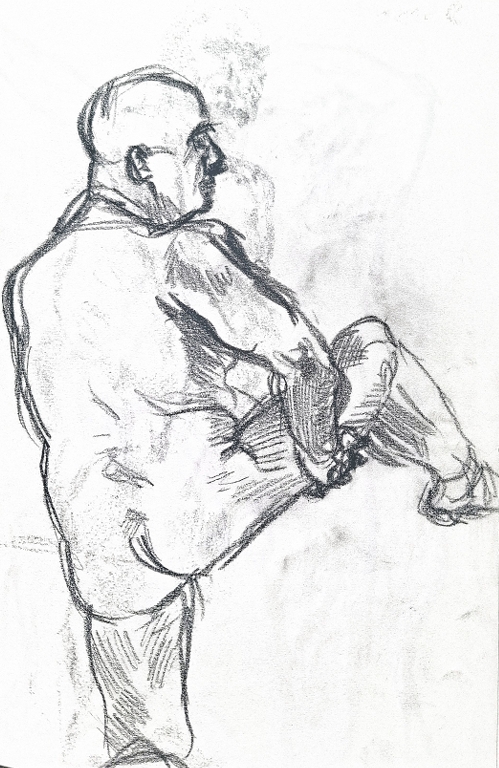
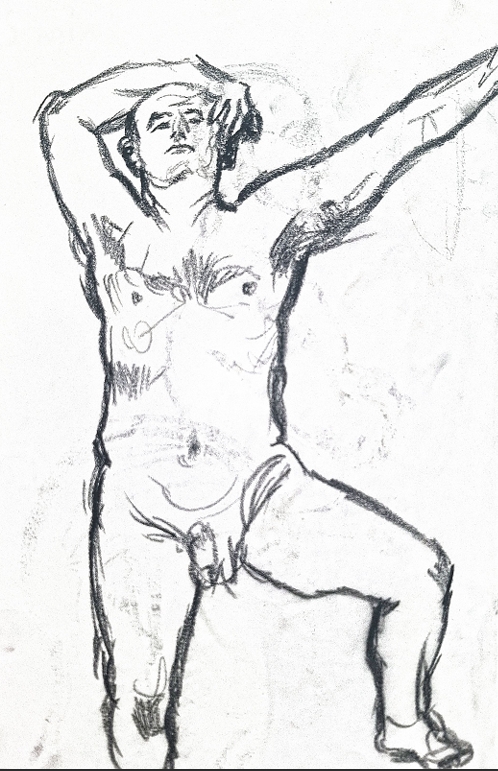
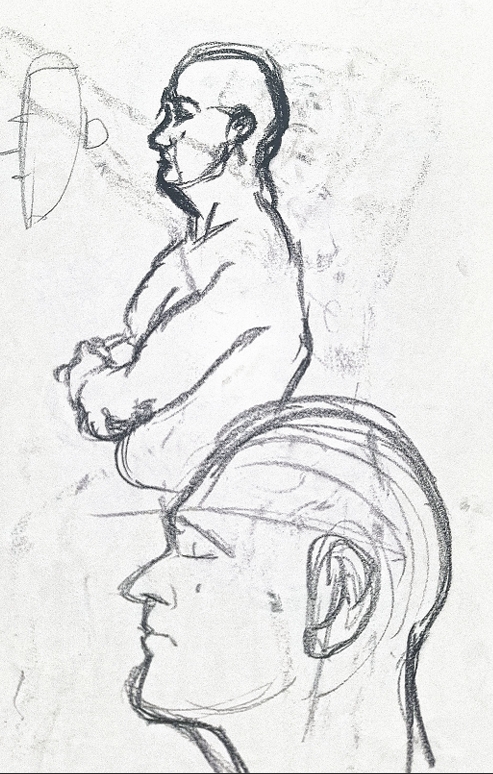
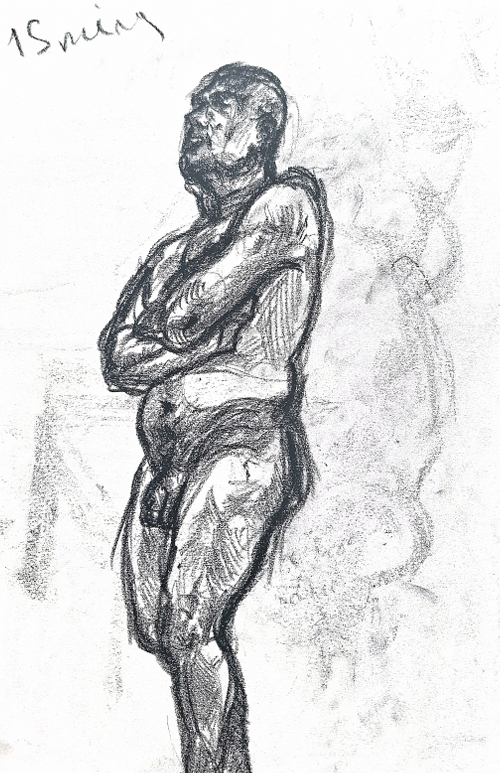
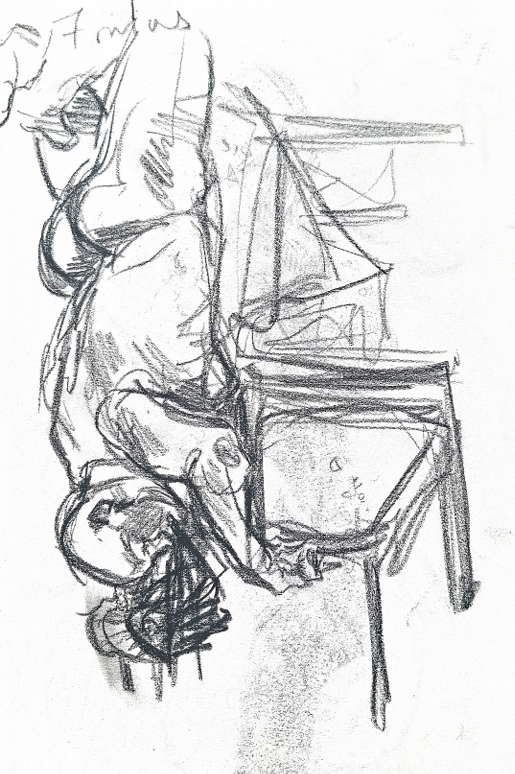
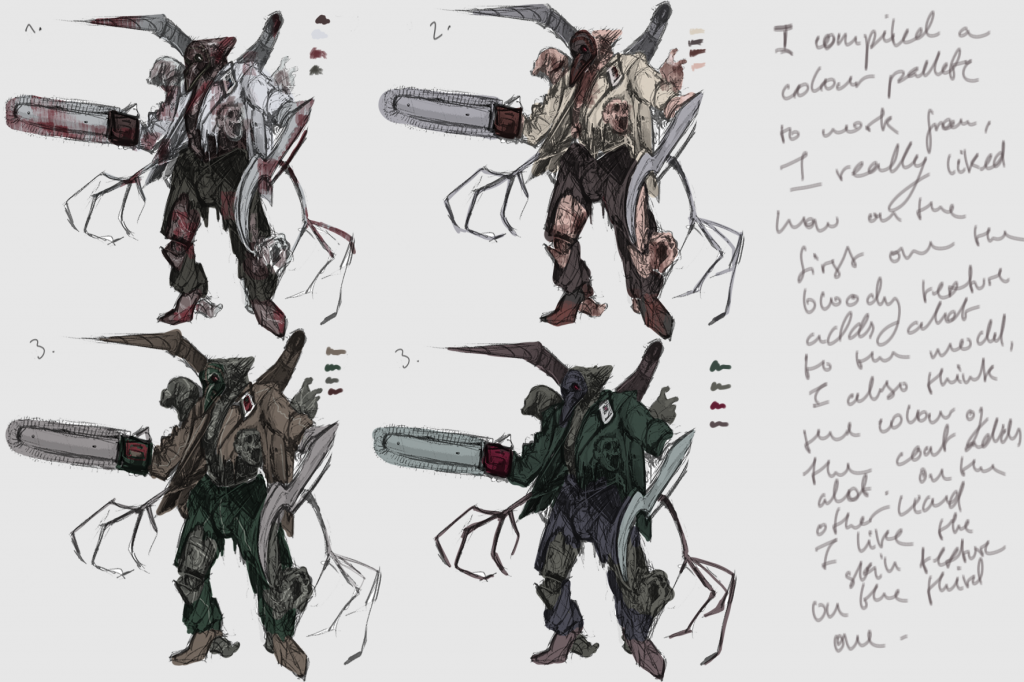
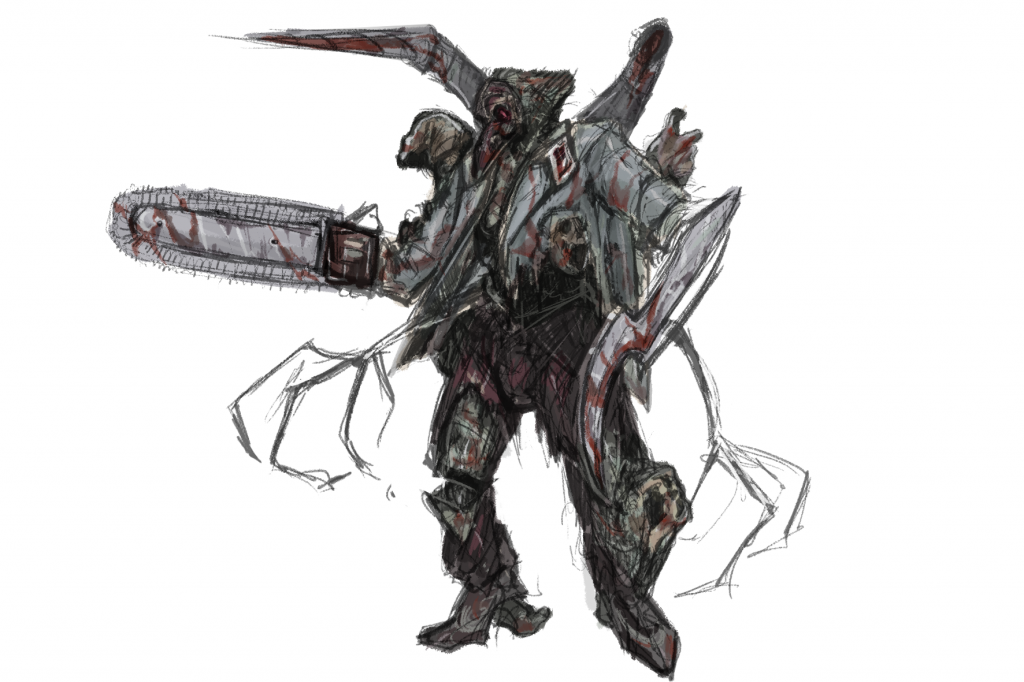
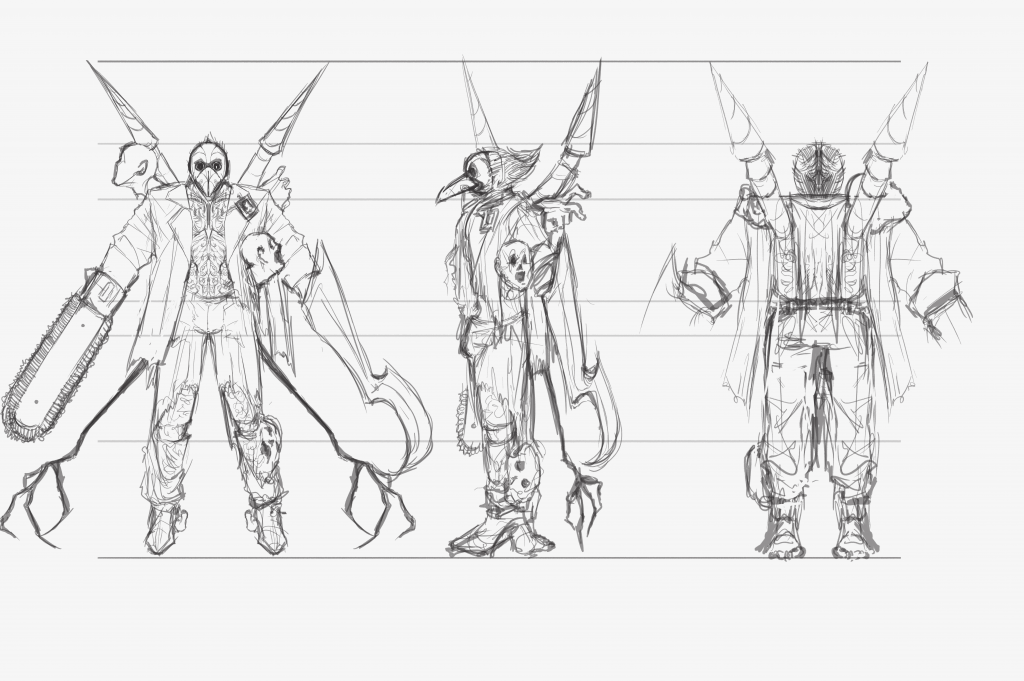
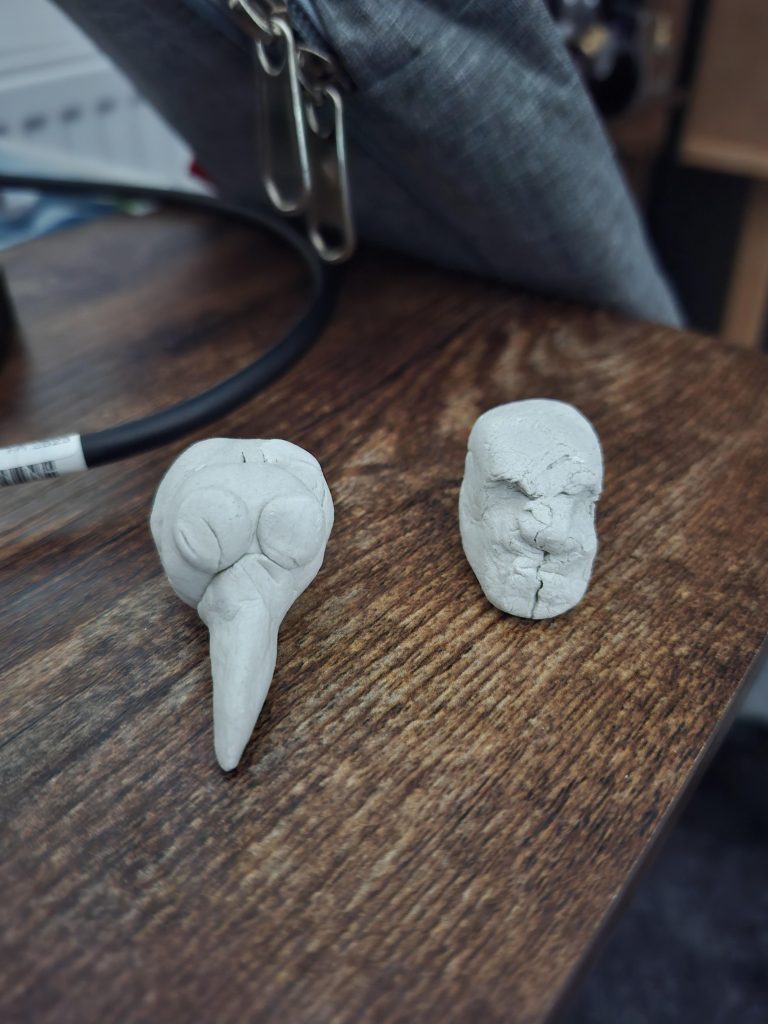
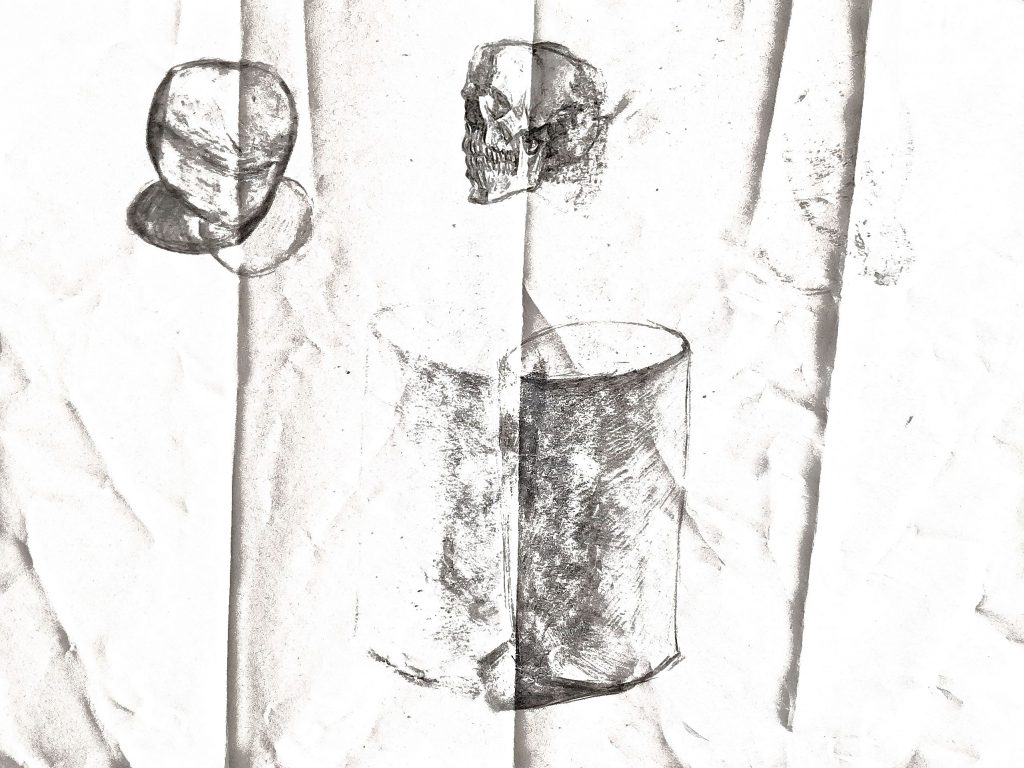
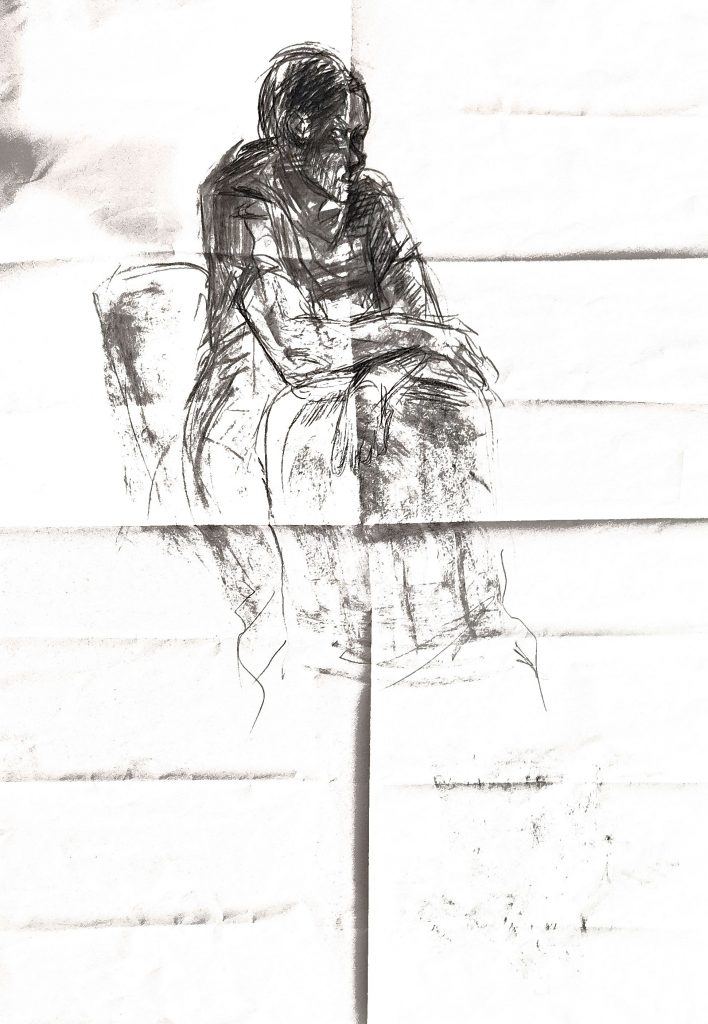
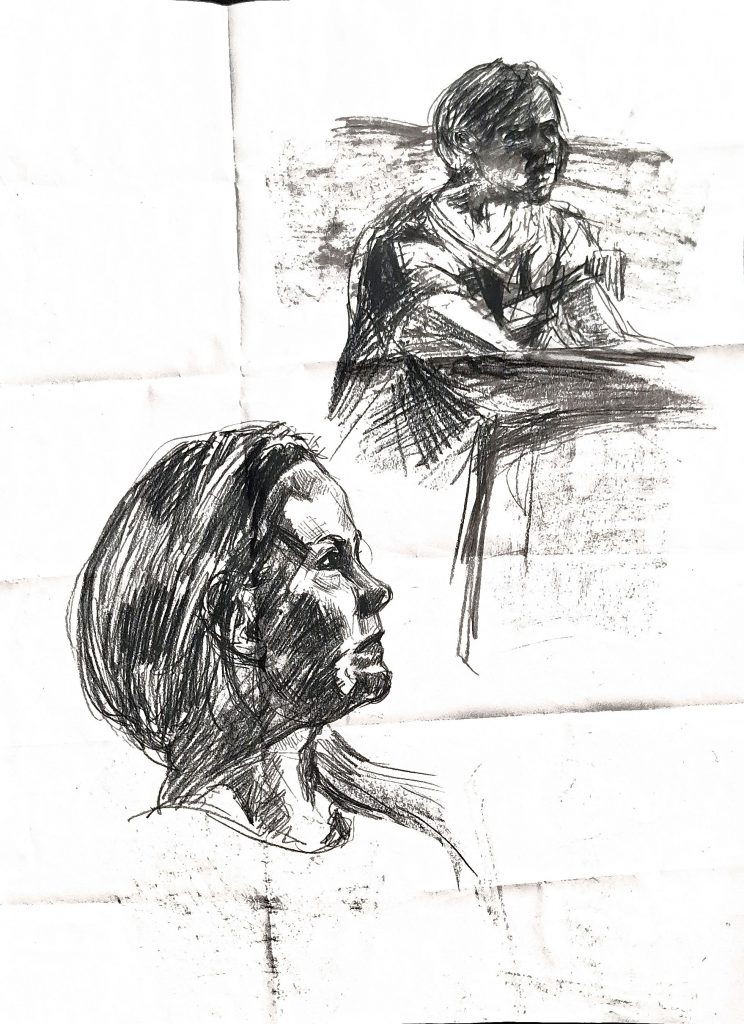
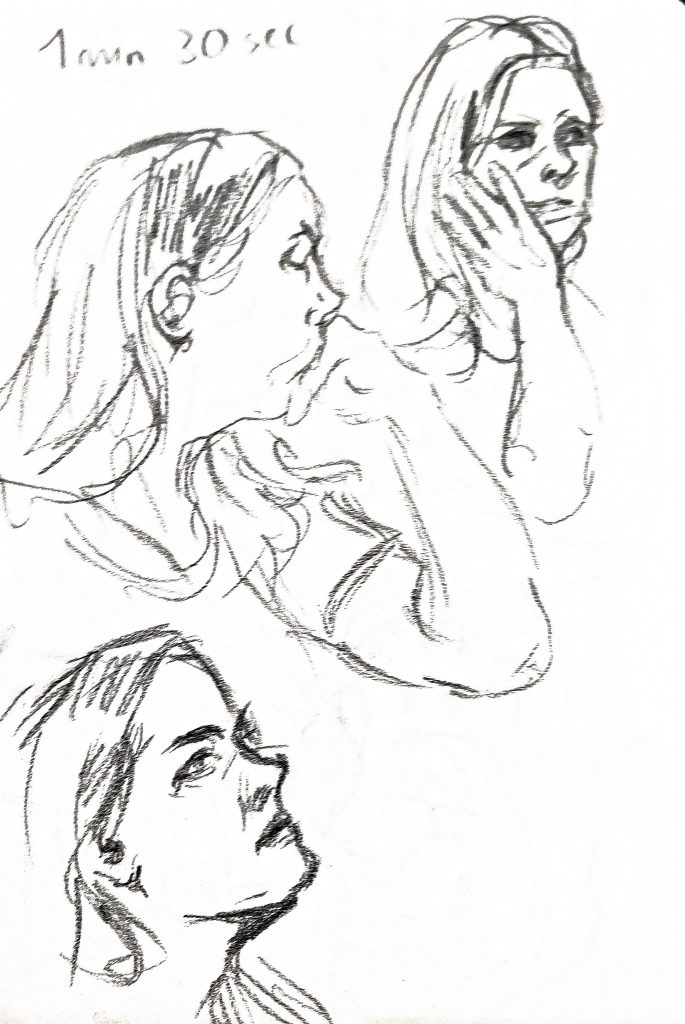
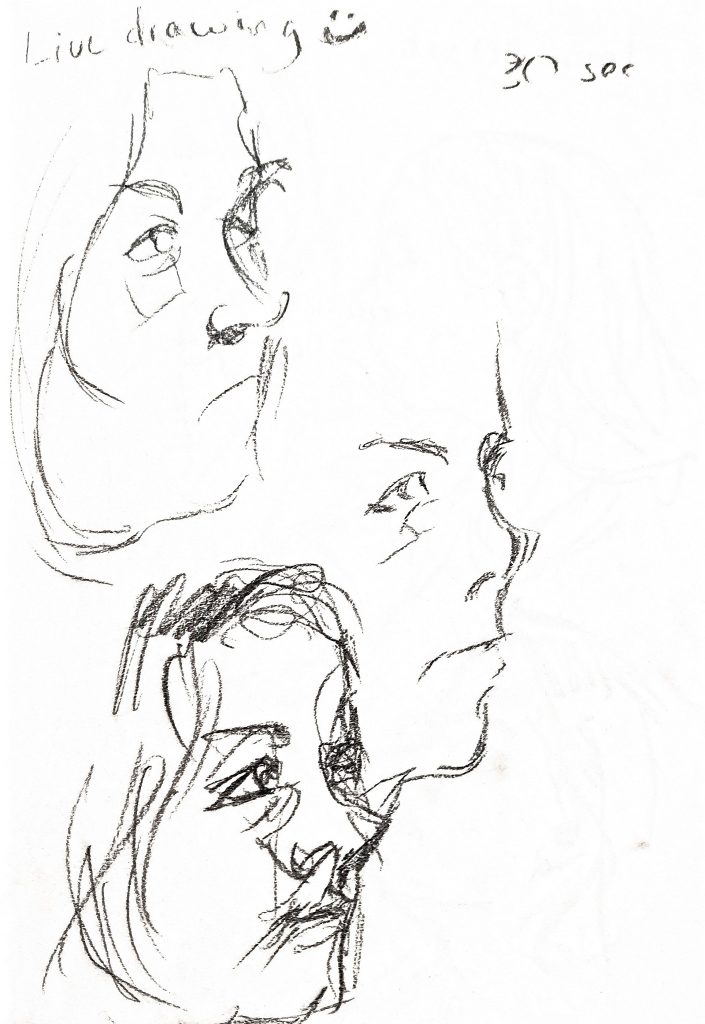
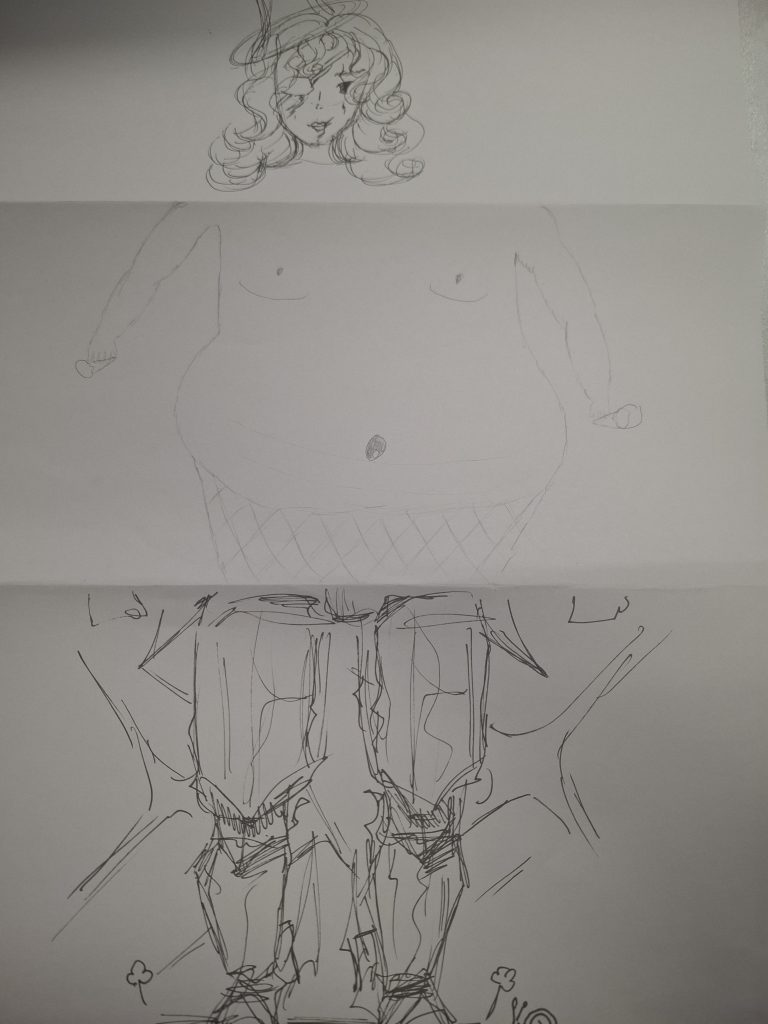
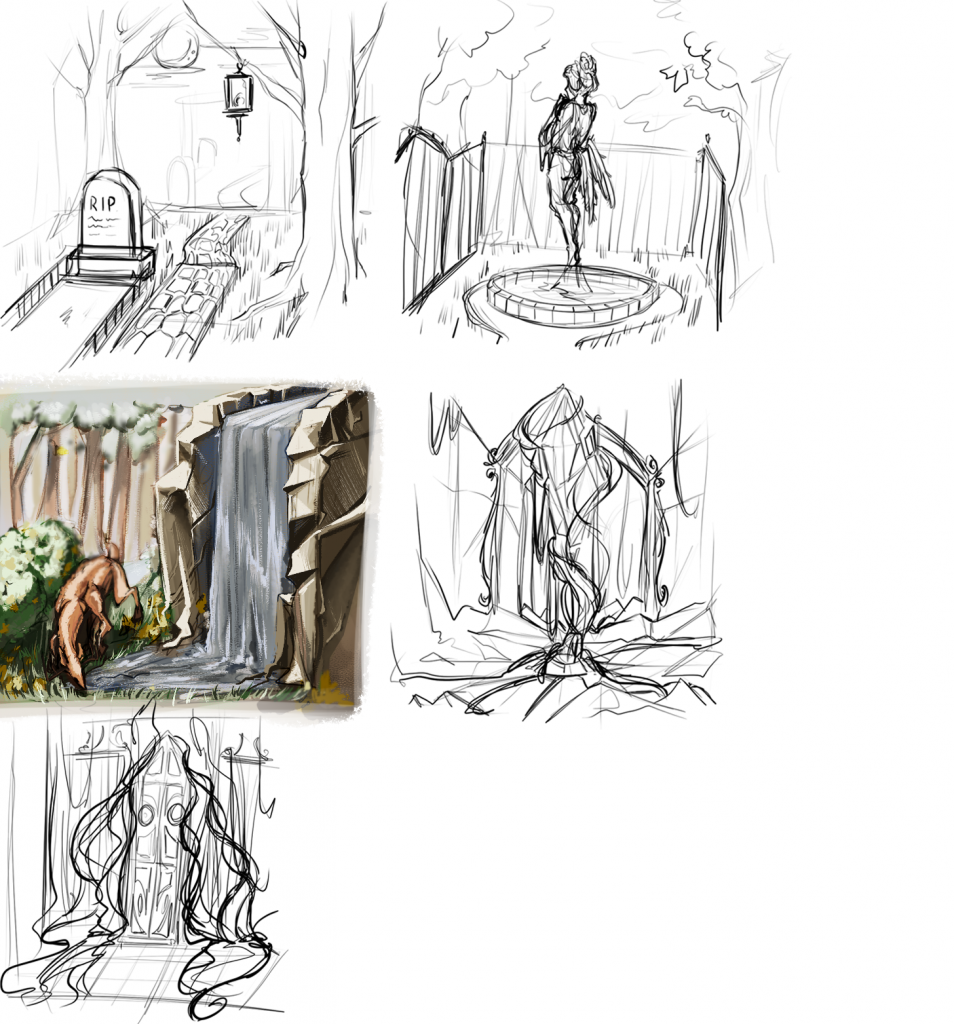
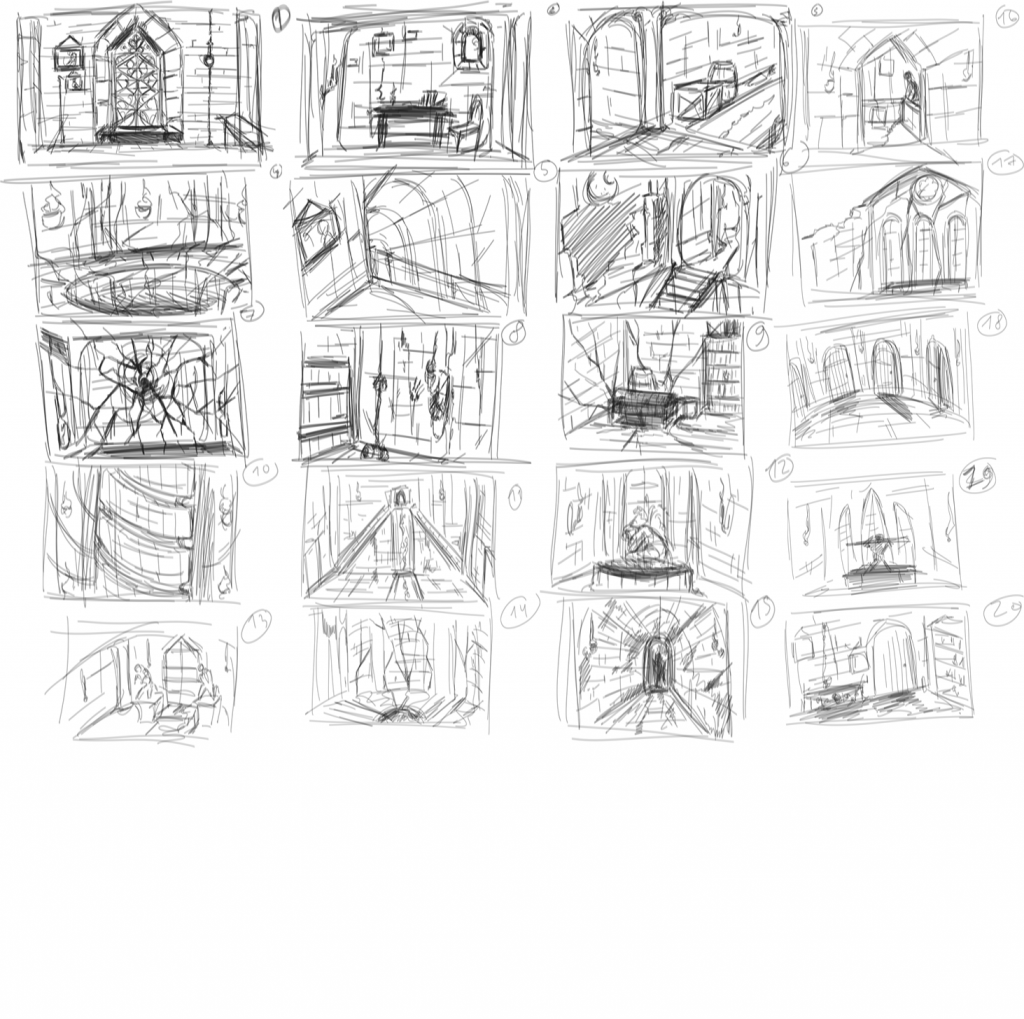
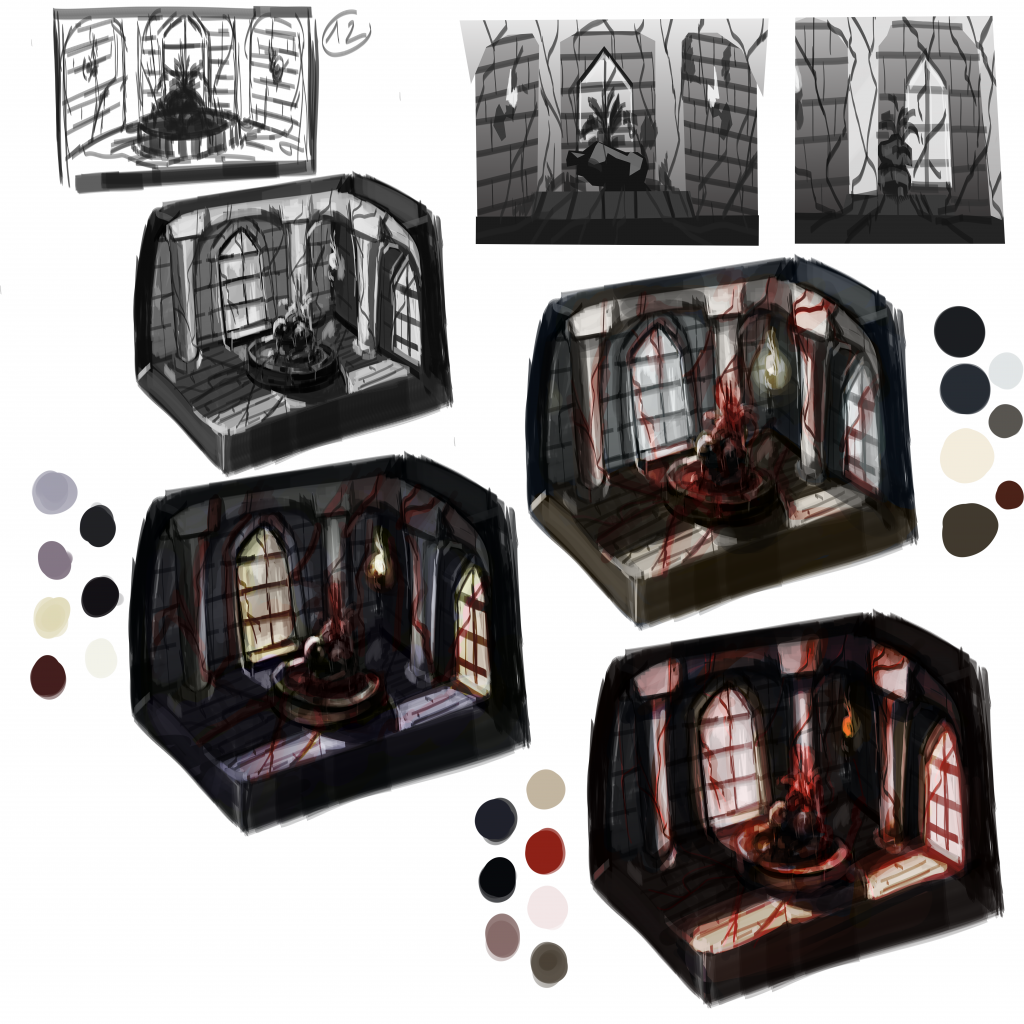
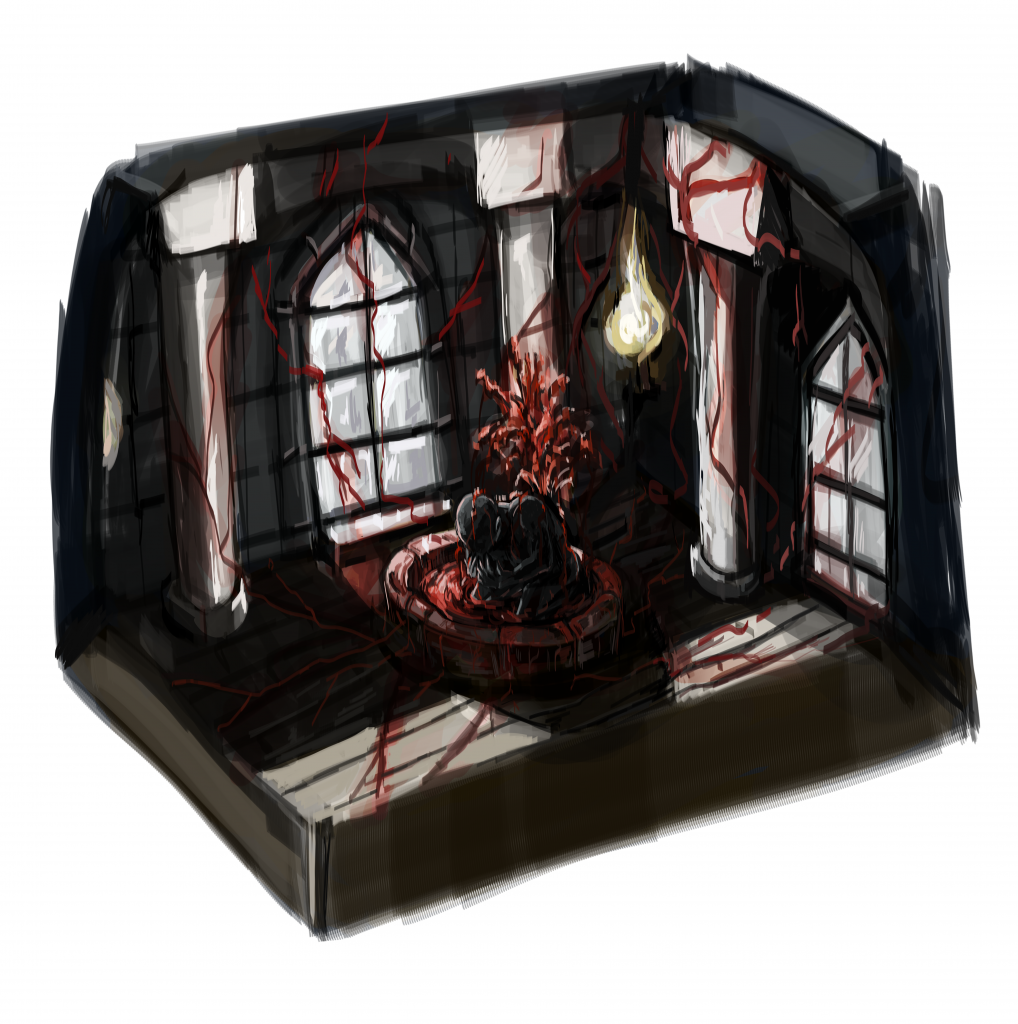
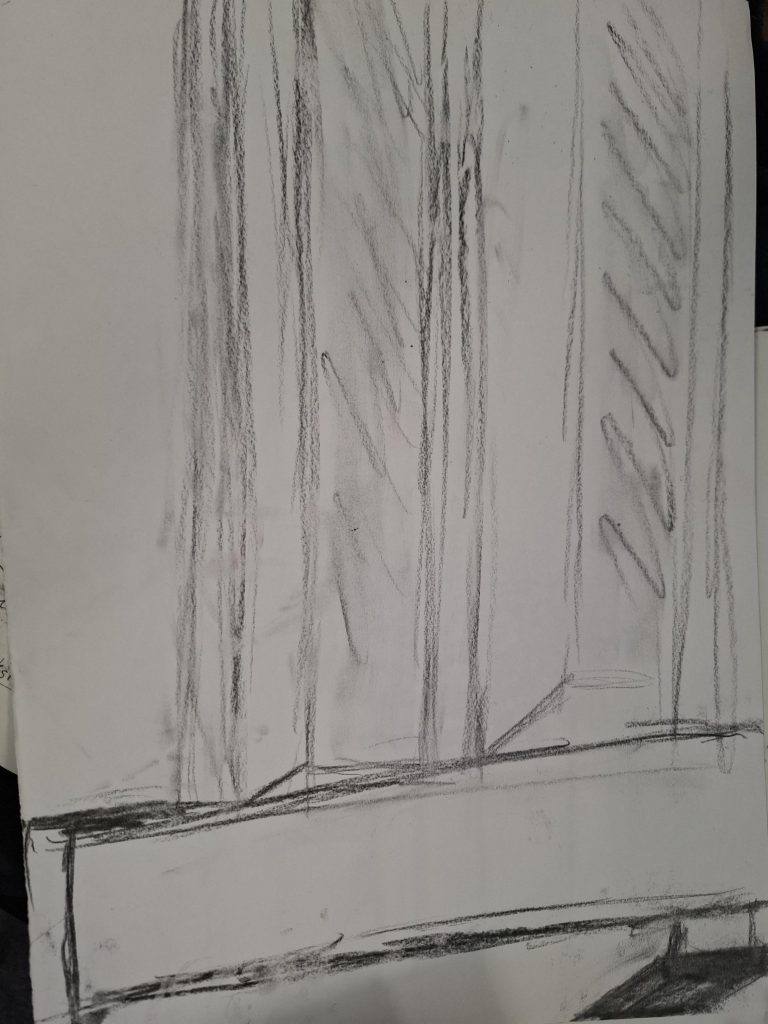
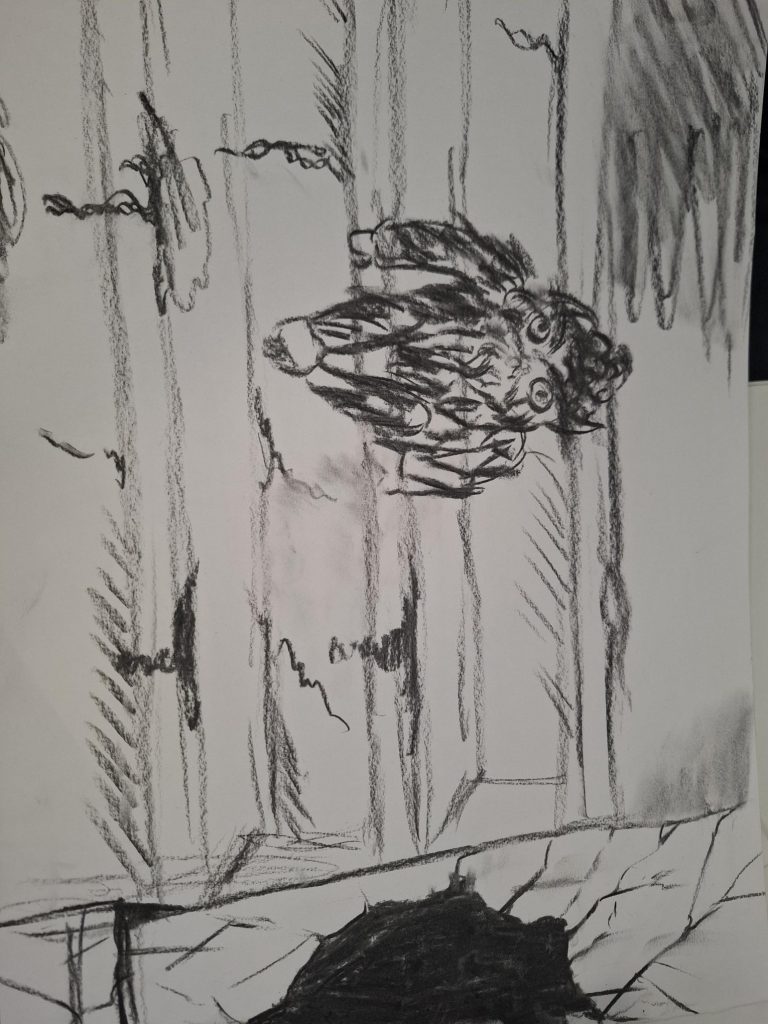
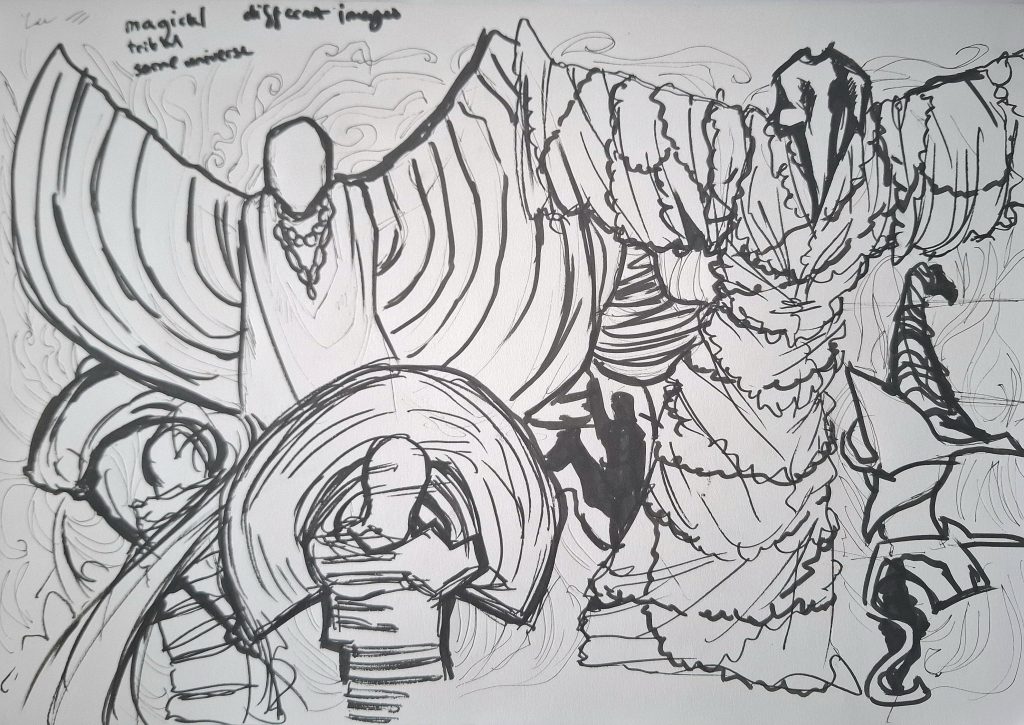
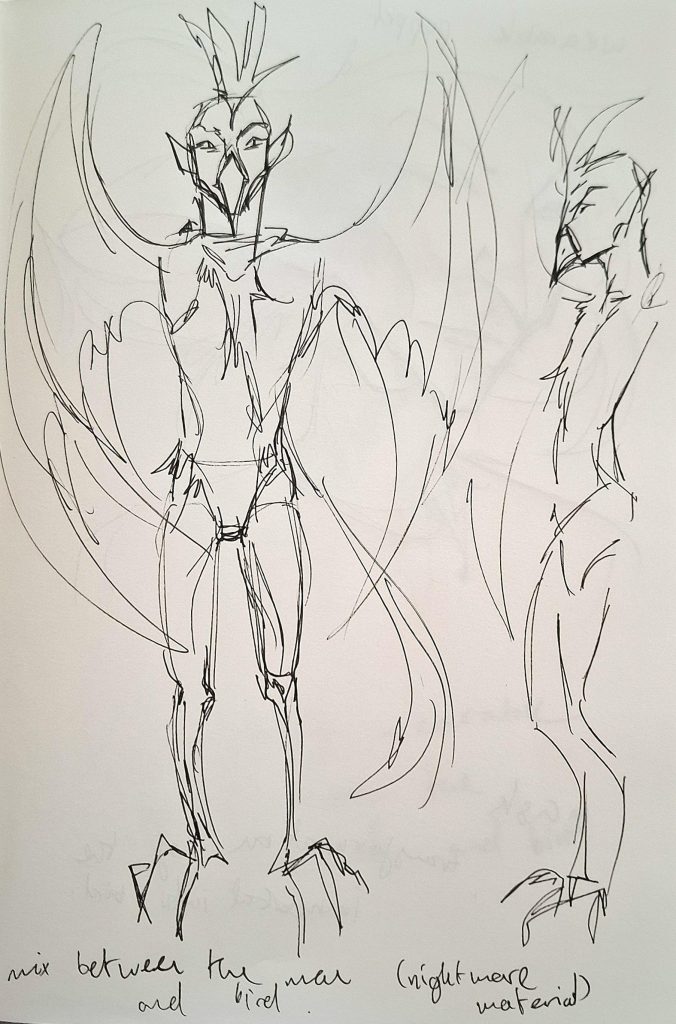
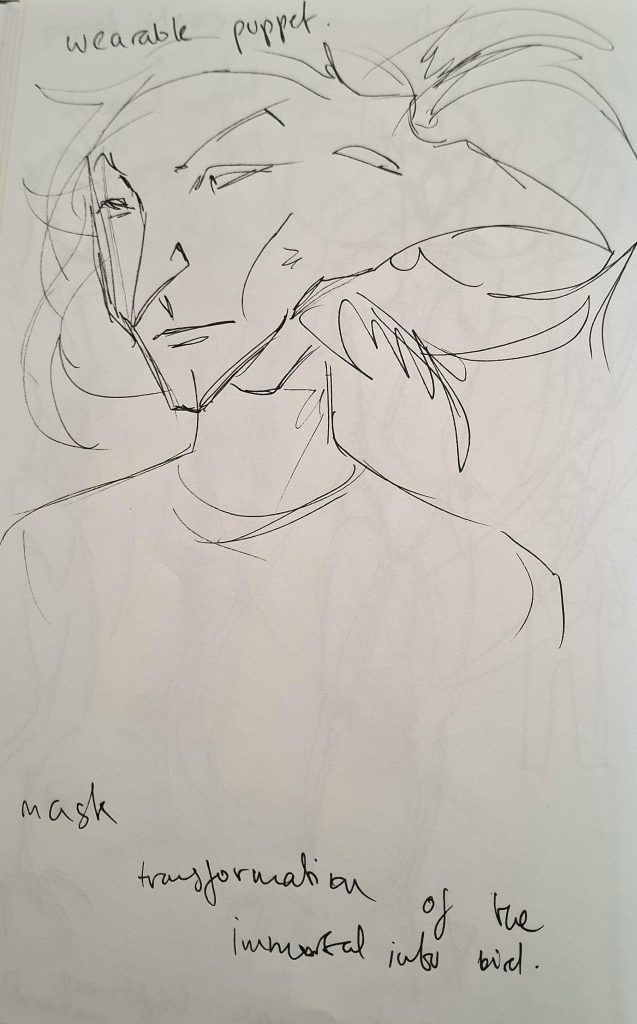
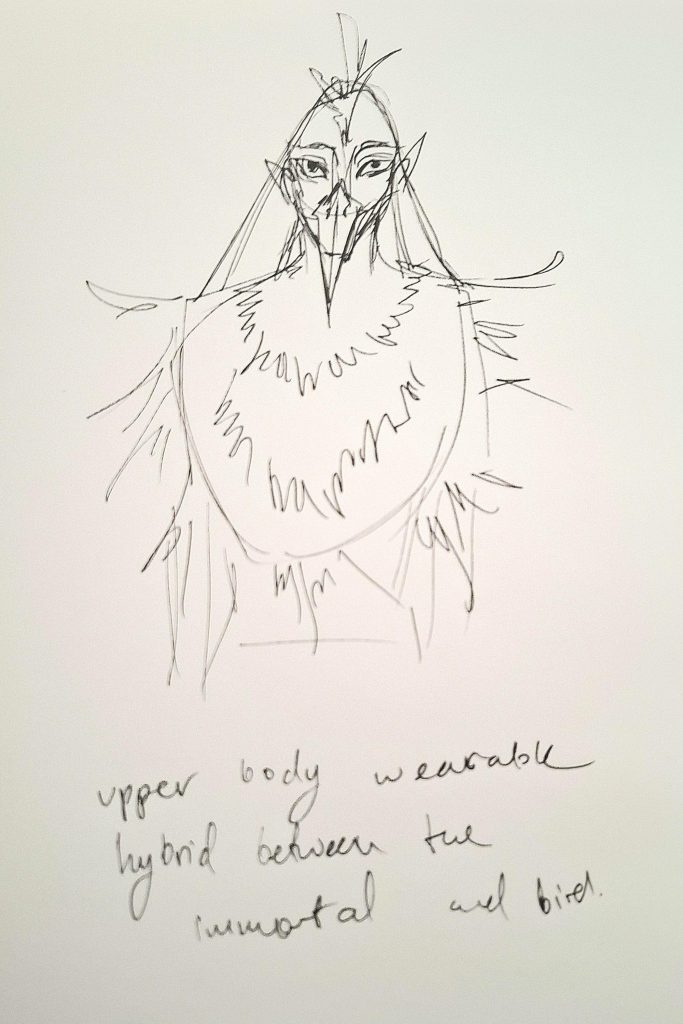
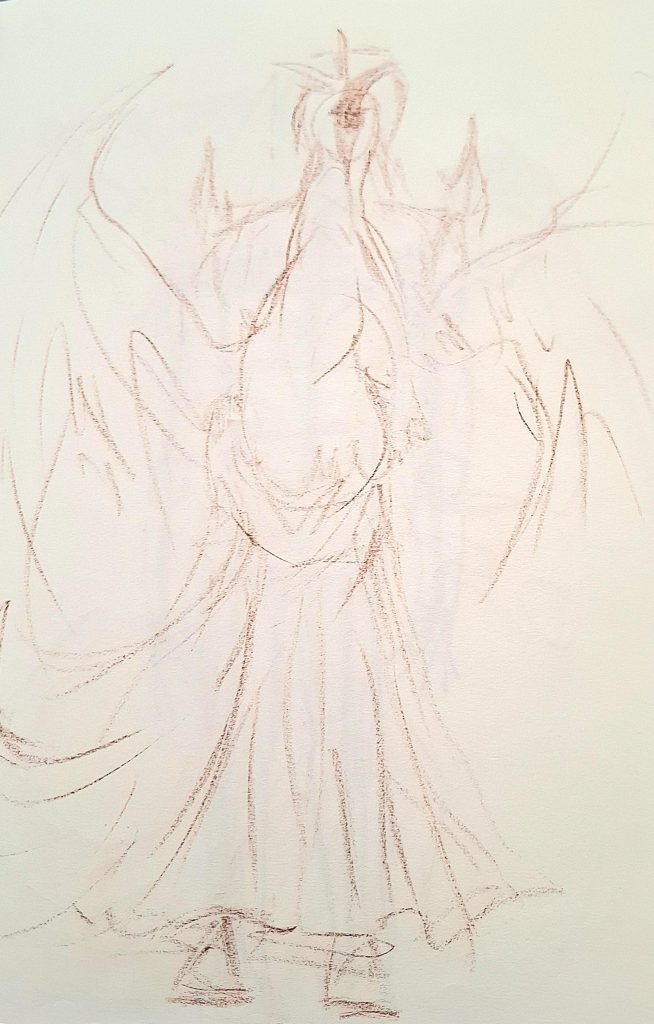
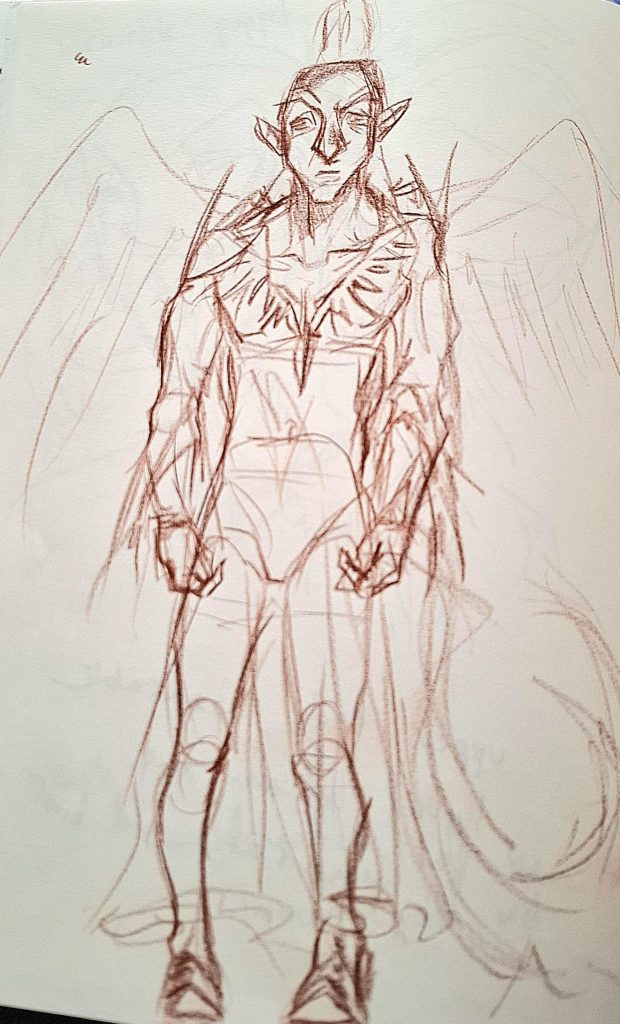
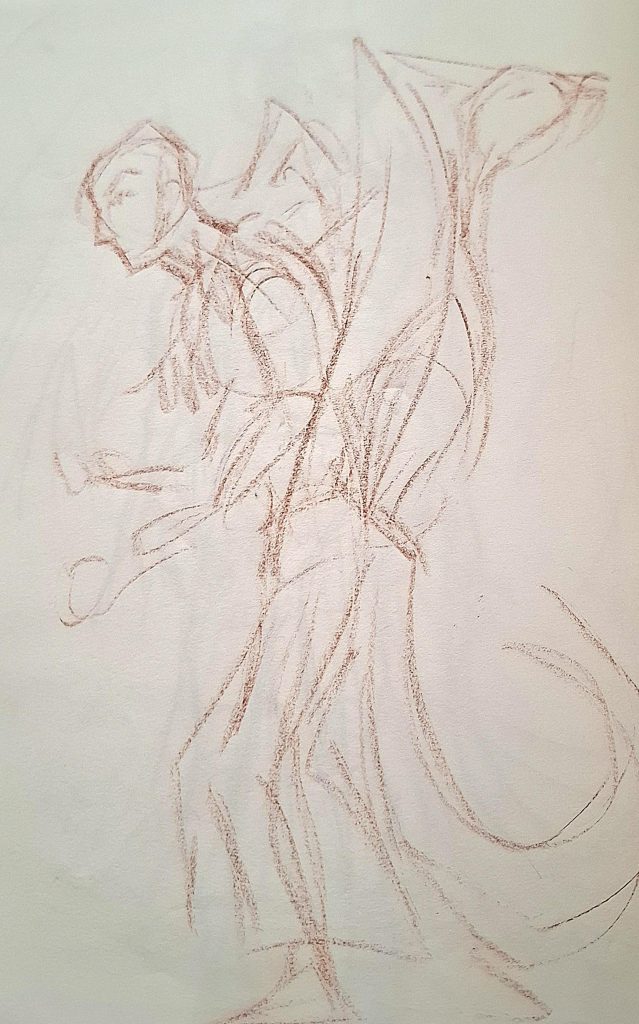
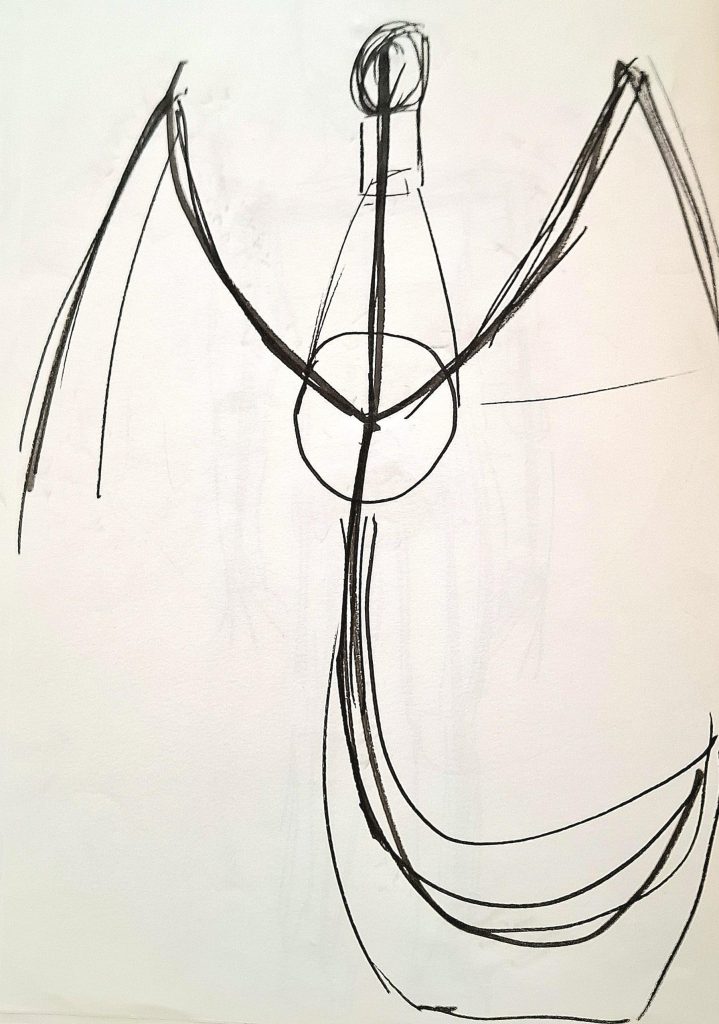
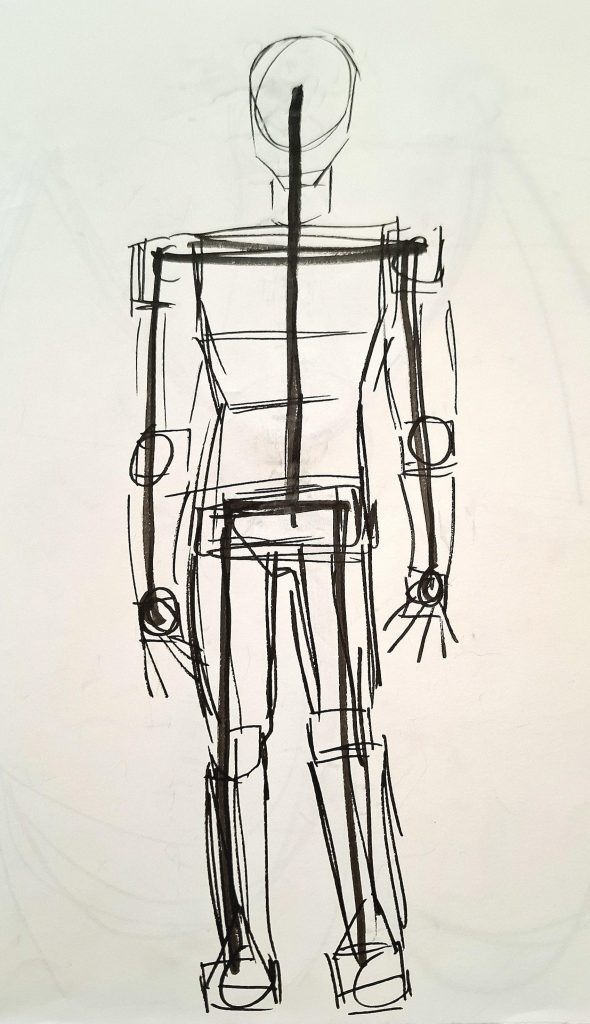
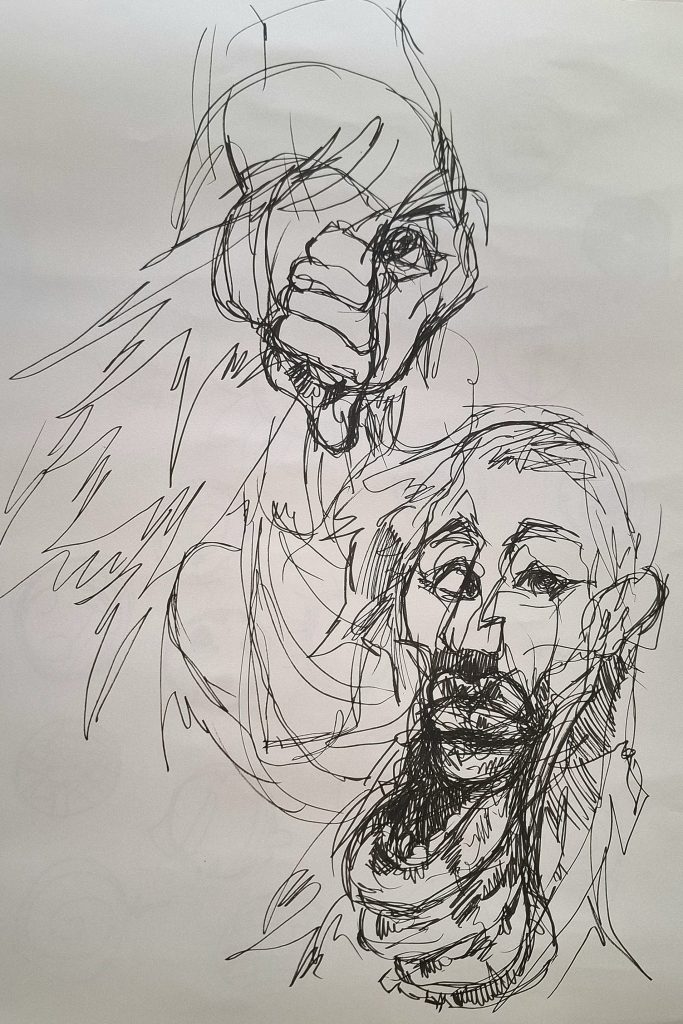
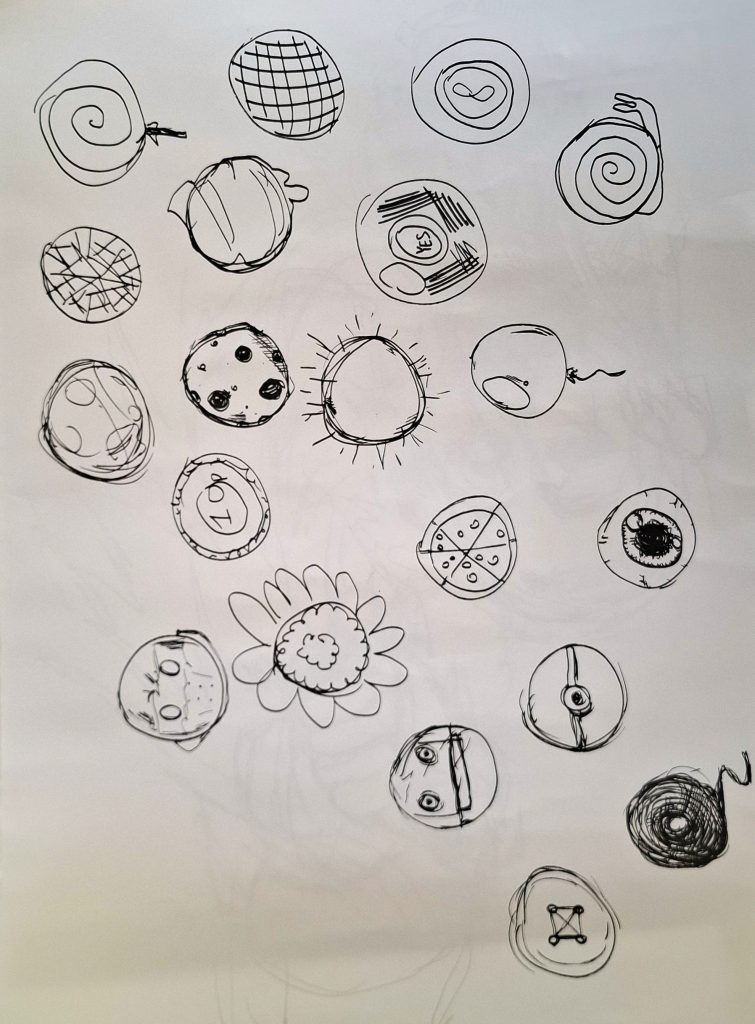
    I have begun my concepting for my character, I used the references I compiled to make multiple rough silhouettes and sketches, and now I am ready to move towards designing the final concept, for now focusing on the overall design and then experimenting with colour. In hopes to get a turn around done for Mondays lesson or sometime early next week. I plan to focus on the clothes themselves and fixing up some parts so that she appears more like a gladiator. Once the design is done I plan to make splash art and some in game information, as well as a design of how the character would look like in game, while beginning to sculpt her.

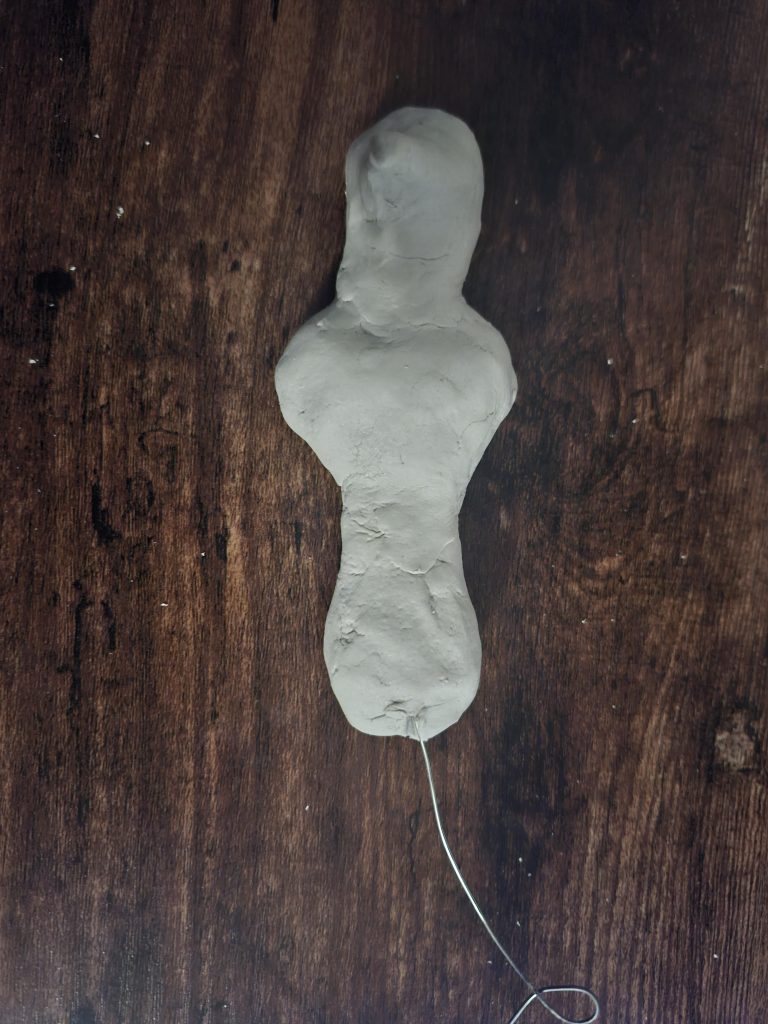
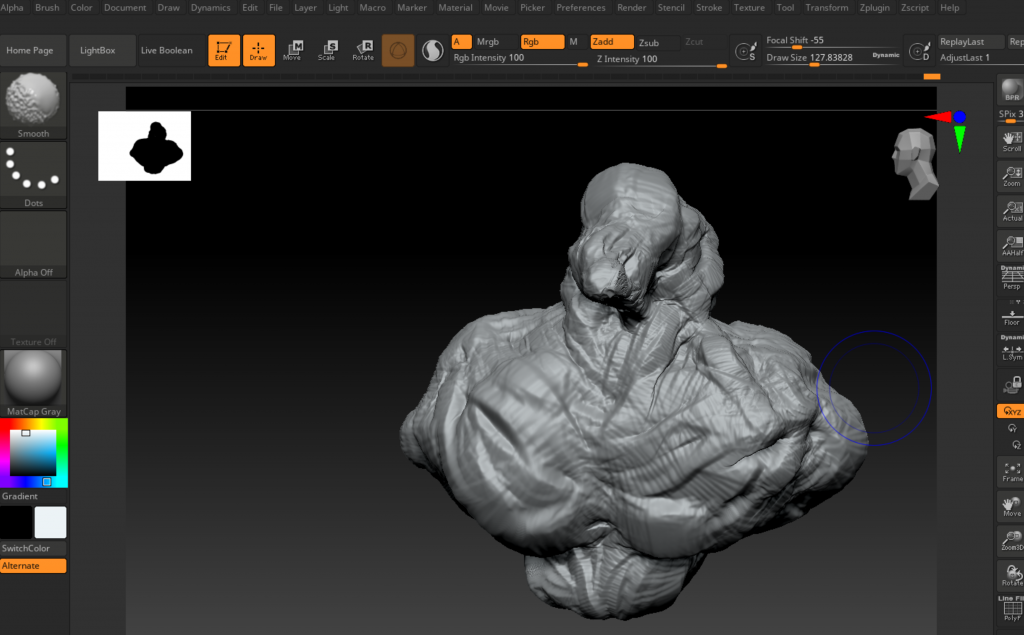
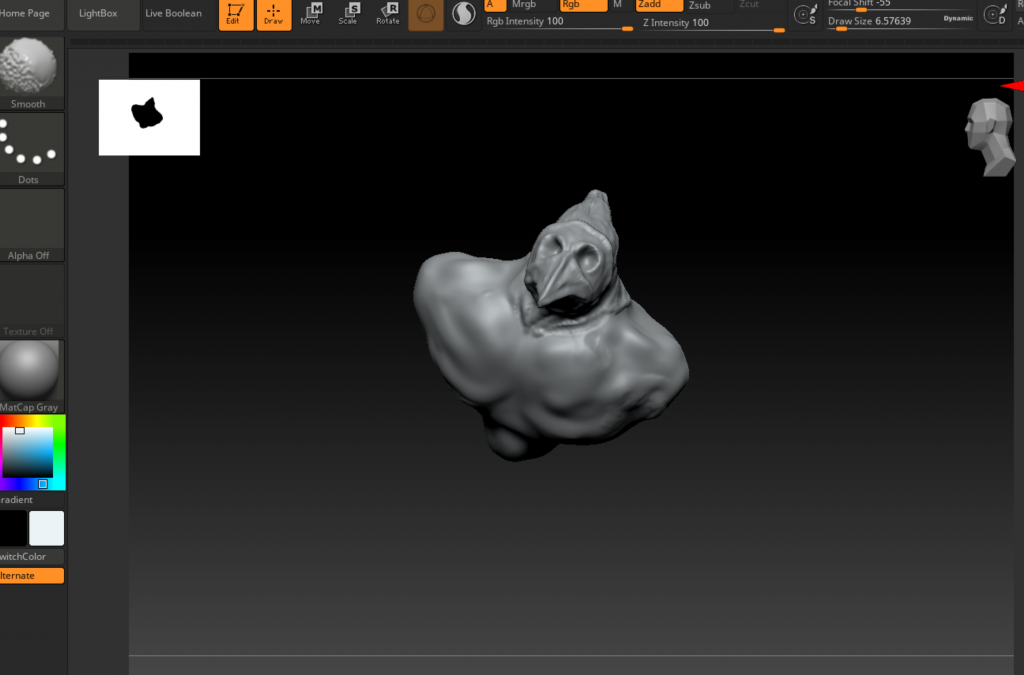
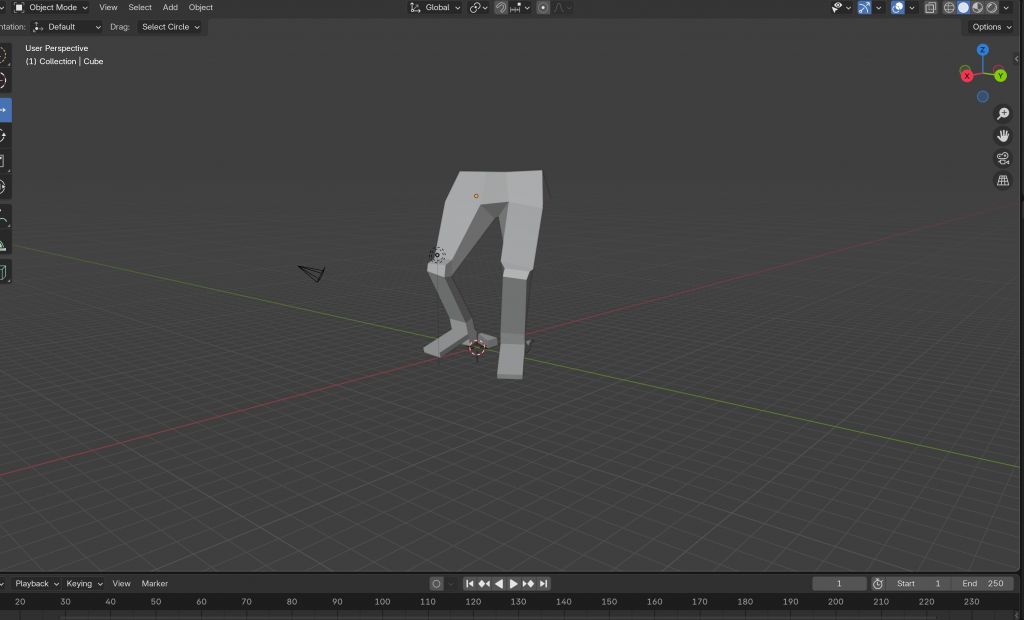
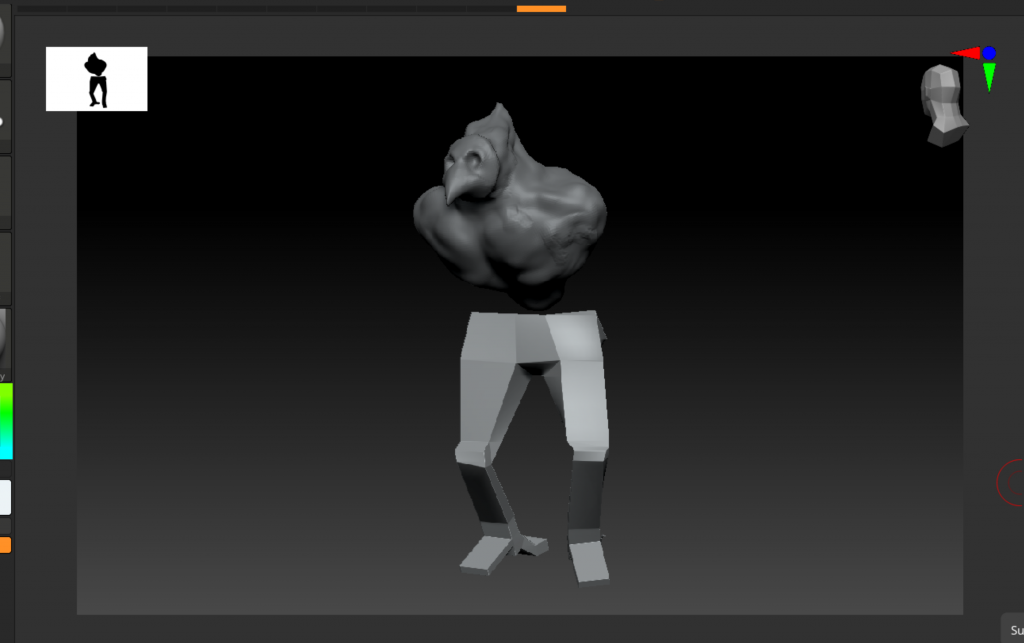
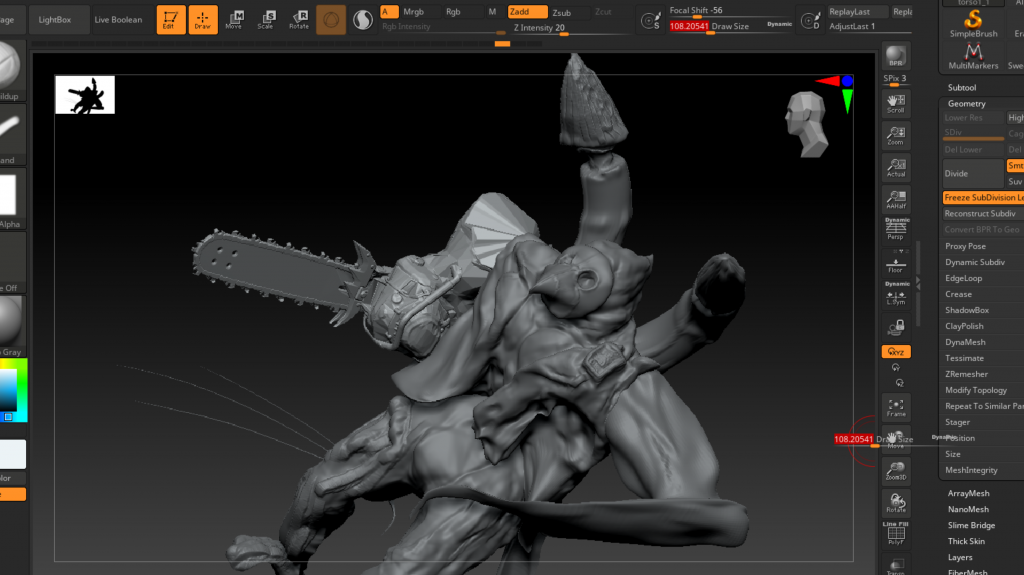
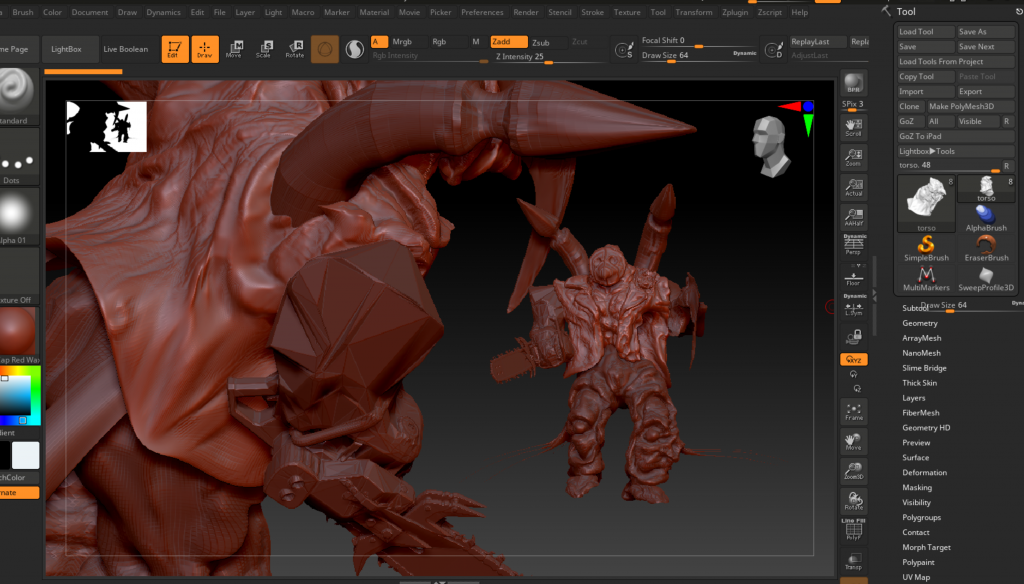
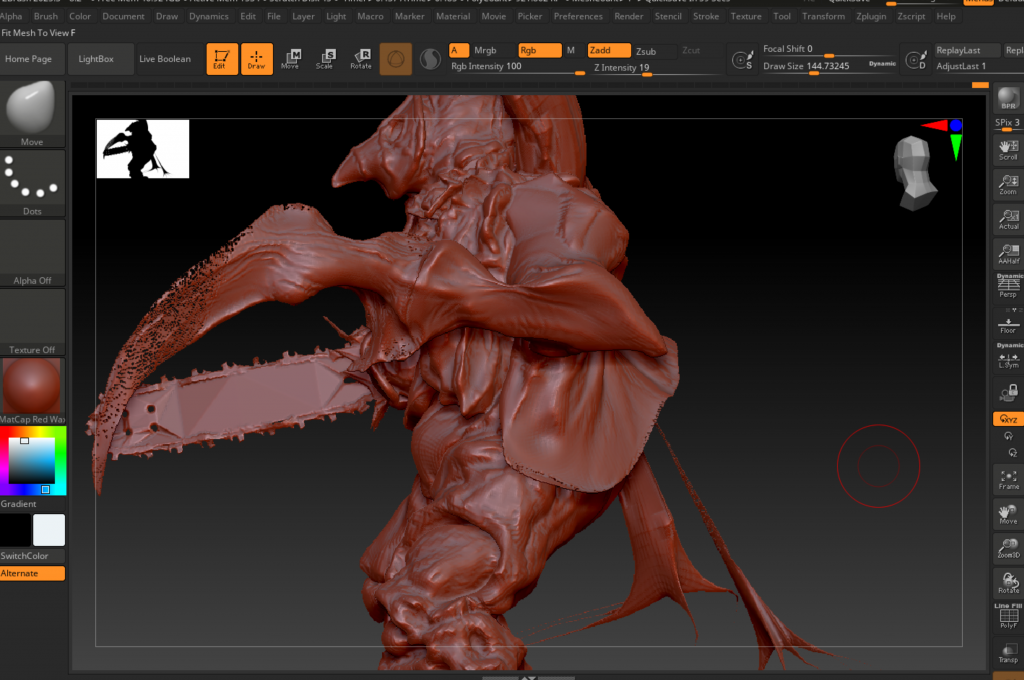
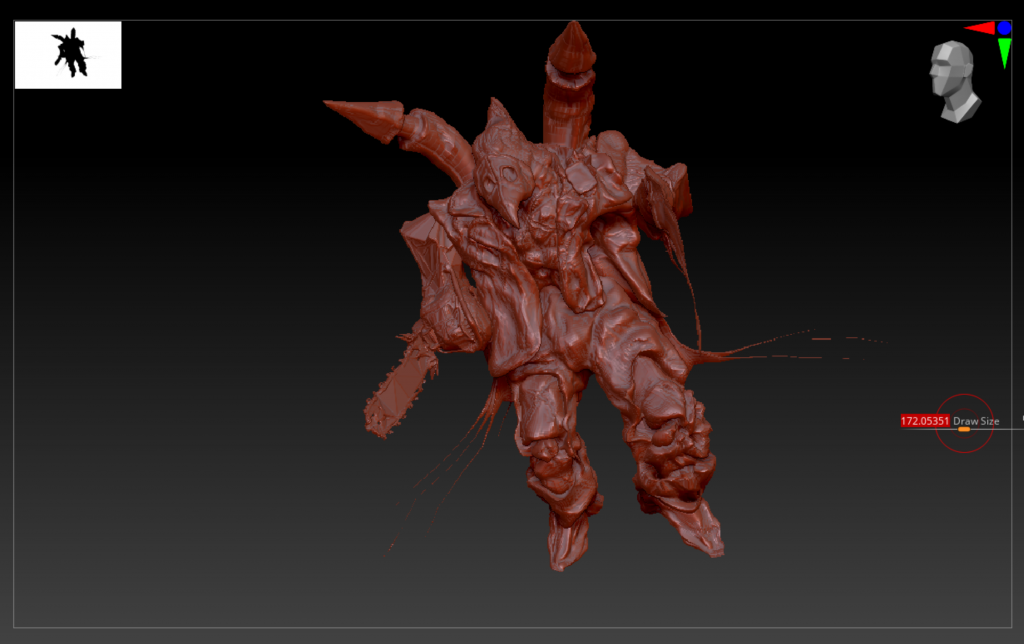
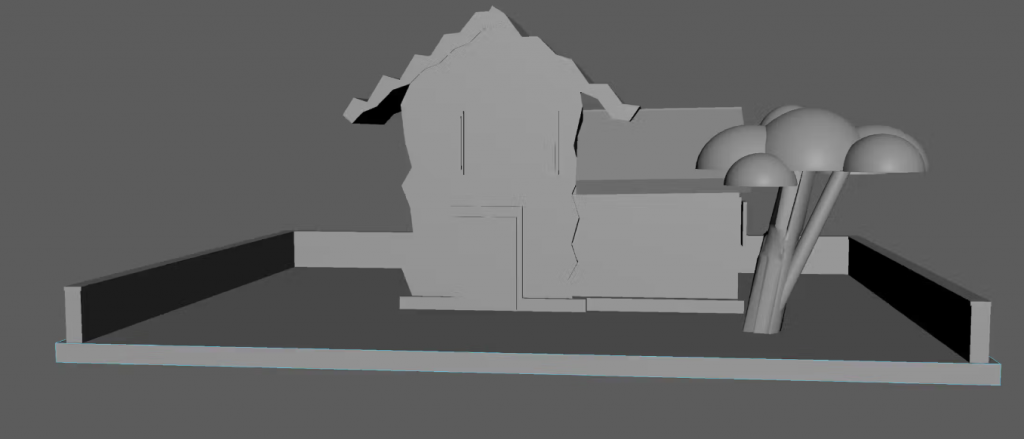
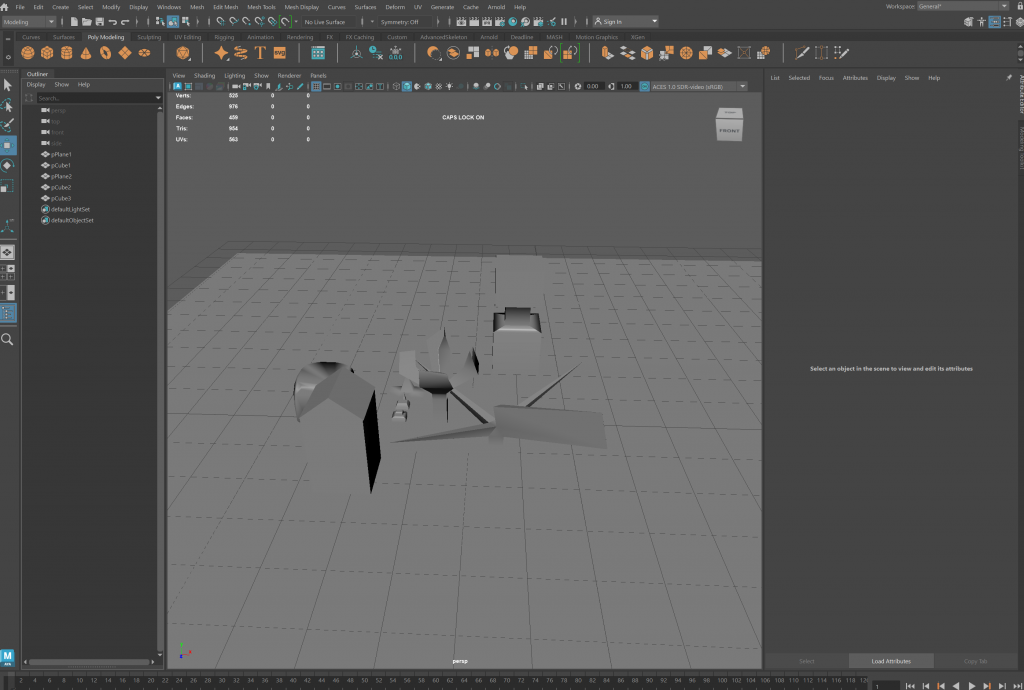
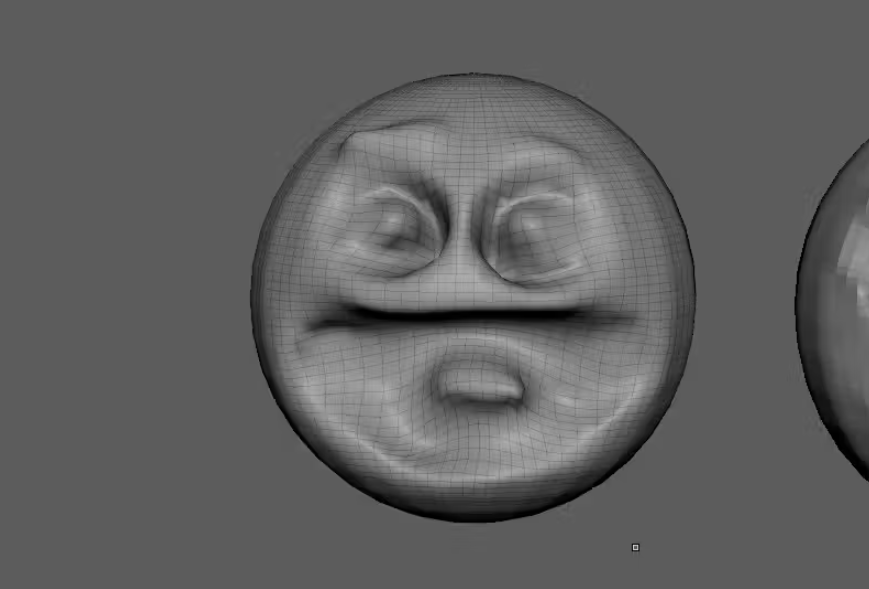
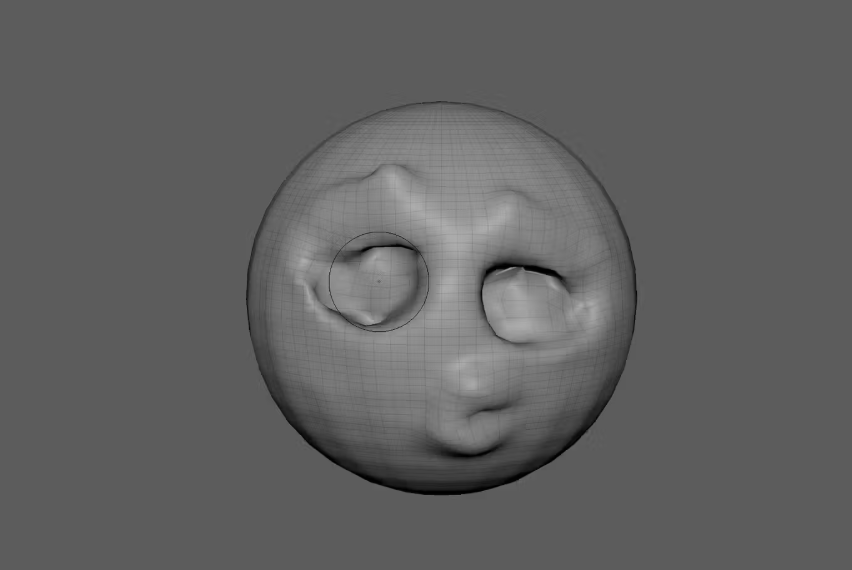
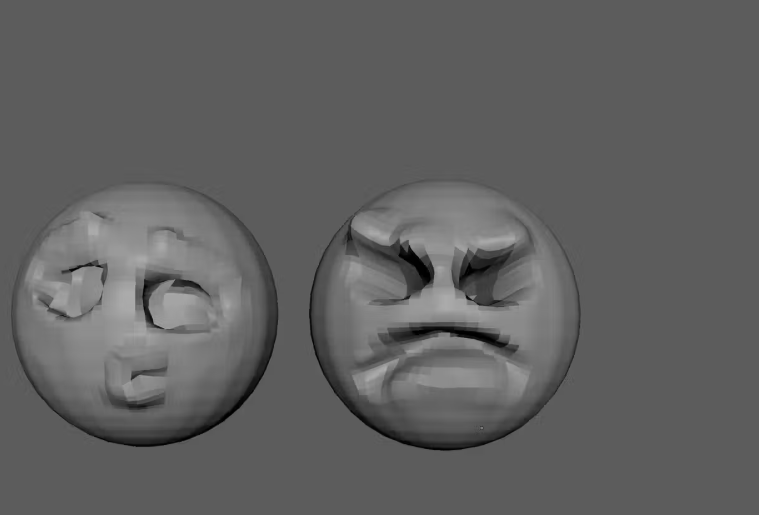
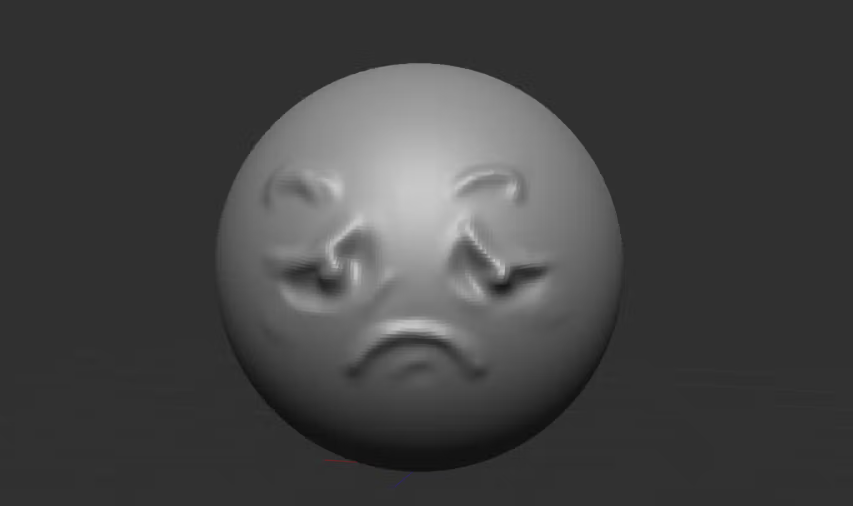
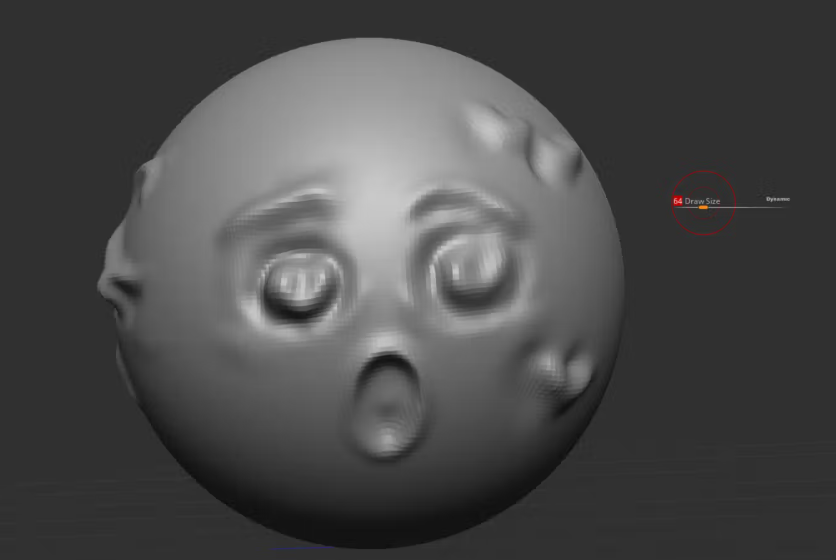
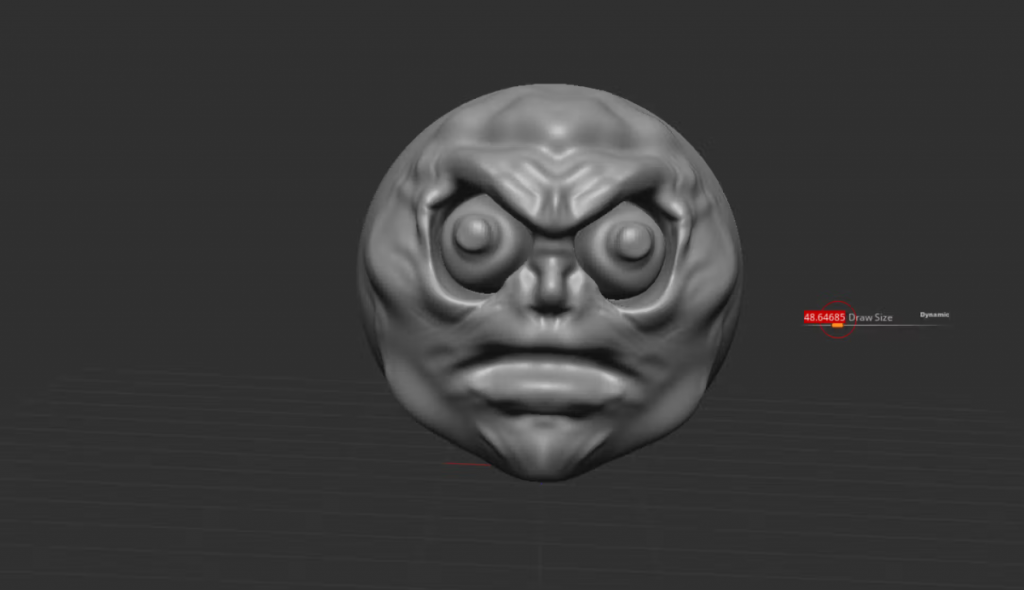
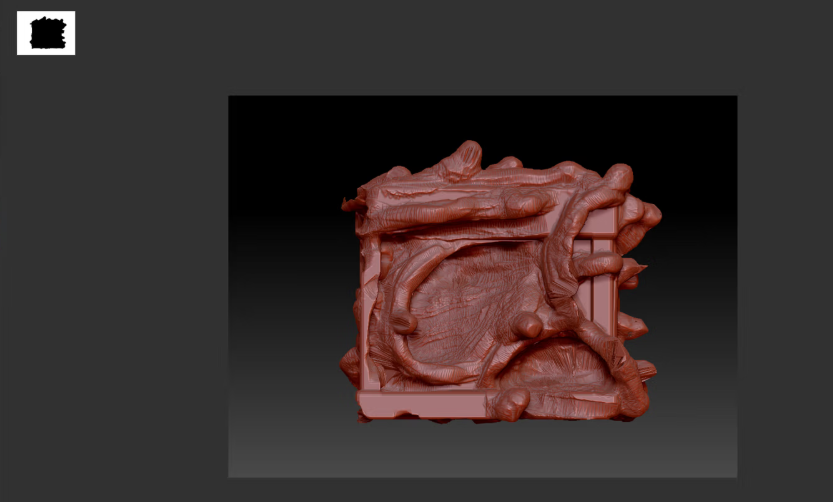
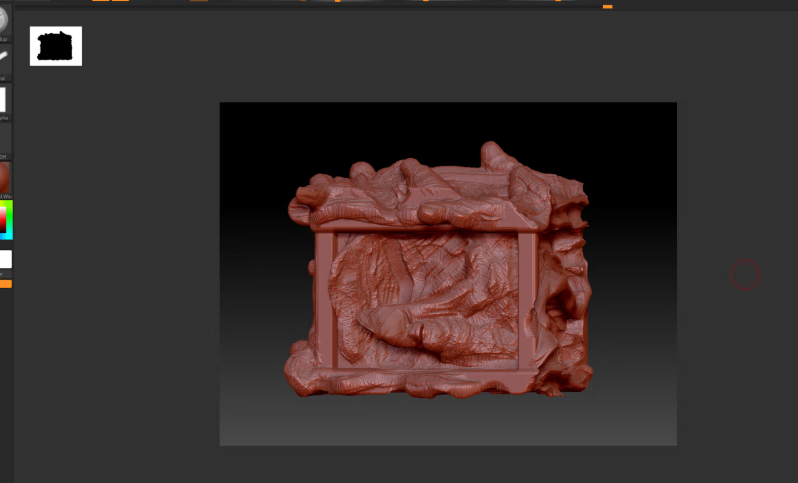
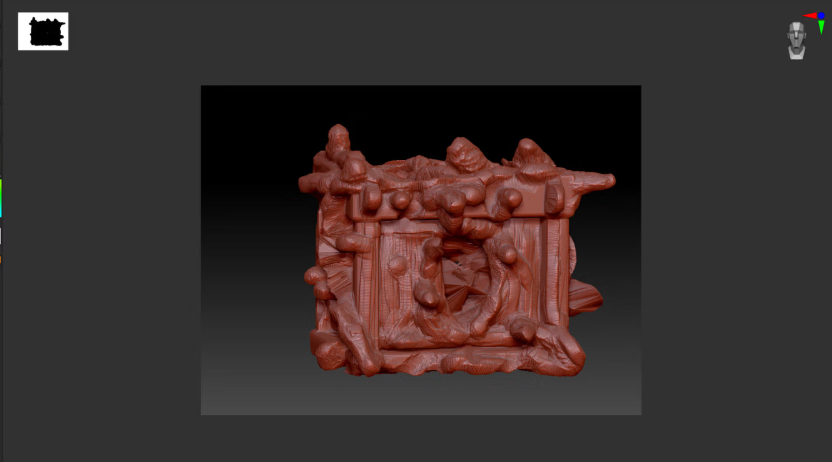
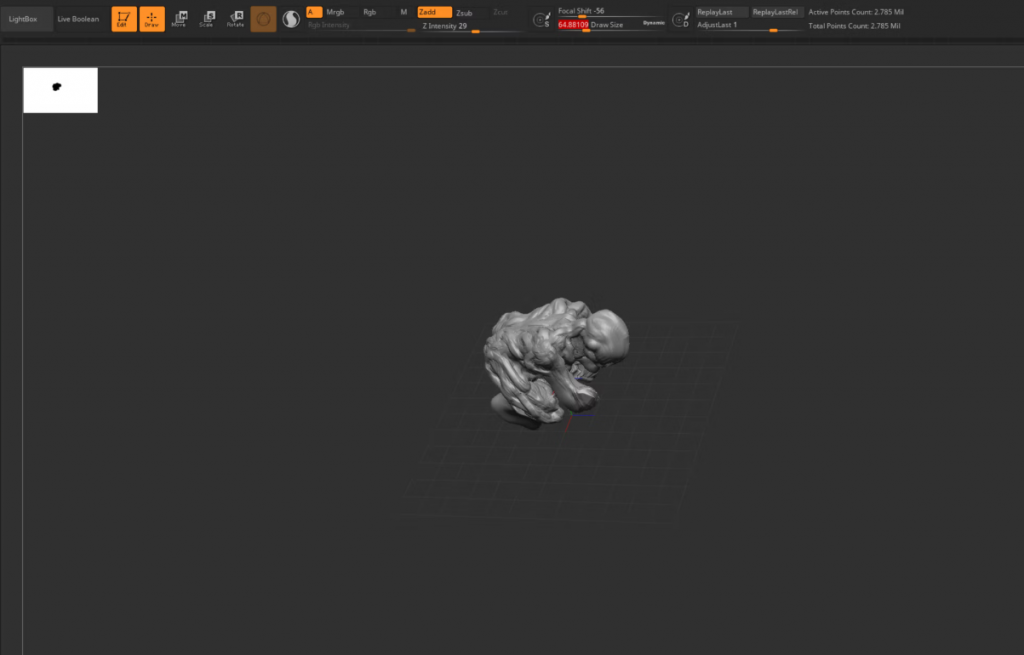
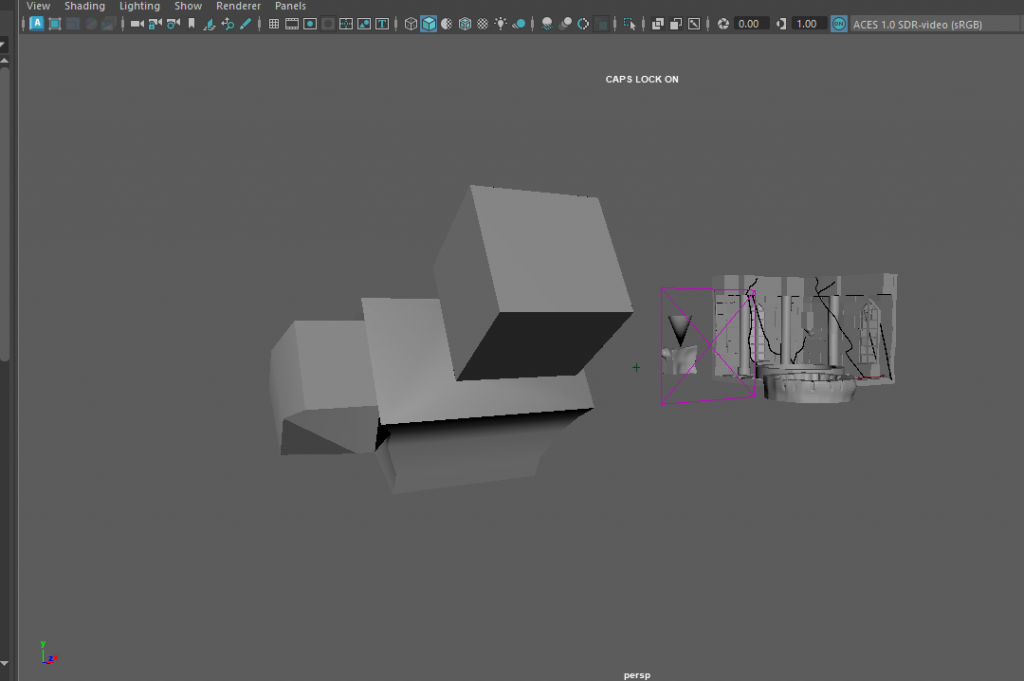
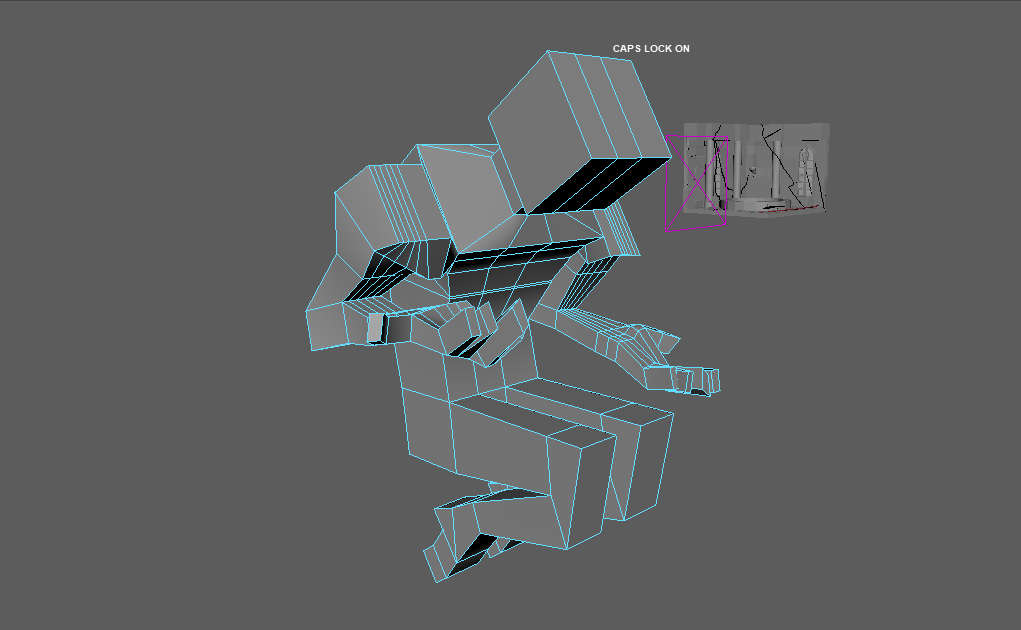
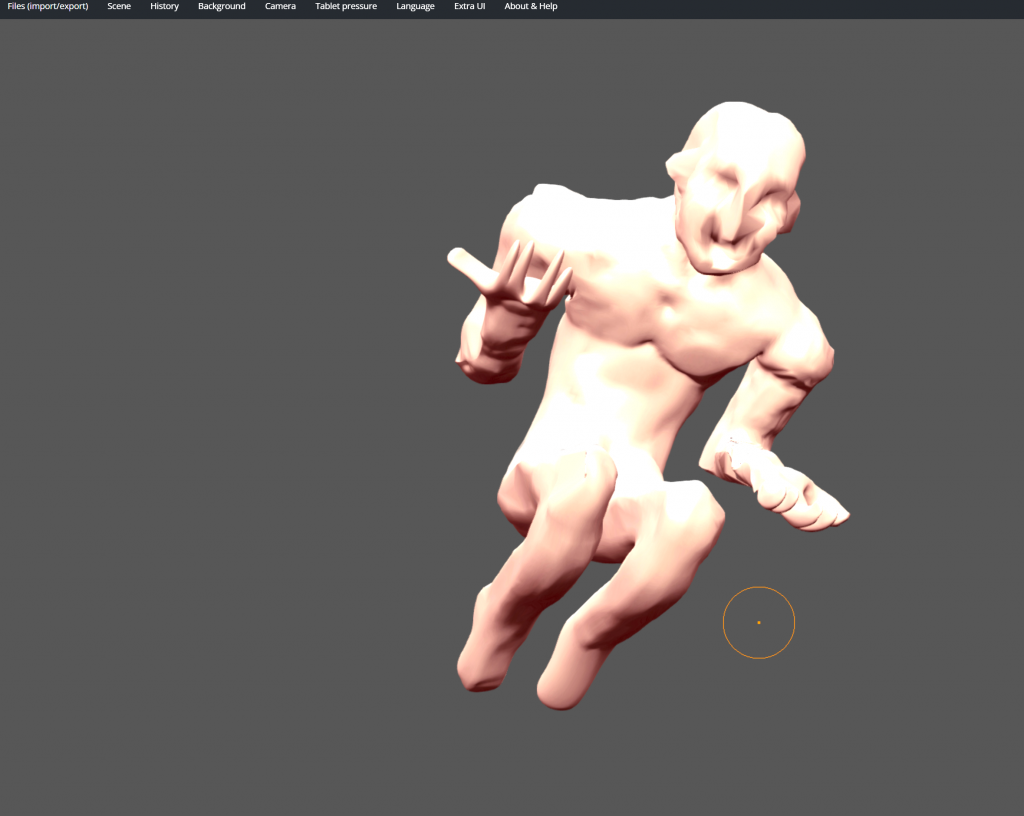
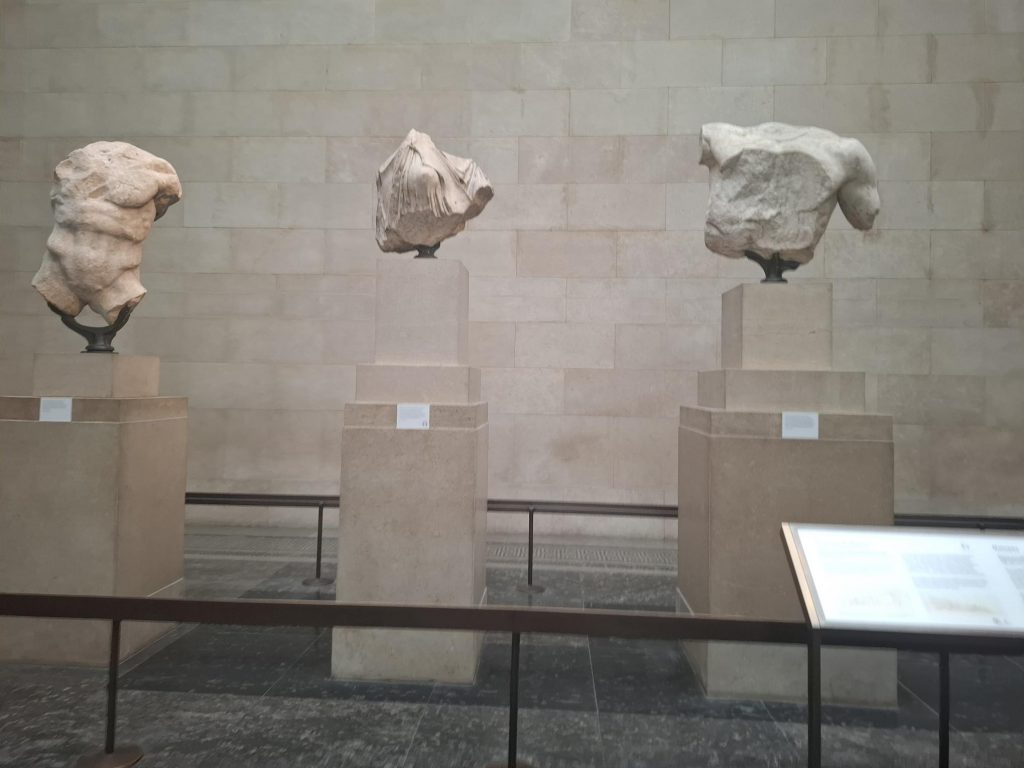
    I begun to sculpt the 3d model , specifically the basic structure of how an arm should work proportionally and so on. Now that I finished modelling the anatomical proportions I begin to model the clothes which includes the armor.

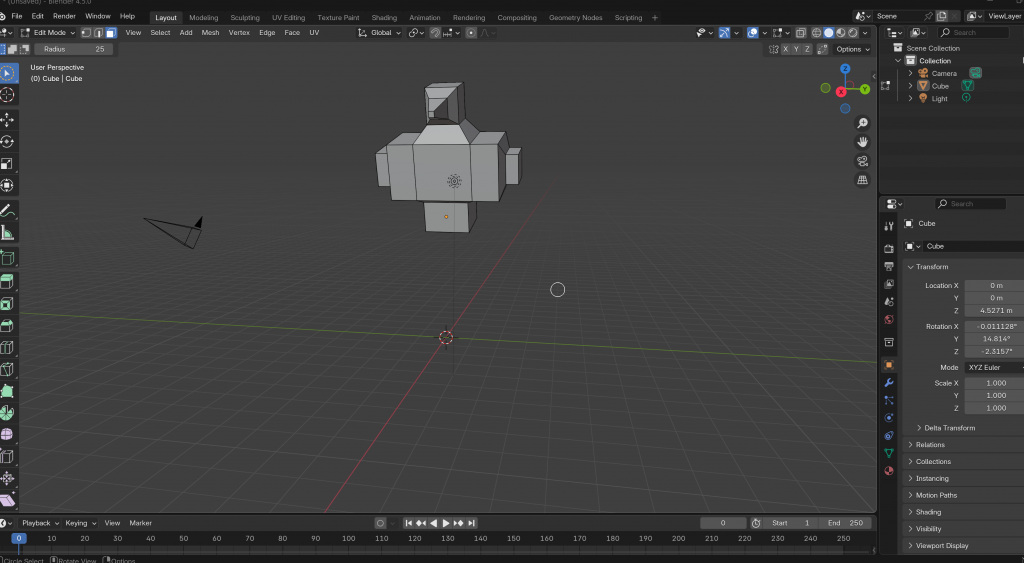
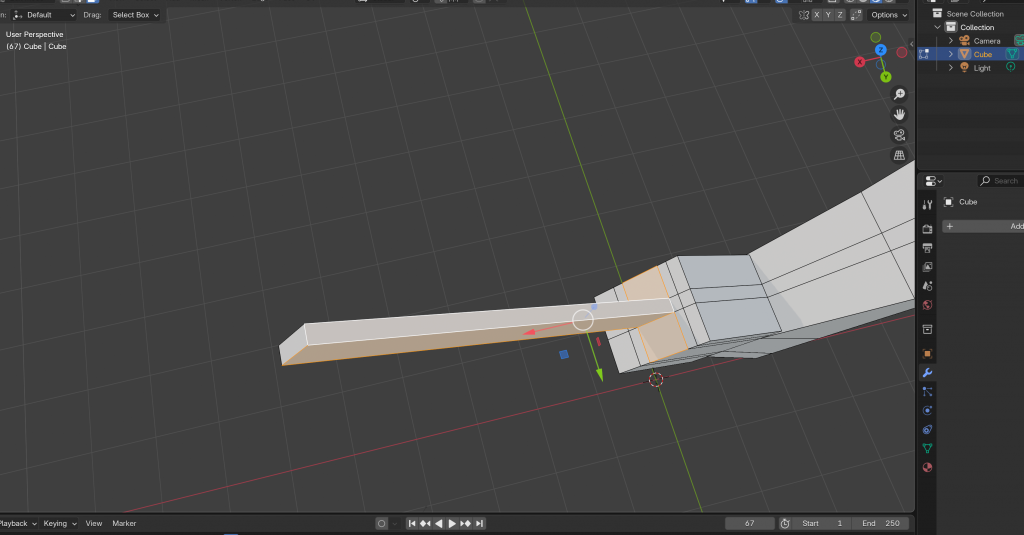
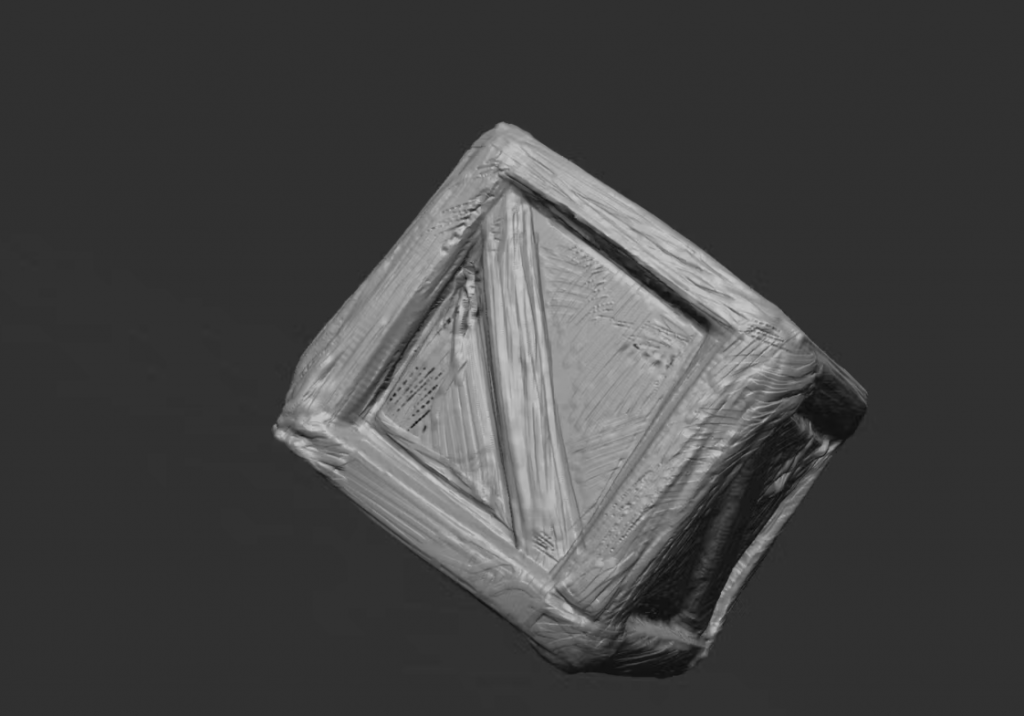
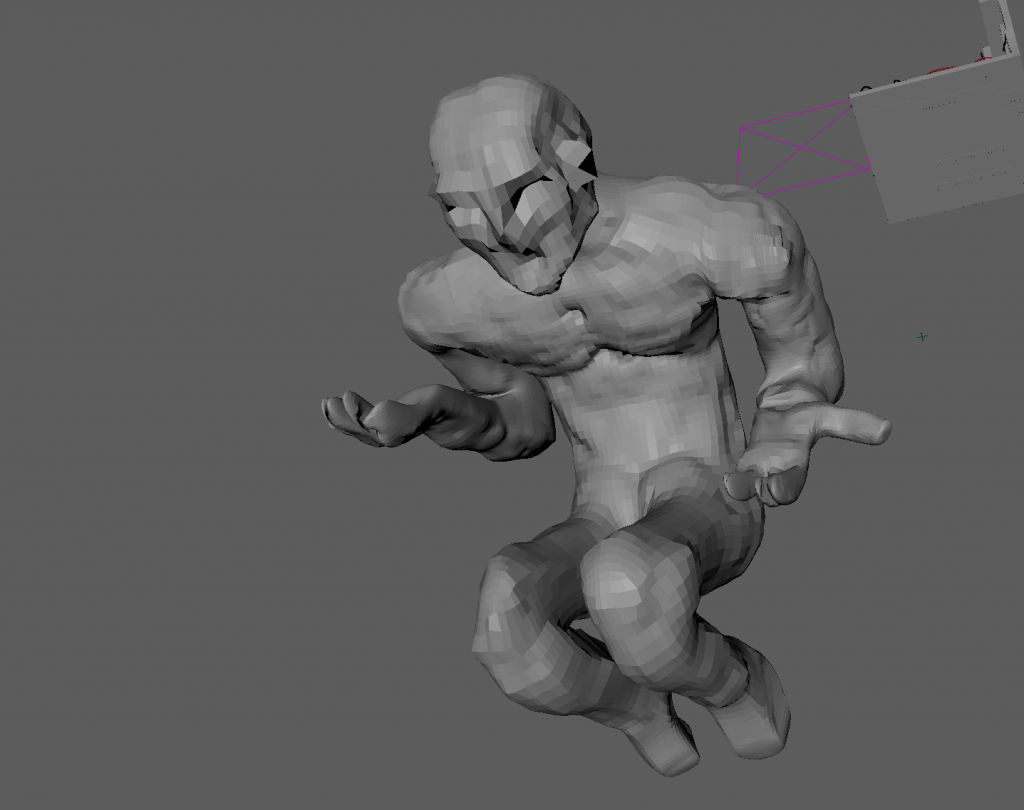
    I began to focus on topology and practiced to do baking, there have been issues along the way however progress is steadily happening, moving from the face down to the rest of the body.

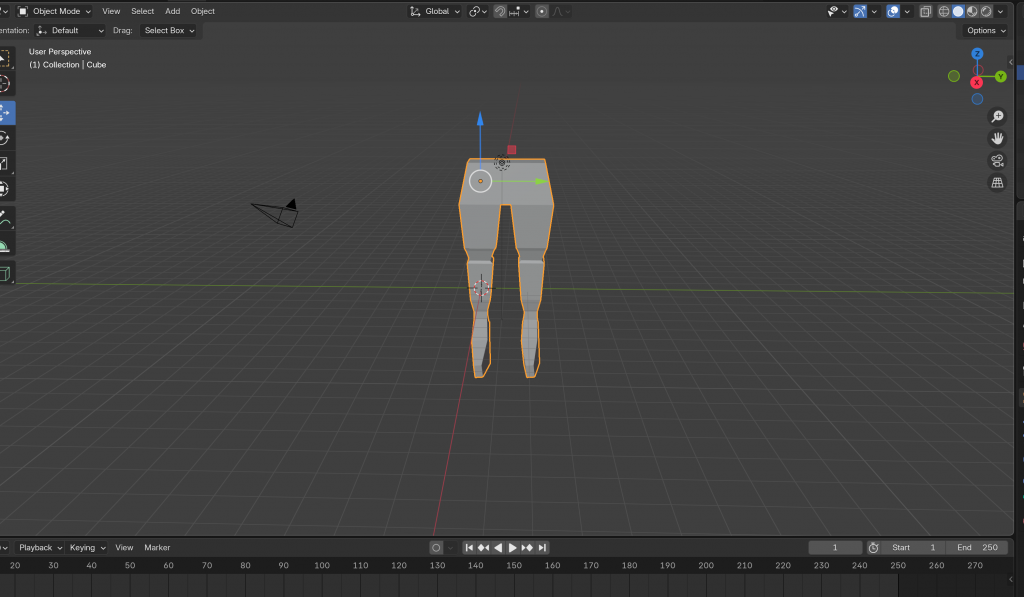
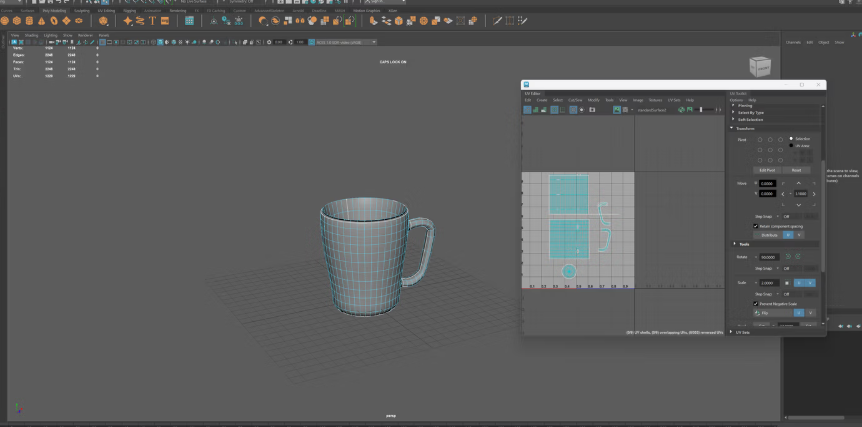
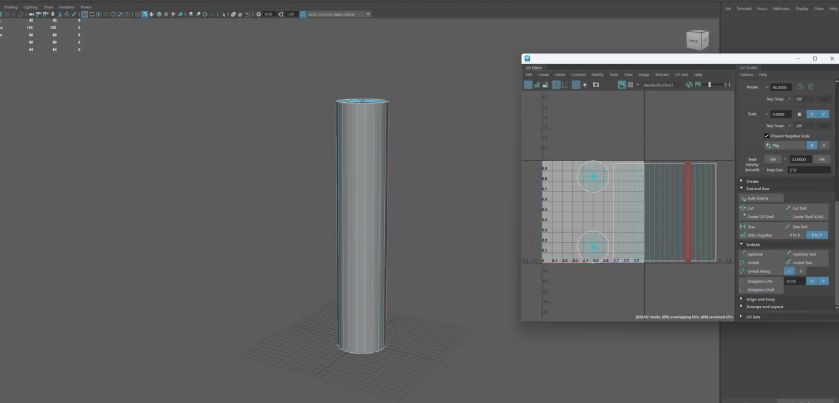
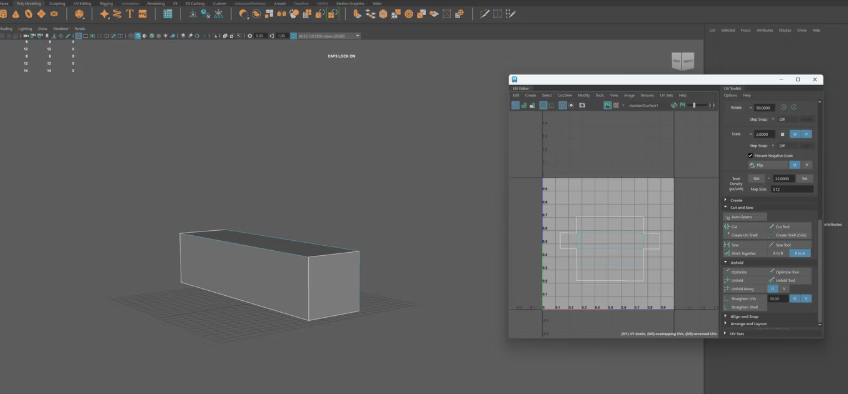
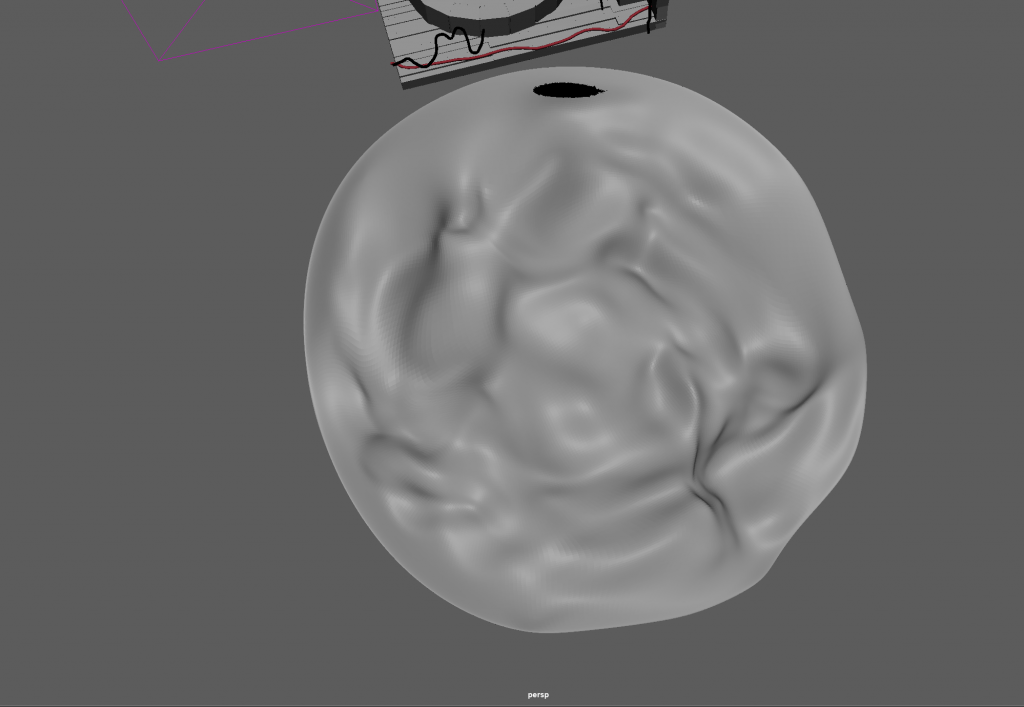
    I have finished topologizing after multiple errors and losing my progress, with it out of the way I can finally get onto uv unwrapping on monday and then baking. Not much time left but hopefully with no more setbacks it should be done on time.

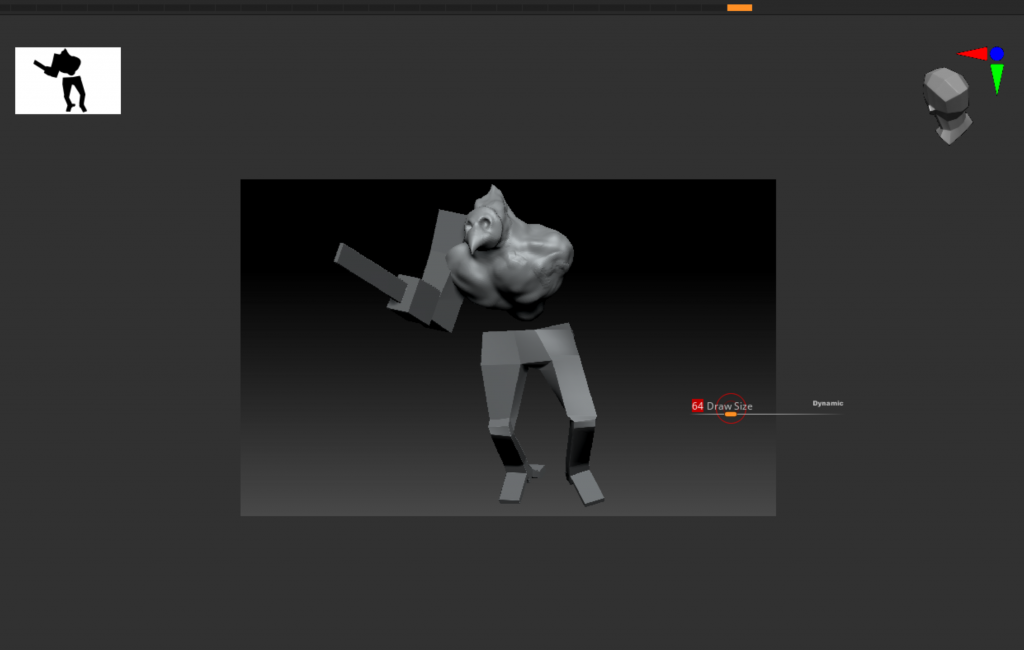
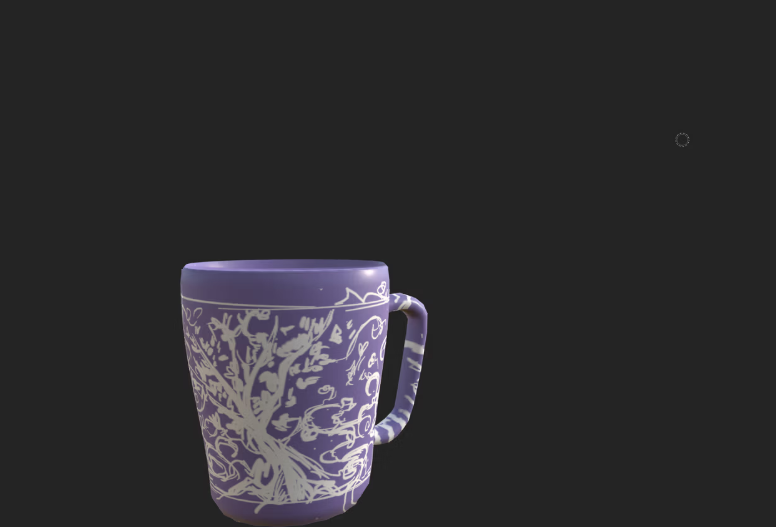
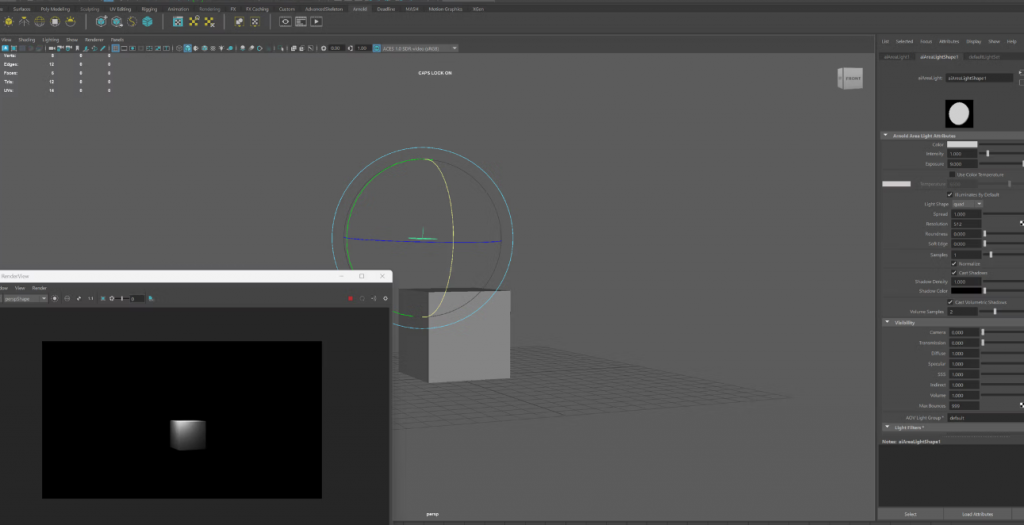
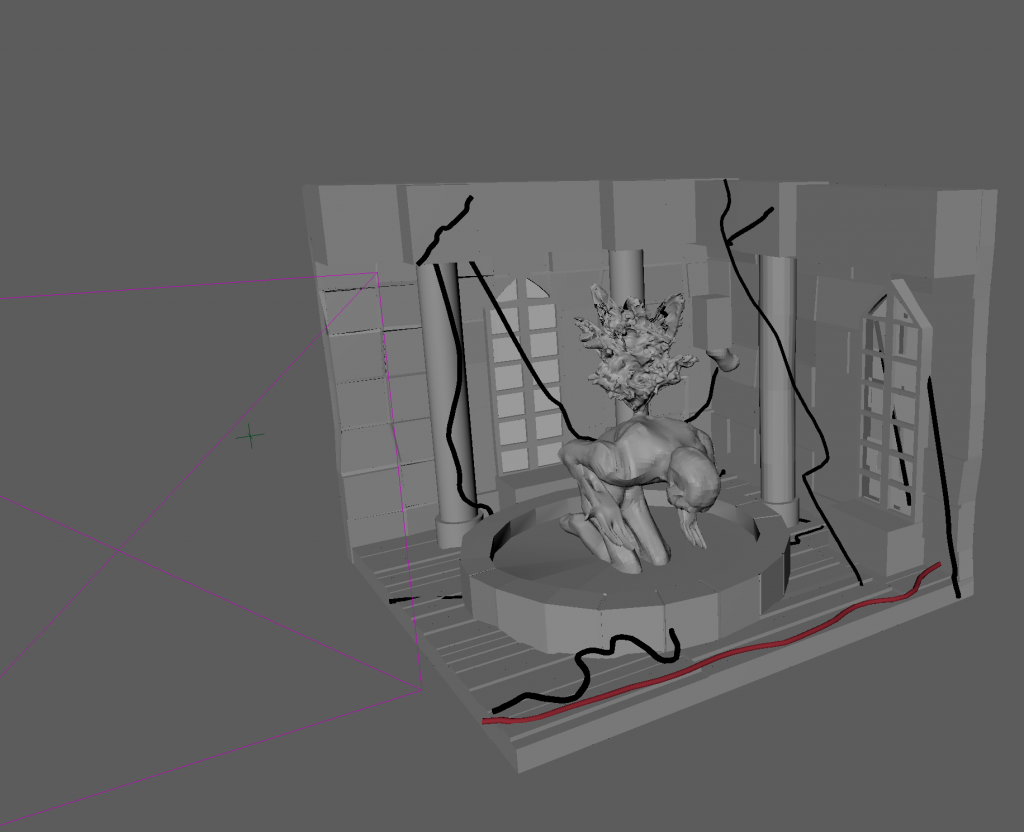
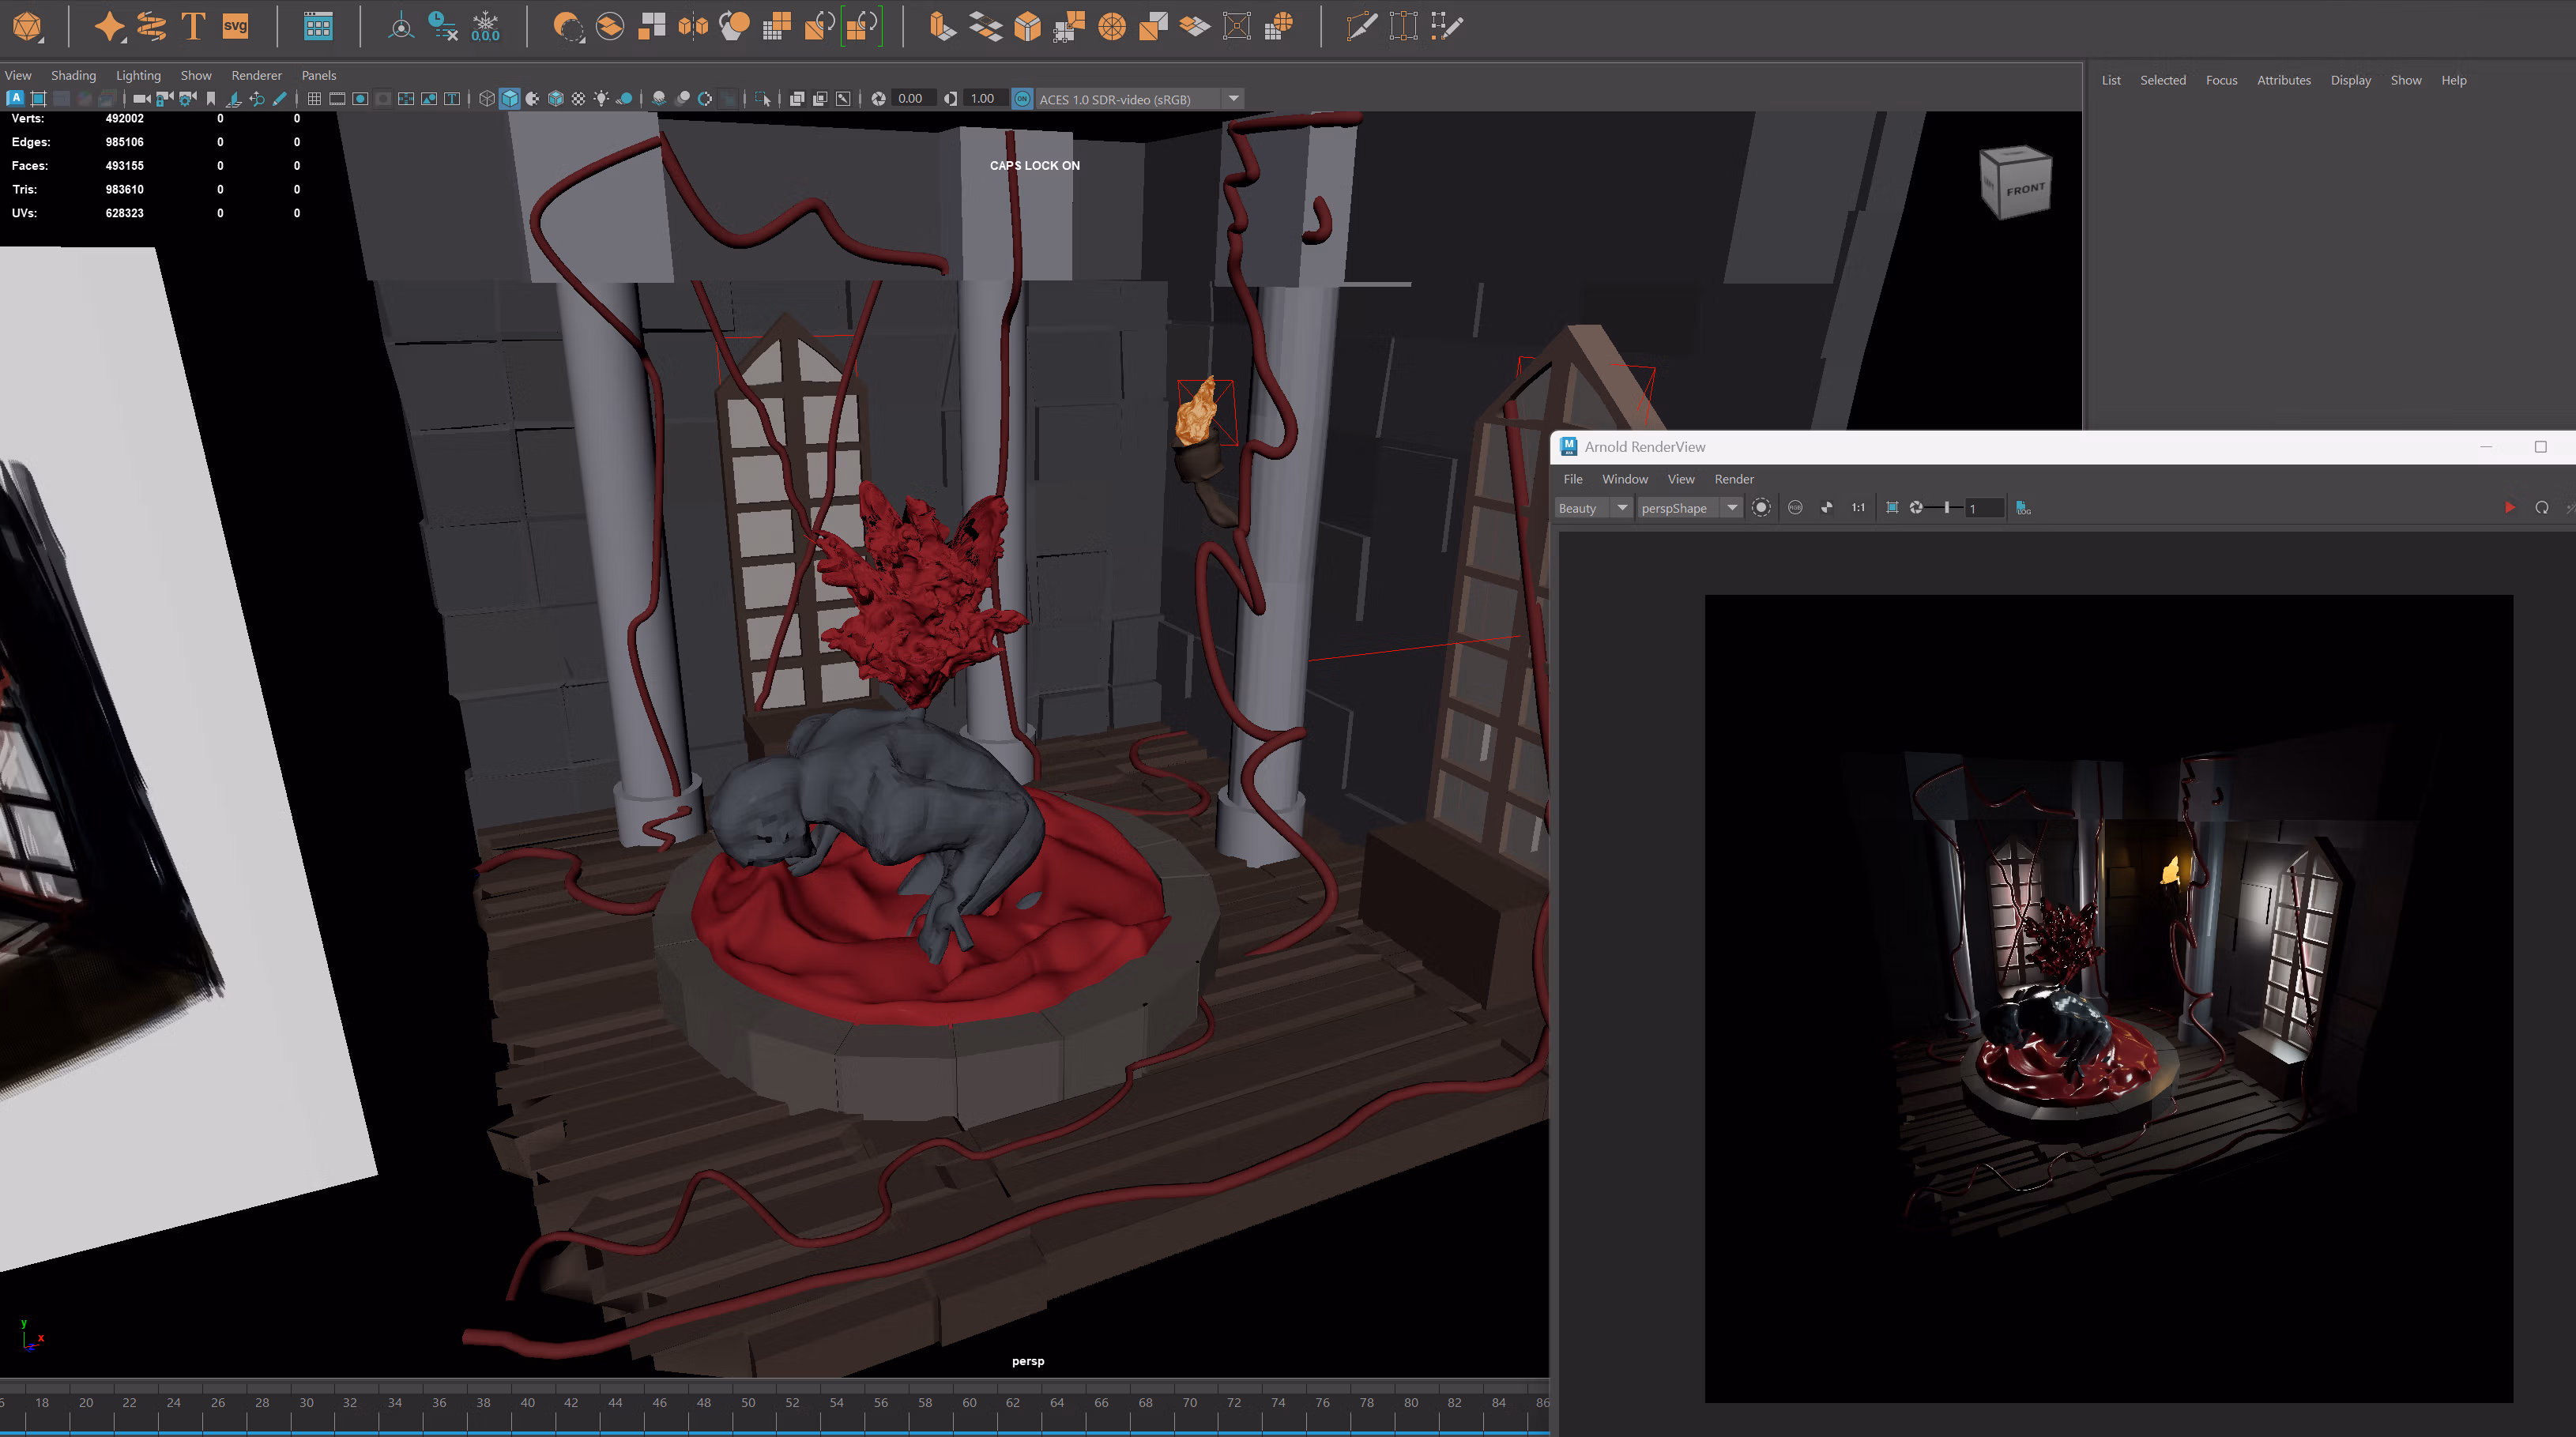
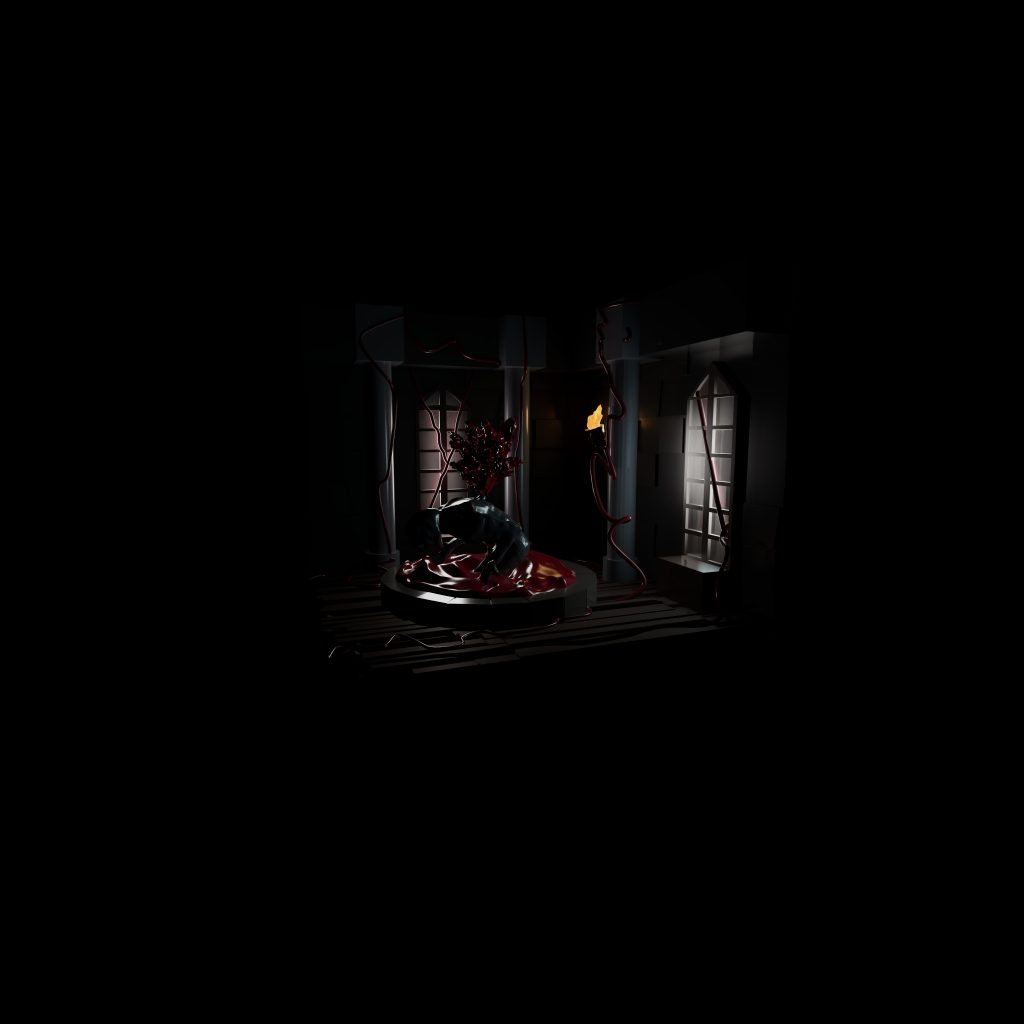
    When it came to rigging and rendering there was a struggle when trying to figure out how to show correct opacities, and then a struggle when trying to bind the skeleton to the model however, with trial and error it had finally been completed and more or less is ready for animating. I plan to do an animation involving the cape, perhaps an entrance animation of the character entering. Such as the cape swirling around them and them walking into the scene before posing. This is my first time animating

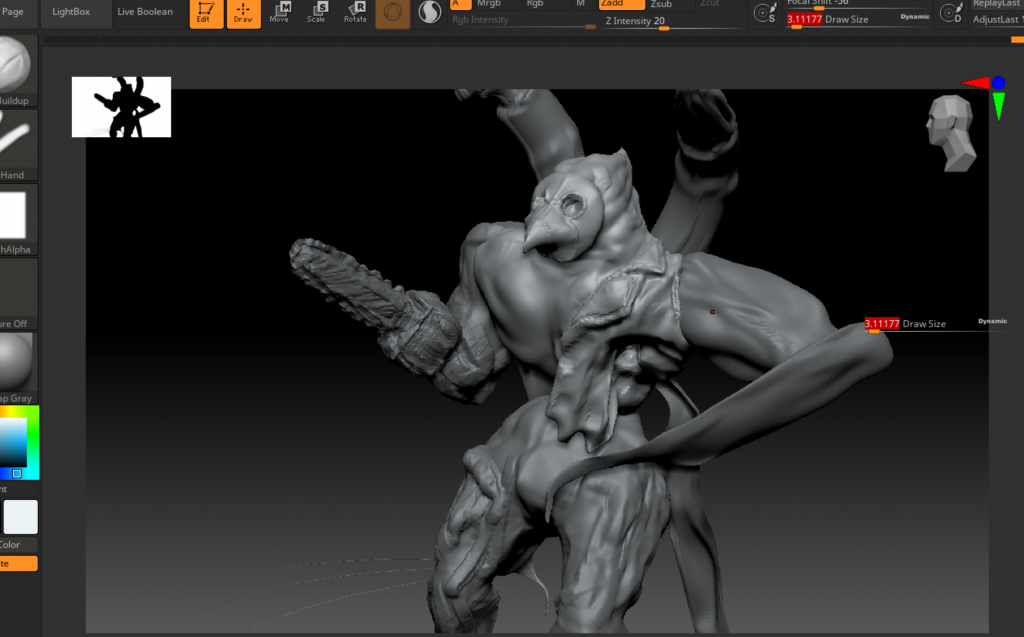
    The animating process was difficult as I had to figure out and improvise a lot of it on the go, it is quite different from 2d paper animation, however in some ways similar to 2d puppet animation so it was not as difficult as imagined if i have to animate basic movements. I decided to animate it myself using Maya instead of mixamo because i wanted to learn this process and see if i could make a workable animation with the rig i made myself. The end product is simple, it is meant to be a step forward as if stepping onto a platform, with the cape swirling around. The focus of the animation is definitely the cape, and while it is not the best animation i could have produced, for my first time animating in a 3d software and learning to do it myself it is still something I am proud of. Overall this project came with a lot of ups and downs however I can say I am proud of the result I came up with in the end.

  • PIPELINE 2D

    On first day back, we have informed ourselves of the brief and sorted ourselves into groups of 3 – 5. In my group we have thought of a range of ideas, such as lobotomised monsters, attractive monsters like dragons, and finally landed on an idea of medical malpractice, of where monsters and humans got experimented on for both scientifical breakthroughs and to create an ultimate weapon to serve the people. We will now each make a character for the setting, a patient, a nurse, and I will be making a doctor with an experiment gone wrong in which he himself had turned into a monster. Now that this initial planning session is complete, I will create individual mood boards for the concept and inspirations.

    I made mood boards of reference and thematic inspirations. The idea for my monster so far is very spiky and sharp, replicating surgeons equipment which fits a lot due to them being a doctor. I also listed inspirations such as Dr Jekyll and Mr Hyde since as a story it fits incredibly, and the Frankenstein due to the role of a mad scientist playing with life.

    I have gotten 3D artists off of art station as inspirations for the benchmark of what I wish to reach, from then on I will start to create rough concept art for the design I could make of the doctor.

    I created a multitude of silhouettes to work from. Through the use of exaggeration, shape and body language. I wanted to experiment with elements while sticking to the idea of a sharp, almost surgeon like equipment. It started from an almost human design to the opposite, a very monster design. Next I plan to experiment with collaging and sketching.

    To further move down my designing path, I experimented with photo bashing and texturing using brushes. It allowed me to experiment with something new and not be as perfectionist. Afterwards I created rough sketches of designs from using the silhouettes I made previously. I asked for feedback from teammates at the time when trying to decide on one design, and ultimately combined many favoured parts from a few of them, such as the doctor bird mask, the extra limbs, the pose and the body parts that are practically melted and merged into the creature. From then on I improved it with further feedback, such as a different weapon being used, longer coat and different shape of the body that is coming out of the torso. In the end I have come across a design I am happy with, and will move forward with colour variants.

    I have made a series of live drawings timed, and online pose drawings also timed to practise my anatomical skills. Besides that I also made notes regarding a lecture animations we watched. All of these side tasks I completed have aided me in allowing me to experiment and learn outside of the main pathway, but also gain material on the essay I will need to eventually write.

    I compiled different variations of outfits I could work from, such as a more doctor like colour palette, a more darker and brighter colour palette. I used the colours we decided on as a team to keep it all similar with the rest of the teams work. Next I will ask advice on what people like out of the colour options, and compile it into a final one to be ready for a final 2d turn around.

    On the other hand, when it comes to essay work I took notes and planned out what I will need to research moving forward into the actual planning of what I will write, now that I have also decided on the question.

    I developed the colors into a more or less finalized version after receiving further feedback from my group mates, where they preferred a lighter coat with darker almost rotting skin. Then I took the concept design and started to turn it into a 2D turn around to be ready for when i take it and turn it into a 3D model. I plan to work alongside z-brush and real life clay modeling to practice sculpting and how they should work. My plan is to at least complete a basic model skeleton while working alongside my essay work project, and gallery visits for further research.

    I begun to practise sculpting using clay to adjust to sculpting and how it works, in turn it will benefit my zbrush work.

    I begun the process of my 3d modelling of my character using Zbrush and Blender to make the base. I also used clay to practise sculpting overall, which was a struggle however good for practise.

    I took notes and exercises for my lectures, and also scanned images of my life drawing classes, which had started with shape and tone, skull studies and moved further into portrait live drawings to further practise drawing the human body.

    I came up with ideas I could use for questions, as inspired by the questions provided. From here on I will decide on one to focus on and gather further references for it.

    I went to the Huntarian museum and took photographs of things that either interested me, or would help me in my project. I took pictures of surgical equipment and bird like exterior for inspiration. I also made sketches of some of the objects in the museum.

    I made an initial bibliography as reference for my chosen question and topic to look into, it is great to practise Harvard referencing and moving into the next steps of the essay planning.

    The Old Operating Theatre Museum and Herb Garret, i visited the museum for inspiration for my surgeon character. It was interesting since I got to learn about olden day doctor practises and how it all worked.

    Live drawing class for practise.

    I made a couple of logos for our hypothetical game, such as the name of the game itself and two main companies. I stuck with very minimalist styles, especially for the company logos as I thought it would fit the world and how they subvert expectations with its minimalism.

    I made a short profile for my character to further build him up and understand him better as a character and person in the world of the game. I completed an MBTI test to get into the mindset of the character and completed the test as him.

    Reading on a book for my essay work.

    Notes for essay work and notes on a text about games and what makes a game.

    SKETCH of my creature

    While modelling I stumbled upon some issues when it came to dynamesh and broken polys, since for a lot of the process I have used clay buildup it was a process of making things work and failing. My plan now is to brush up the model and fix any inconsistencies in overpaint.

    I did some more live drawing studies.

    I completed coloring and rendering of the model, and plan to fix everything else in overpaint.

  • Principals of game art 3d project

    My first task was to complete 5 rough dioramas, with 1 being fully completed for the most part. I have designed many different types of dioramas, and wanted to go in a different direction from the 2d project half.

    I have developed 5 ideas by gathering visual evidence and inspiration, and colour palettes, and the developing these ideas into a short explanation and narrative, as well as general information such as the genre of the game. I also picked out two themes to work from and tried to develop them further by subverting ideas and how they would work like narratively and visually.

    Besides this, on our first day of 3d project, we also have received a talk about library and the services their websites provides. It was a very beneficial talk and showed me a lot of references I could work with.

    I have decided on two benchmarks from my two most favoured diorama themes, and from then have decided to go with the first concept of a medieval horror villains lair moving forward.

    From then on I made three boards, an art style board to get inspired by in style, architectural board including primary photographs and an object/textual board to work on from when designing my concept sketches.

    I have experimented and learned how to use maya basics such as put down shapes, rotate them, move them around, and resize them. In the end it was successful and quite fun to learn how to use it.

    I wrote a narrative of between 150 – 250 words to describe the overarching story of the environment and help develop it further.

    The story follows a criminal that wakes up in a cold manor, almost aching to a castle. Confused as to how they ended up there with a fragment of their memory gone, they start to explore the building and learn about its origins – an owner of this place that brings in unlawful people like criminals to serve justice, however in actuality experiments on them and uses their blood to feed and evolve the place as if it were alive. In turn with all of the findings, they also start to regain parts of their memories and how they were in the process of robbing the place to try and survive.

    The walls are imbued with blood and victims of the owner’s failed experiments, as the halls are guarded and surveyed by the experimented victims that are now fully under the baron’s control and tasked to capture them. As the protagonist surveys the area and tries to find a way to escape, they eventually reach the ‘heart’ of the manor, where the owner is located, and the protagonist tries to defeat them and survive, as well as avenge all of the victims that have fallen under the actions of the antagonist.

    I have practised Maya by creating a car using all the knowledge I have gained thus far. I used the link provided on our padlet to install maya and so far it is fairly comfortable to use,

    This image has an empty alt attribute; its file name is POGA_3D_Sketches20.png

    I have sketched 20 designs to then pick one from them and develop it further. For advice I asked several for my friends and family, and they have advised me to do between 4, 12 and 19.

    I have taken the 12th sketch and developed it into a thumbnail. Experimenting with colours and values then aided me into deciding on the finalised colour scheme and overpainting into a final rendered piece ready for the 3d development.

    I have developed a final rendered piece, combining different parts of the colour variations however primary sticking with the first option. I believe it is developed enough for me to be able to work from it and develop it into a 3d rendered diorama.

    I have completed some further Maya practices by playing with extrude, vectors and so on. It was a very positively helpful session and aided me in understanding Maya further.

    I have done a practise model of making a crate using maya, and then made a blackout of the concept art finalised piece I made previously.

    Current list of props to be made for my 3d diorama.

    I practised using Maya and ZBrush to make emoji expressions and a crate. In the end it was a successful and beneficial practise session as I got to practise sculpting in both of the software’s and received some basic knowledge to be able to work with it moving forward. I believe ZBrush is way better when it comes to sculpting.

    I practised using Maya and then making UVs. From the UV I then imported an image on top of a cup since it should work reasonably well then with the correct UV. Afterwards I also practised customising the cup in substance painter and drawing a design.

    I practised rendering a cube, and tried making a statue for my diorama in zbrush, however despite some very interesting shapes it created, it constantly broke and so I decided to first model it out in maya and only then go over it in zbrush afterwards. However it was nice to try out and experiment. I also practised importing models into different programs, by first taking a crate from Maya and using zbrush to model it to be more interesting, and then to substance painter to further develop it until it got back into Maya. It was nice to work on and see the progress I would need to do for my diorama.

    developed model base for statue to be developed on in zbrush, and i also worked on the UVs for the rest of the diorama that I will not be modelling in zbrush. I am not entirely sure if the UVs have been complete correctly and will be returning to them at a later date.

    https://youtu.be/EriiuMPx22Y?si=OWuRmV200vwUTMva https://youtu.be/psGbZF7xKV8?si=oeV6BI6bnV5tJF02 https://youtu.be/8-TMjuvzZEU?si=lg-iCgKlLwA_WbDC https://youtu.be/k1LygYsI17k?si=XDuDN8GnA8fr6AT2 I watched a couple of videos on UV mapping and how to do it correctly, and efficiently. They definitely helped me in refreshing my mind and looking back on the UVs I did to fix them.

    I had to stay at home during the first day of uni after winter break due to a pulled muscle in my back making it impossible for me to make it. I used this occasion to work from home using sculptGL and develop the statue of the fountain and water that comes from its back. This free online software is a nice alternative to zbrush when I am unable to use it at uni, nor at home due to how expensive it is. Next I will need to sculpt the water for the bottom of the fountain and the torch on the wall to get the diorama completed. While I struggled to use sculptGL, in the end I like how abstract and almost inhumane the statue ended up looking, since it fits the story of my diorama and its inspiration.

    I continued to use SculptGL due to the fact that my back was still injured and I had to stay home. I sculpted the water for the inside the fountain, which I struggled with since the model kept breaking, however after playing around with the shape I have figured it out and made it look fairly reasonable. I also sculpted the torch to go on the wall.

    I watched different examples of people sculpting water and fire to see how I should sculpt my own and on how to even get started on sculpting these elements. They were beneficial in allowing me to see different methods and outcomes, as well as how I can approach this myself.

    I fixed the veins in the diorama since before they were not coming through on the renderer. I used different tools such EP CURVE TOOL as well as sweep mesh to make variety in shapes when it came to the veins.

    I have learned about lighting and how to properly light a scene, such as the use of the key light, rim light and back light. I also learned how to do Toon lighting all using Maya, first a model of a monkey and then of a town after choosing a centre point. Now that I have gotten knowledge of lighting properly and rendering correctly, I will fix some stuff in my diorama and get it ready for texturing I will do next.

    I have further developed the diorama, such as having fixed the color of the blood to stand out more, and fixed the lighting to work even better for my diorama. Additionally I altered the floor to make it round off more and separated the floor boards further to make the overall design more unique.

  • Introduction to Games art

    The photographs I took that I had found interesting, at the end I decided to go with the mattresses photo since it had the most uniqueness to it and story that could have went with it. Between how the crude the writing and drawings are and the typically associated material of the mattress it produces a unique contrast, and with the use of a material such as a mattress also makes it more unique.

    Observational drawing and turning it into something new, something bizarre and inhuman with a partner as a duo.

    As a group we made a short storyboard from one of the photographs we chose from the group. We decided to go with the buildings and how there could be something ominous going on inside, the possibility of what and how anyone might see something different.

    Notes I took in class, which is a list of artists and creators I could look into for this project.

    Working with Light in photographs workshop, I in a group did multiple takes playing with lights we brought in and those that were provided. I myself brought in multiple fairy lights, and two small lamp lanterns. All of the colours came together beautifully and gave me many inspirations to work from.

    I completed some character sketches inspired by the photographs we have taken. Unfortunately I did not have a tablet to draw on to properly be able to work with the colours and shapes right on top of the photographs, however instead I used my sketchbook to make multiple drawings inspired by multiple of the photographs and in process making a magical world all connected together in style and dynamic.

    I have completed some more valuable research and now plan to get a book, Master and Margarita since I got recommended it by a teacher and believe it might prove to be fruitful in my research.

    We completed some group tasks which were create a horror story including a string, create a soundtrack using found sound, and create 5 tarot cards inspired by insects. All to be done in under 20 minutes it was definitely stressful however also nice to let go and not think too hard about it all. Additionally we also made a parasite design inspired by an item, in the end we came up with a tic/wasp hybrid that attached itself to a person’s back and drains them. Another task we did was to create a character using objects in front of us, to which we used keychains to create a hybrid monster almost like a chimera.

    My story for the puppet so far, is a story of a woman set in mid to late 1900s Russia, and a mysterious male from millennia ago. He is not a human but is merely posing to hide his true identity as an immortal powerful wizard. Once he meets the woman he tries to get her to love him, but ultimately she does not. He is greatly insulted and uses magic to turn into a mystical animal and kidnap the girl to fall under his bidding. This is not a finalised story and has a lot to develop however it is substantial as a base idea.

    I visited the British museum with my class to take some inspiration for our puppets and overall story. I explored different regions such as ancient Egypt, romans and medieval England. Egypt and the romans especially had a lot of hybrids between humans and animals to take inspiration from for both my character and puppet I will be making such as what exactly it will be. I especially liked the little figurines and masks that could work well as concepts for me to start designing.

    Photographs from the past of when I visited an old remnants of a medieval style Latvian traditional village. It is helpful as it will help me cement the world in which my story will be taking place and give me inspiration. As well as the slightly comedic picture can also contribute since master and margarita is a big inspiration for me, and it is also slightly comedic with how grim and weird it is.

    I have completed some basic rough designs for the character I will be making the puppet from, and the designs for the puppet itself, both a standard puppet option and a wearable body puppet option to tinker around with ideas for next class in which we will actually be making the puppets. I believe I have acquired some great ideas and hope I can experiment and work around making one of them a reality, possibly even combining them.

    I have decided on the final design to work from, now drawing a full body to scale of both the front and back, as well as the side.

    I got feedback to draw them more simply, so that the skeleton is clear and it is more easier for me to cut the wire to size for the puppet making. I had to make the main bodice for the front and behind torsos and then put them together.

    After the main bodice was built and assembled together through zip ties, I took foil to cover the parts that connect together and afterwards used clay to secure the structure around the torso and feet. I now plan to start collecting all the materials and build the body of the puppet up more from here. It is not perfect as I accidentally made one side of the body shorter and lower down than intended, however I plan to work around it and see if it can be fixed further on when I build upon the base.

    I have made a list of the preferred materials so far and will start steadily collecting them all and building upon the puppet with what I get.

    I have completed a lot of valuable research when it comes to this project which ranges from books and old folktales down to artists, with each of them inspiring me in some way. Even if not all that was mention is used in the end, it was still a massive helping hand in my journey to reach the end product in the first place. While researching never truly stops, I now wish to focus on finishing up the final product like the puppet and all of the written work.

    I have developed my puppet further and begun working on the padlet on which all of my processes thus far will be put. I did struggle when it came to working on the puppet, primarily the head and hands, however ended up improvising it, and will begin to look at working on the clothes and base of the firebird now. I am not used to making, especially puppets so this entire project is a struggle, however also a learning experience.

    I have developed the puppet further, by building up on the fire bird and installing the led I brought so that it lights up. I struggled with figuring out how to stick the fabric strips onto the bodice, with initially the superglue not working, so instead I have used double sided tape which made the process way easier to complete. I painted the feathers as well so that they do not stand out too much. I also worked on the body of the evil sorcerer by sewing together the clothes to work with. There is a long way to go until the puppet is able to be called finished, with me needing to add patterns onto the clothes, to do the tail of the fire bird, build up on the body of the fire bird and fix up body parts of the sorcerer half of the puppet.

    I have come to a place of where I can call my puppet significantly complete and ready for the showcase happening tomorrow. After the showcase I hope to receive a significant amount of feedback to better my puppet even further, or at least receive advice on how I could make the digital scan, since when I attempted to do it previously it didn’t work.

    I used KIRI engine to make a 3d scan of my puppet, since scaniverse did not work for me so I experimented with many different apps until this one decided to cooperate. In the end this project had been a success and I believe it shows the theme of transformation and Magic well. I did struggle with creating the puppet, however the process itself taught me a lot especially when dealing with little LEDS and how they would work in a dual sided puppet. I earned a lot from this project and hope to be able to use what I learned in the future.

  • Principals of Game art 2D project

    Quick observational drawings I did of buildings and areas outside, while keeping in mind composition as practise for my eventual thumbnailing of ideas. I believe I did a good job as they are meant to be quick and I was able to capture the compositions and play around well with them.

    I started working on a more polished mood board using references and PureRef as recommended by our tutor. I find this much more simpler to use to gather ideas and will continue to work on it moving forward.

    Notes I took during class regarding printing, sources, and general information.

    Drawing from a ref, it was a practise on photoshop but also sort of a compositional study for work on one of my chosen artists.

    thumbnailing process, in which I am testing ideas, compositions and practising making useful brushes. In the end I made 13 ideas and my favourite by now is the fifth one, with how great it is in composition and details as well as how I had used depth.

    I in my class visited the national gallery and took some photographs that interested me in composition and theme, and did some observational drawings from them. I believe the trip was fruitful and helped me search into new pieces and how to make use of composition.

    I completed some practises on Tone, simplification of shapes in a reference, blending and composition. Moving forward I will do multiple more practises as it will benefit me in the long run and is very informative.

    I completed a mark making practise to further work on these tombstones from a graveyard. I also separately did value studies from photographs and concept art. I believe these turned out well and helped me capture the different values successfully.

    I also took notes from a lecture of different perspective points and how they work. In the end it definitely taught me a lot and I will use these points when further working on my environmental pieces.

    I completed some perspective studies, starting with 1-point perspectives, then moving onto 2-point perspectives and finally 3-point perspective. At first I struggled at the 1-point perspective since I incorrectly placed the guidelines of the horizon line and in turn messed up the rest of the layout, however I tried to work with what I had and it mostly worked out in the end. I remembered not to make a similar mistake when working with 2 and 3 point perspectives, however I did find 3-point perspectives slightly challenging as to figure out how they work. In the end I believe I did well on the practises and it helped me further understand how perspectives work, at least enough so that I can take it further and incorporate them in my further thumbnail work.

    I completed some Colour and Lighting studies of Syd Mead’s work, majority of it being his blade runner concept artworks. I used them as references, by picking out colour palettes from the original and seeing how they all work together in the piece. I additionally made extra notes regarding what colours he mostly used and how he made them work together, such as the use of more so bright contrasting colours and similar use of values. I wish to further study his work and see if I could incorporate the inspiration in my own concept.

    I completed some speed painting practises through using references from different games and movies, such as half-life, cry machina and the maze runner. All of these are in a form of a dystopian story, something that is the biggest theme for my project. I believe that while the speed paints are not perfect, it was still a great exercise to get each done in under 30 minutes by applying everything I have learned thus far. Things such as composition and proportions could definitely be improved, however for a quick practise this is acceptable.

    I have completed some developed thumbnails based off of my previous created ones. While they are definitely an improvement over what was before, they are also not perfect and can do with a lot of working on. I will complete a couple of more updated thumbnails and develop these from there with the feedback I get.

    The story for this world that I have planned so far is a dystopian sci-fi world where the government has taken full control of the area with constant watch and surveillance, with the poorer areas struggling the most, if anyone is to be found to be going against the government they are exterminated. In this world the rich are mixed between humans and technological parts like cyborgs. Heavily inspired by Bladerunner and real life situation with the government limiting more and more rights of humans and people abusing the powers of the technology and AI to complete illegal activities. The rich are in control and the poor are being controlled almost like big brother in 1984, and the handmaids tale by Margaret Atwood.

    I practised photo bashing to create the structure in one of my preferred thumbnails, and then attempted to make it in a different perspective to fully figure out all the proportions and how the structure will work overall. Afterwards I tried to overpaint on top of it to fix up some parts and develop it further. In the end it was a great practise and something I will try to use in the future. While i did struggle when it came to perspective with it looking fairly flat, eventually with some tips from the tutor I got to develop it further until it was much more successful.

    Some photographs from before and more recent to help work from. The power station is the most helpful as it is the most similar to the architectural style I am going for in my thumbnails with the large and bald structures that also feel simple and very bleak yet lit up in the dark of the night, a mixture of an imposing atmosphere and lively feeling.

    I have developed my currently most preferred choice for a thumbnail so that it is ready for me to start developing and experimenting with in colour. I wouldn’t call it finished, however it is certainly developed enough to start working on with colour.

    I have started to experiment with colour in my fifth week of this project, and I certainly see it starting to come along into a final piece. In the meantime I have also started working on my presentation on Canva so that it is ready for next week Friday.

    After getting some valuable feedback, and completing some finishing touches when it comes to the story telling, I am proud to say it is finally completed at least to a satisfactory amount. Now I will proceed to put my whole process together into a presentation pdf to complete the 2D part of this unit.

    https://www.canva.com/design/DAG4TE4DLFA/sdgjKP4ZkFEoiJHAskCiRg/edit?utm_content=DAG4TE4DLFA&utm_campaign=designshare&utm_medium=link2&utm_source=sharebutton

    I have gotten some valuable feedback from my classmates and will now proceed to apply them all into my finalised thumbnail to further improve it and get it finished for January. I would like to do it sooner rather than later so that I can focus on my puppet intro to game art project and 3d half of principals of game art.

    I have applied all of the feedback I have received from my classmates and am ready to say that it is complete to the best of my abilities and now I can focus on my 3d project and puppet project.

  • Getting ready for the 2D project

    I have started by looking into the suggested world settings, abstraction themes and cultural cues I can go into and work on from. Highlighting and annotating what interests me and looking at multiple useful websites, I have come up with some ideas of going either into a futuristic, dystopian setting or combining them both and seeing how it goes from there. Some of the websites I used: https://www.septembercfawkes.com/2021/11/a-new-world-tips-on-building-dystopian.html , https://www.thespruce.com/what-is-industrial-architecture-4796580 , https://fiveable.me/key-terms/art-renaissance-to-modern-times/fragmentation .

    I have also made a mood board as part of the homework task, to pick out 3 environmental concept artists that interest me and to make a mood board with examples of their work with annotations. I have picked out Viktor Antonov, the art director who worked on half life 2, Syd Mead who worked on Blade runner 1982 and Adolf Lachman, someone that worked on a game I played called Machinarium. I felt that they all fit the idea I have had so far of a theme to go by and will further aid me in what to do moving forward.

  • Finishing up the second week

    Principals of game arts

    https://www.canva.com/design/DAG0kAlV374/70mn8_GJQuKXf9ldVqCobw/edit?utm_content=DAG0kAlV374&utm_campaign=designshare&utm_medium=link2&utm_source=sharebutton

    I have finished all my designs for the kill, clue and normal cards, and we had printed out the cards and had a test play with them to see if the game works. Everything we have done we have added onto the presentation that we will be giving on Friday. Overall this project was a success and we were able to make a tabletop game as a group.

    Introduction to games art

    Meanwhile in the other project I have also looked at maps and game environments, I have scanned a photograph from a game and turned it into an interactive game environment as inspired by point and click detective games, the top tracing paper layer shows hints and progressing of the game. It is a merge between the past and present. Now I will need to get 10 photographs for next week homework, and continue research for my magical project.

  • Developing

    Principles of Game Art

    I worked on some sketches for the cards designs and the game pack. We each individually got to work on the card designs. We also made our presentation, and while it is not finalised since we still have a lot to do, we got some valuable feedback and now I will work on the finalised cards designs.

    Introduction to Game Arts

    I started to also research some folklore and cultural fairy tales for ideas in my second project.

  • First week at LCC

    Introduction to game arts, I started by in class doing some experimental drawings through the use of continuous blind line drawings and turning circles into objects. Now I will do some research given the resources provided to further go into planning the puppets project.

    Principles of game arts, we have started working as a group on planning our tabletop game, and using our collected objects as inspiration. So far we have decided on our theme of a murder mystery inspired card game since we as a group enjoy the horror genre. We used a game I brought as inspiration for design of the game. We will use a lot of the objects we picked out as inspiration for either the design of the visual aspects of core gameplay. Such as the clown mask for the killer cards, or any other components that we will start working on now.

    I have also done some research into tabletop games by actively playing them with my group mates, and we have started planning out some rules of the game and will start finalising some.